Deploying Jellyfin
Welcome!
Hello and welcome to this installment of the homelab series. Today we’re deploying a very popular application called Jellyfin. Jellyfin is a media server that allows you to self-host your own streaming service! Plex is another popular option, but I’ve always wanted to do Jellyfin so that’s what I’m doing. This post is solely just deploying Jellyfin and getting it up and running, I won’t be really getting into the security best practices yet, I just wanna have something working here first. To do this we will be using Docker Compose as that makes setting up a lot of these self-hosted solutions super easy so we’ll be using it a ton going forward. So first we’ll quick go over making sure you have it installed/installing it and then we’ll be moving right along. Also, this service will be being deployed on our Ubuntu Server as noted in the Overview post at 192.168.50.166. So with that out of the way, let’s get started.
Installing Docker/Docker Compose
So like I said let’s first start off verifying we have Docker (and subsequently Docker Compose, I’ll just say Docker as a catchall) installed. If you run the following:
 You will see your Docker version and know you’re good, need to maybe update or just don’t have it installed. No need to fear if you don’t have it installed because we have the instructions right here: Instructions for Docker
I also just ripped them from the official documentation and pasted them here, so if you run these commands that should be that.
You will see your Docker version and know you’re good, need to maybe update or just don’t have it installed. No need to fear if you don’t have it installed because we have the instructions right here: Instructions for Docker
I also just ripped them from the official documentation and pasted them here, so if you run these commands that should be that.
# Add Docker's official GPG key:
sudo apt update
sudo apt install ca-certificates curl
sudo install -m 0755 -d /etc/apt/keyrings
sudo curl -fsSL https://download.docker.com/linux/ubuntu/gpg -o /etc/apt/keyrings/docker.asc
sudo chmod a+r /etc/apt/keyrings/docker.asc

# Add the repository to Apt sources:
sudo tee /etc/apt/sources.list.d/docker.sources <<EOF
Types: deb
URIs: https://download.docker.com/linux/ubuntu
Suites: $(. /etc/os-release && echo "${UBUNTU_CODENAME:-$VERSION_CODENAME}")
Components: stable
Architectures: $(dpkg --print-architecture)
Signed-By: /etc/apt/keyrings/docker.asc
EOF

sudo apt update

# With apt updated with the Docker repos, install Docker, Docker Compose
sudo apt install docker-ce docker-ce-cli containerd.io docker-buildx-plugin docker-compose-plugin
After you have Docker installed, be sure to actually start the service as seen here.
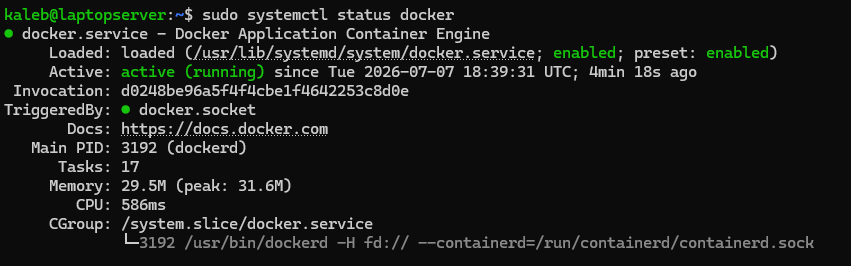 After doing that you can run that
 docker compose version command to verify the installation and version, but I mean if you can start the service you should be good so good job so far!
Setting Up Jellyfin
Alrighty, time to get into the actual meat of this. First we’re gonna make a few directories to house some important files for our Jellyfin container.
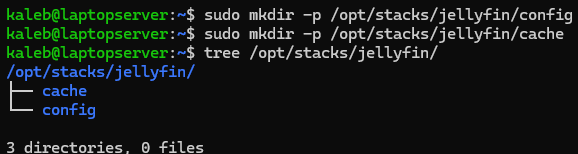 So we have config and cache directories and I quick wanna touch on this. These directories exist here on the local disk and not in the container because in the event our container has an issue or blows up, we can pull a new image later on, point it to these files and should be good to go fairly quickly. The cache directory, yeah, just stores temporary files that Jellyfin might need to hang onto for a second or references frequently. As for config this actually houses things like the Jellyfin database, users and settings and all that stuff. This is a pretty important directory so we’ll wanna back this up eventually.
Now it’s time to make the compose file that our container will be born from. So we’re going to
So we have config and cache directories and I quick wanna touch on this. These directories exist here on the local disk and not in the container because in the event our container has an issue or blows up, we can pull a new image later on, point it to these files and should be good to go fairly quickly. The cache directory, yeah, just stores temporary files that Jellyfin might need to hang onto for a second or references frequently. As for config this actually houses things like the Jellyfin database, users and settings and all that stuff. This is a pretty important directory so we’ll wanna back this up eventually.
Now it’s time to make the compose file that our container will be born from. So we’re going to cd into the directory we want to be the root of our container, in this case the /opt/stacks/jellyfin directory.

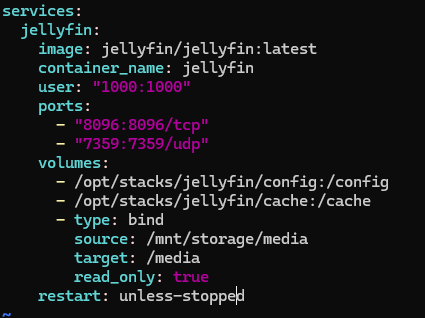 And this is what the compose file will look like for right now. We will eventually add some parts to this guy to enable some other features, but this is like our initial basic config to get Jellyfin running. Now as you can also see in the compose file our Jellyfin service will be running as UID 1000, which is kaleb (me) and so we can’t leave these directories owned by root.
 There we go. You also see there the
 /mnt/storage/media directory which is actually where my external SSD is mounted to store all of the movies and TV shows and God knows what else. As we’ll want Jellyfin to be able to read from there we’re gonna just chown that. So with the compose file being made and our directories in place let’s actually spin up the container!
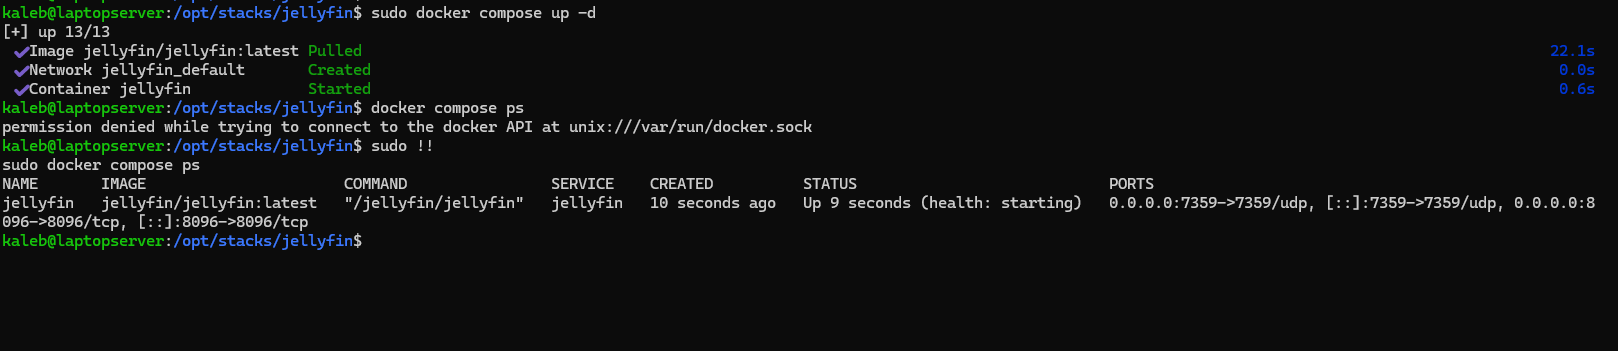 So from the directory the compose file is in we’re going to want to run
 sudo docker compose up -d and then do sudo docker compose ps to check the status of the container. You can see from the output of the first command the official Jellyfin image gets pulled down and the container is created and started. Then docker compose ps gives us a bunch of good info on our container and verifies it’s actively running. Believe it or not, Jellyfin is running now and we should be able to access it from our browser by navigating to the socket we set up (the IP and port number).
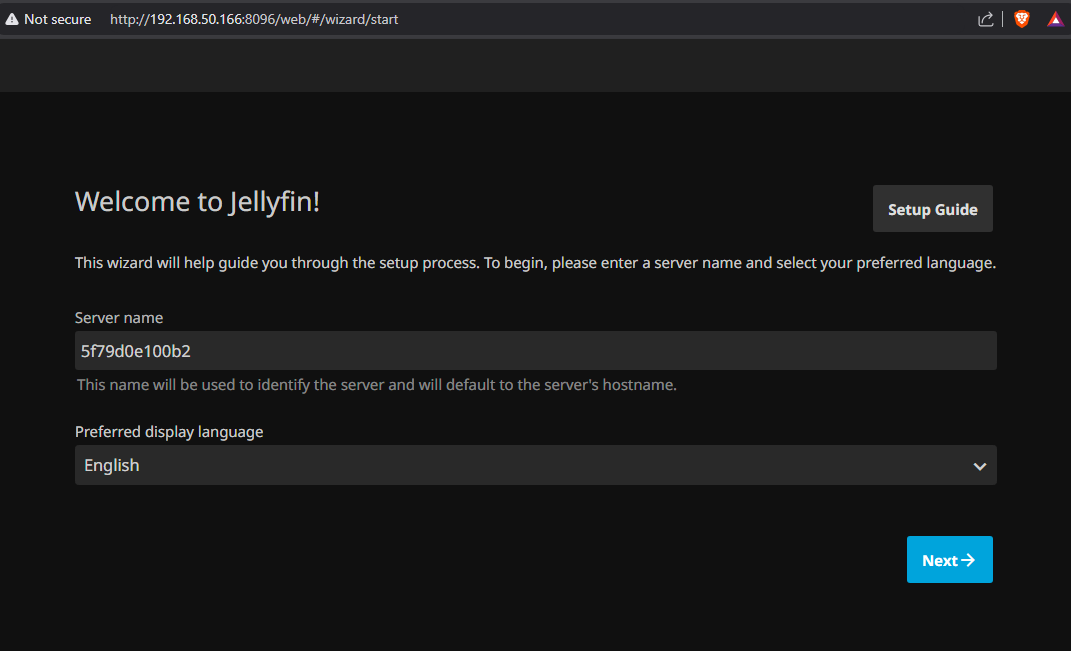 Oh my Lord it’s beautiful. Alright, from here we’re going to be doing some like generic setup stuff. Server name is fine as default for now and I’ll do English for my language. Next. The image below isn’t the next step, the next step will have you set a username and password so go ahead and do that. I was naughty and didn’t take a screenshot of that step and will hang my head briefly in shame. If you click next again though…
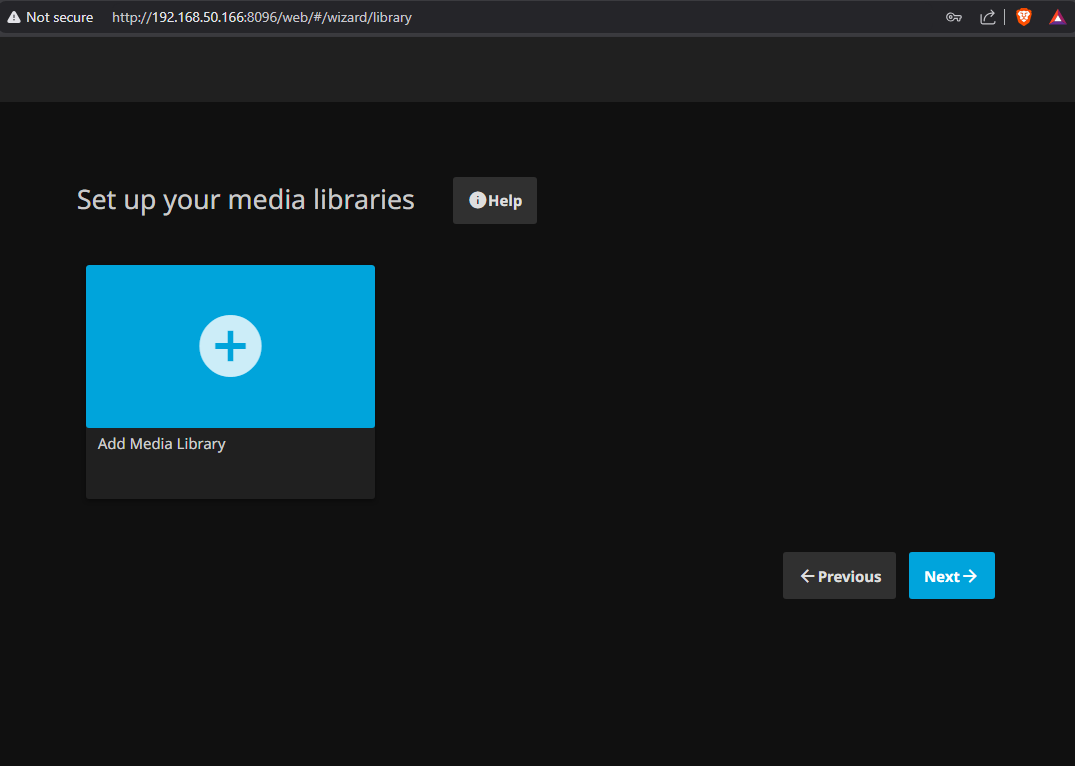 We’ll be able to actually set up all of our media libraries. Now in that
 /mnt/storage/media directory I have a separate directory for all of my media types.
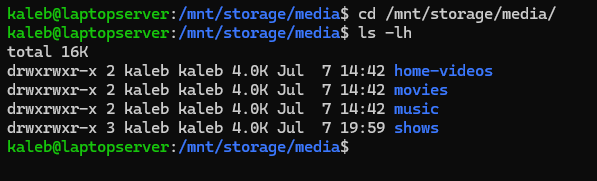 This is not only good practice for organization, but more or less required by Jellyfin as it’ll get real confused real fast if you just throw a bunch of media into a directory haphazardly. So with that being said, let’s set up a media library
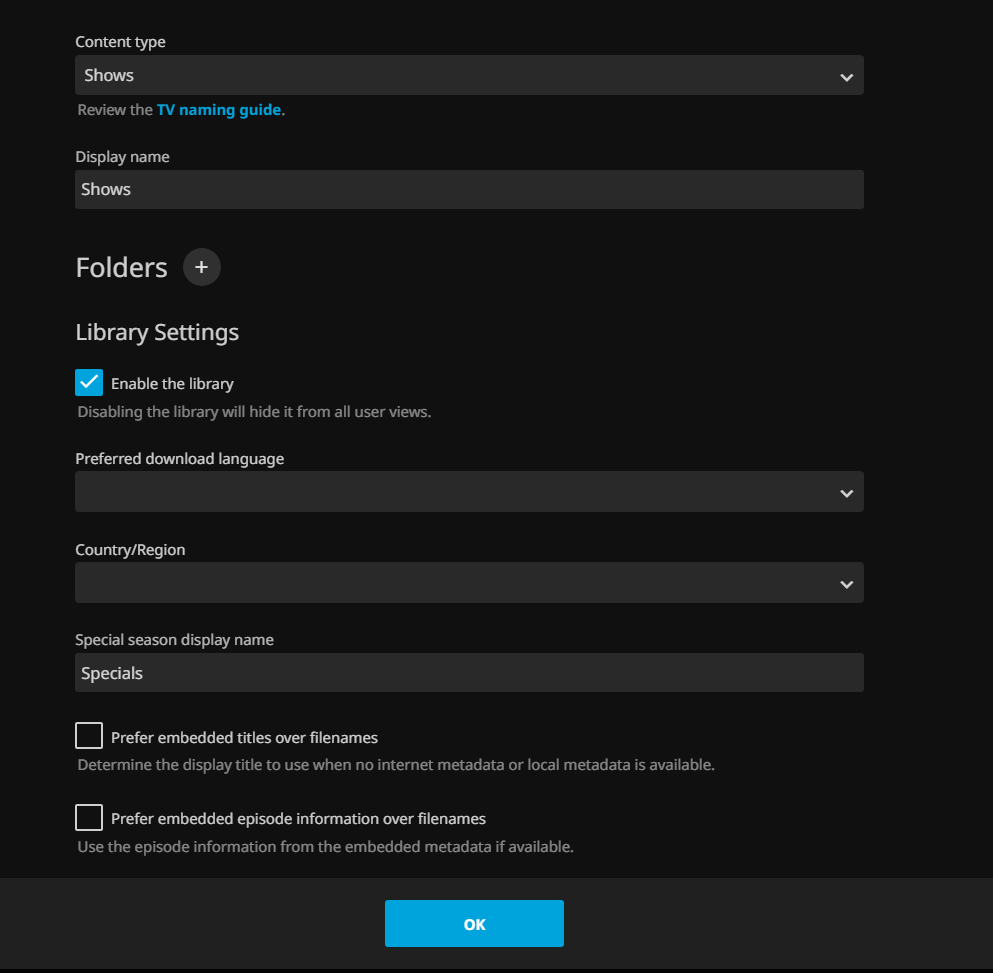 I have a lot of shows I plan on hosting on this bad boy so I’m going to set Content type to Shows.
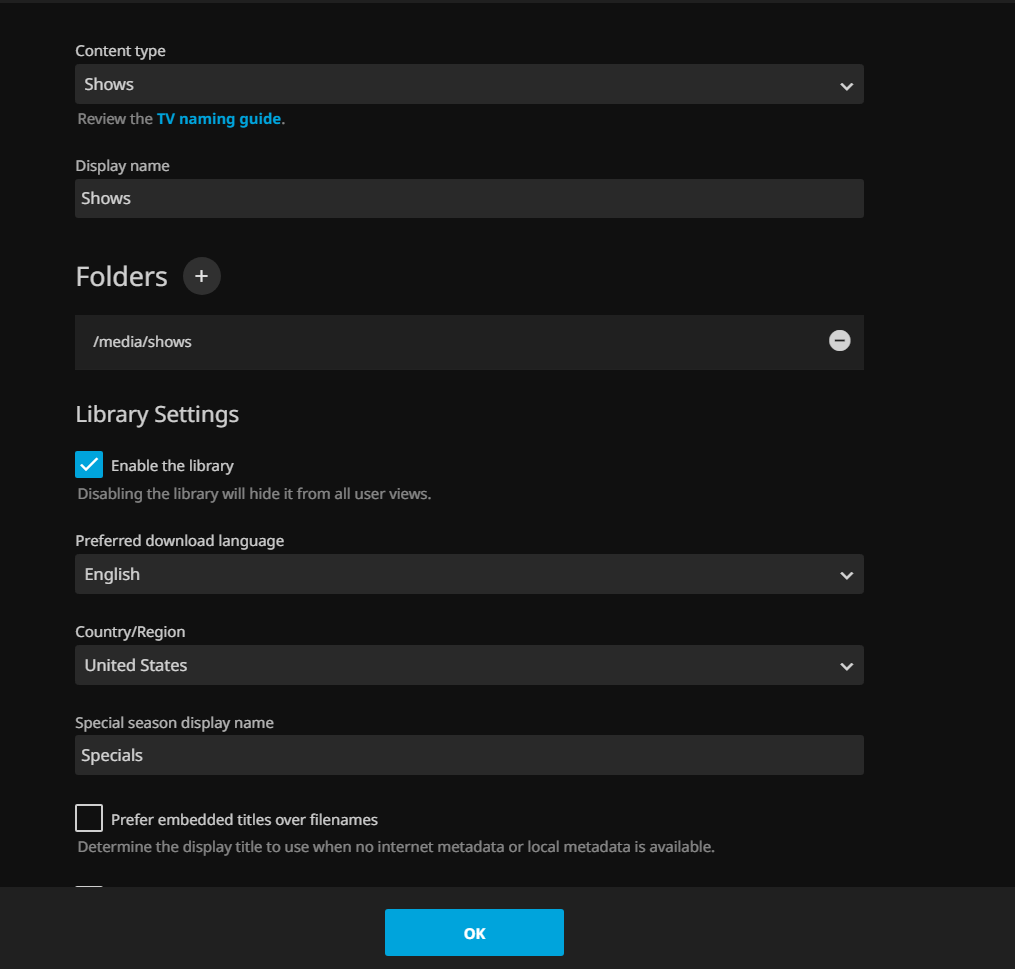 Then I select the corresponding directory for the folder Jellyfin will read from for my shows and then I select my language and stuff and yeah we should be good to go. You’ll wanna repeat this for all the different types of media you want to host and once you’re done.
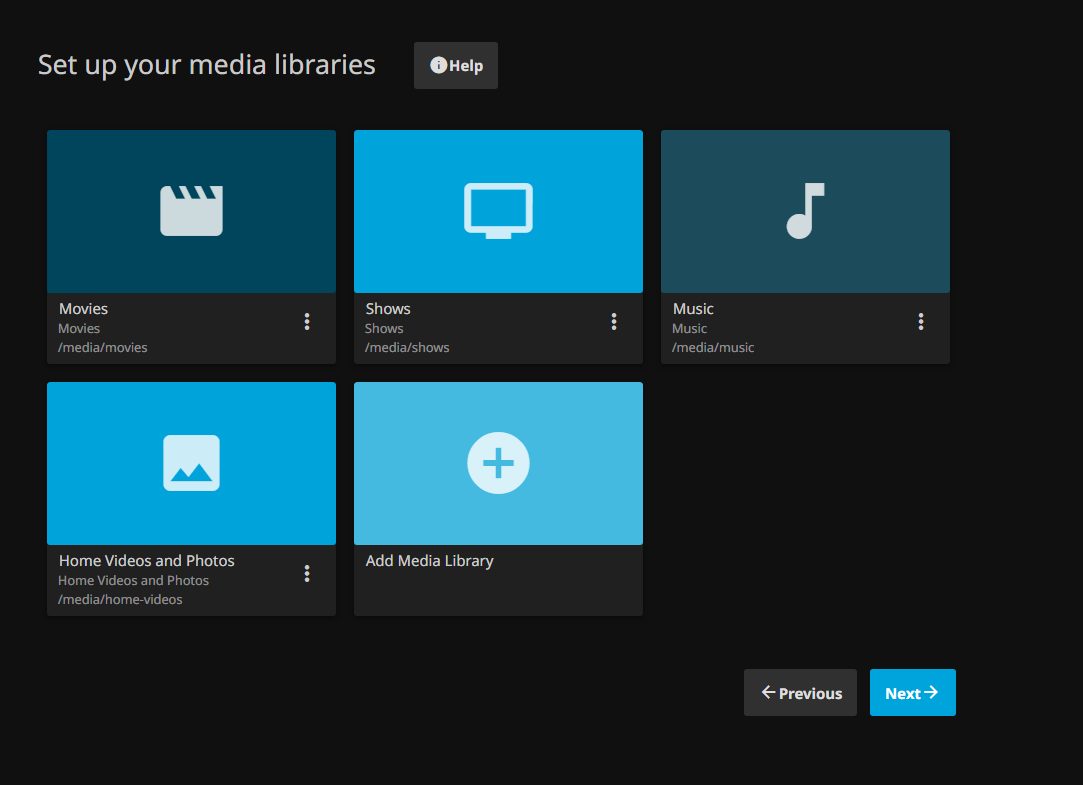 We now see all of the libraries we set up. Looking very good so far, next.
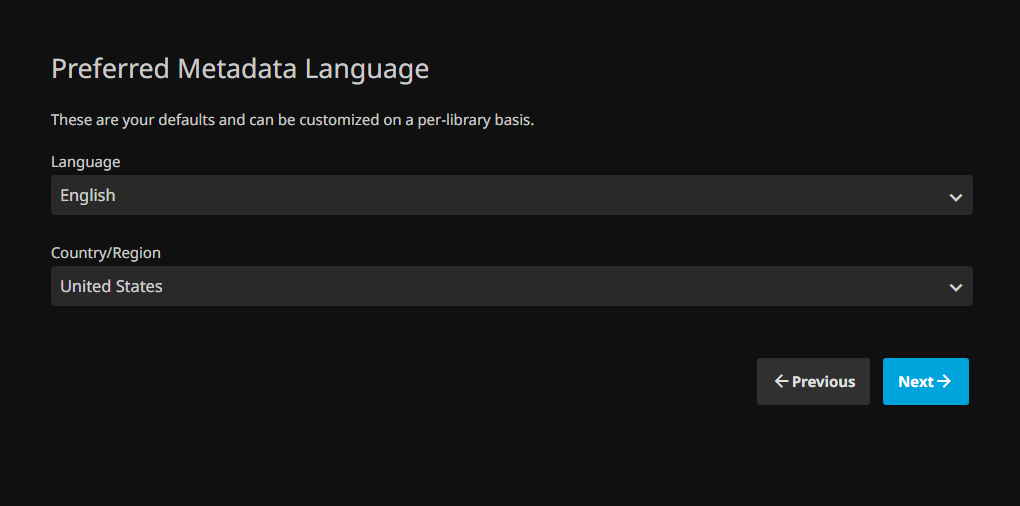 Language again because we need to be triple sure.
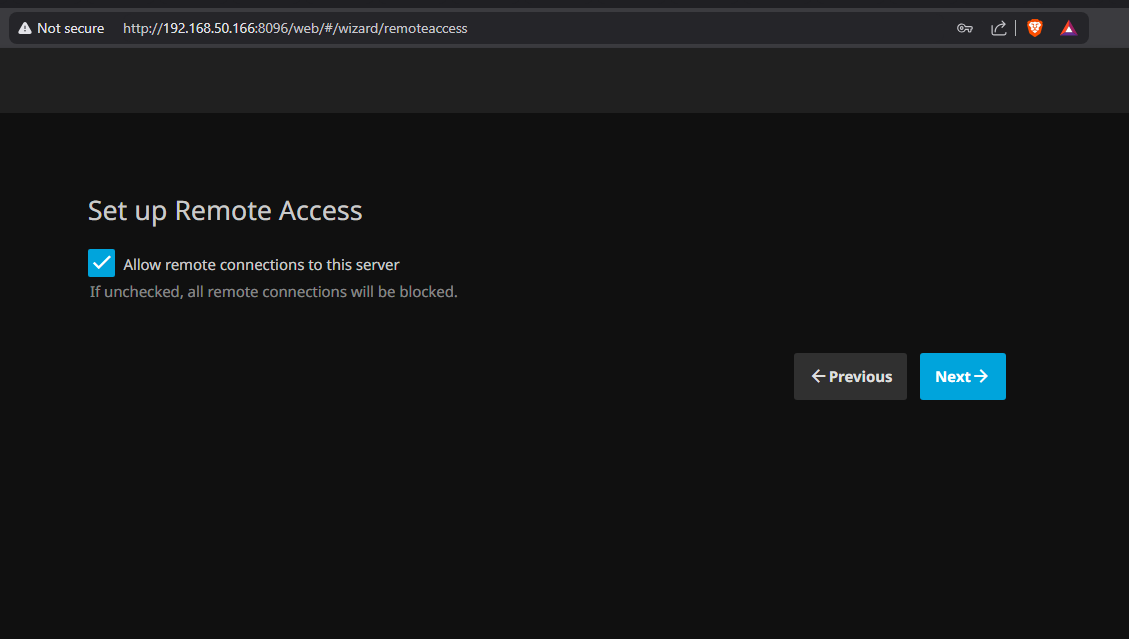 Yes you will want to be able to remotely access your media server I imagine. To be clear, this doesn’t mean from the internet, just from your LAN. We’ll go over proper remote access later.
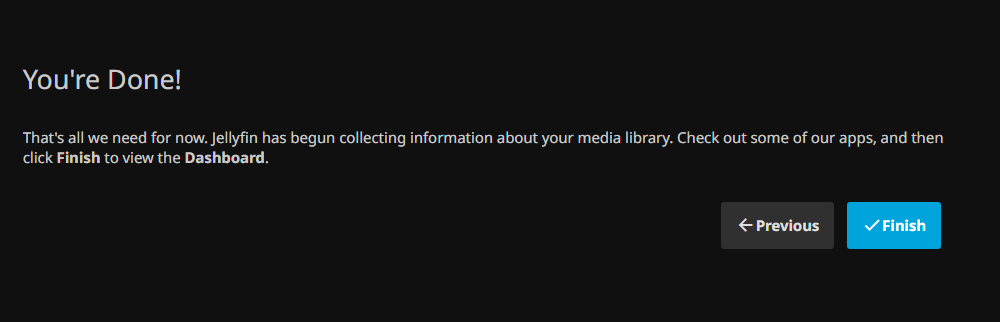 Oh yeah, love it. Okay now that the initial set up is done let’s Finish and then try logging in.
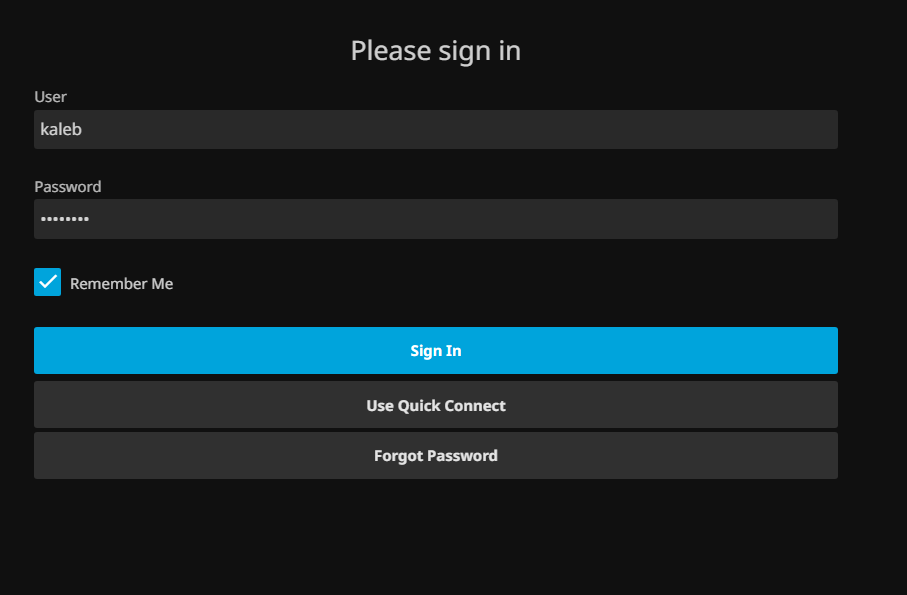
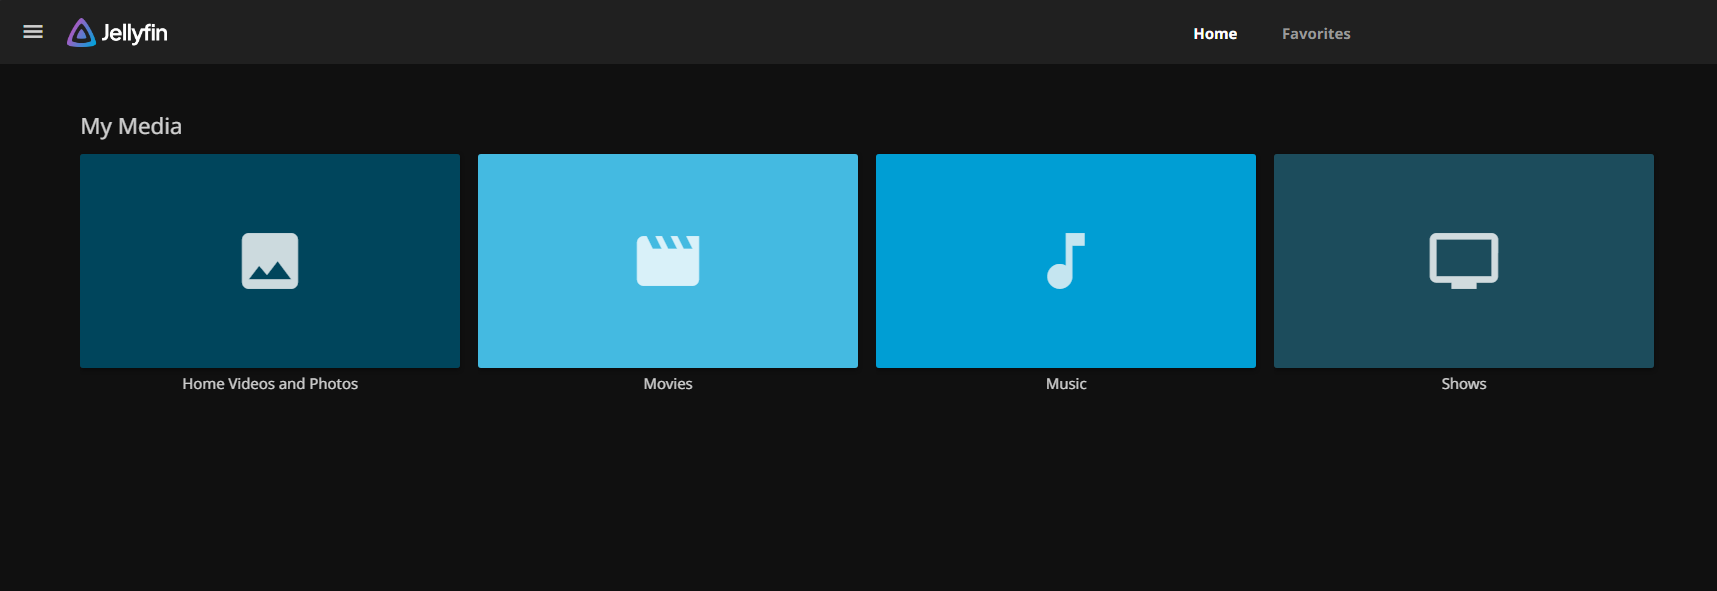 Now it doesn’t look crazy right now, but once we get some media in here it’ll be something special. That brings up the question though, how do we actually get our hands on some media to import into Jellyfin. Well you buy it online and download it of course. Anything else would be questionable and as I am not only a security professional, but military veteran, I find anything else to be ethically questionable and won’t speculate as to any other means to do that. So with that being said, I happen to have a show I bought for my wife downloaded and will be showing you how to get Jellyfin to recognize it.
Organizing our Media
So in the Jellyfin documentation they have this naming convention guide to help Jellyfin better identify and organize your media.
Shows

├── Series Name A (2010)

	│ ├── Season 00

		│ │ ├── Some Special.mkv

		│ │ ├── Series Name A S00E01.mkv

		│ │ └── Series Name A S00E02.mkv

	│ ├── Season 01

		│ │ ├── Series Name A S01E01-E02.mkv

		│ │ ├── Series Name A S01E03.mkv

		│ │ └── Series Name A S01E04.mkv

	│ └── Season 02

		│ ├── Series Name A S02E01.mkv

		│ ├── Series Name A S02E02.mkv

		│ ├── Series Name A S02E03 Part 1.mkv

		│ └── Series Name A S02E03 Part 2.mkv

└── Series Name B (2018)

	├── Season 01

		| ├── Series Name B S01E01.mkv

		| └── Series Name B S01E02.mkv

	└── Season 02

		├── Series Name B S02E01-E02.mkv

		└── Series Name B S02E03.mkv
This is how you go about labeling TV shows and as that is what I am interested in doing we will be following this. So in my media directory I am going to cd into shows and make some directories.
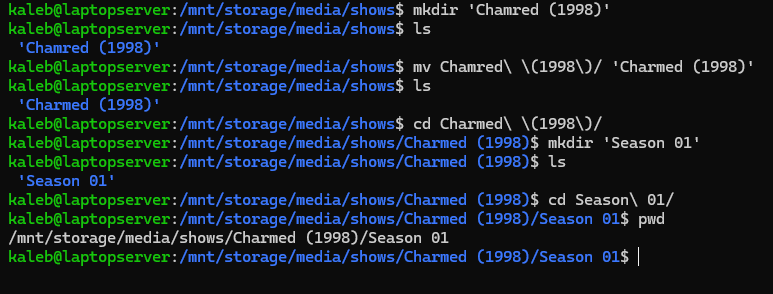 So I have a show, Charmed, that I make a directory for as well as the year it started coming out. I then make the Season 01 directory to put the first couple episodes in.
 Awesome, I got the files in the proper directory. Let’s rename them according to the naming convention.
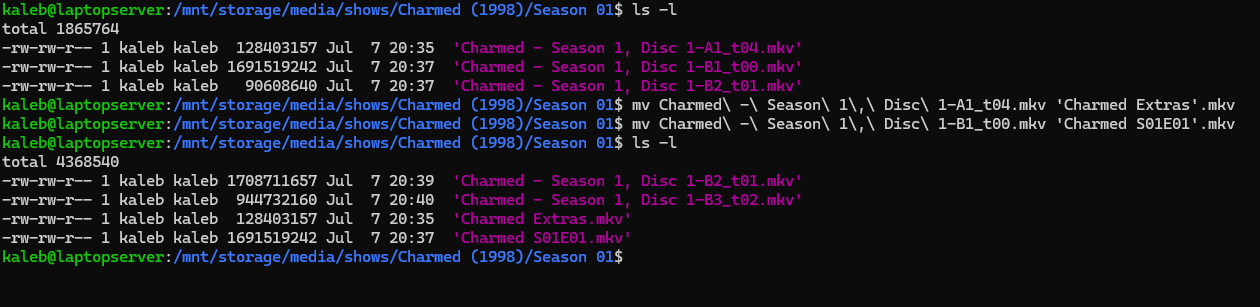 Looks correct. Now that we have that we should be able to see it in Jellyfin now! If your media doesn’t appear right away, navigate to your Dashboard by clicking the Menu in the top right.
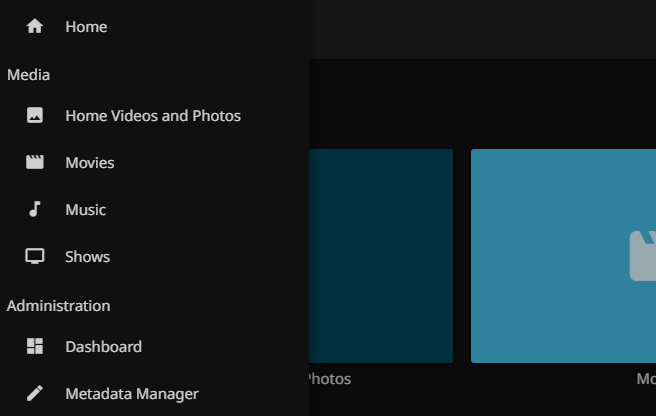 Under Administration click on Dashboard
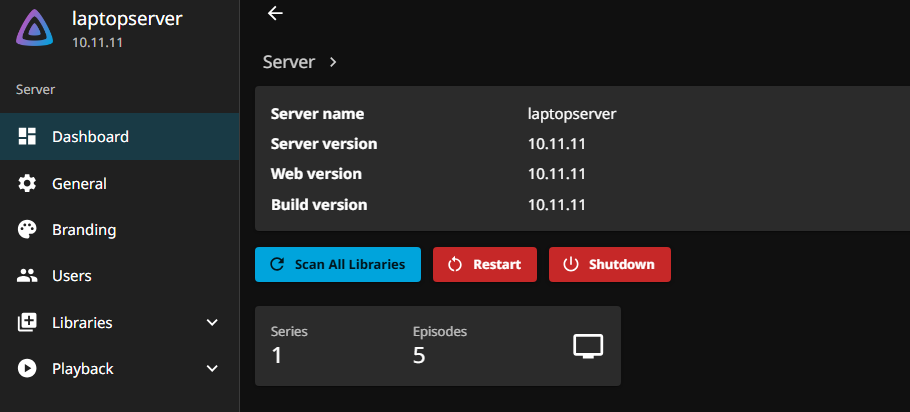 Then click Scan All Libraries. Jellyfin isn’t sitting here rescanning your libraries every second, so just give it a refresh and you should…
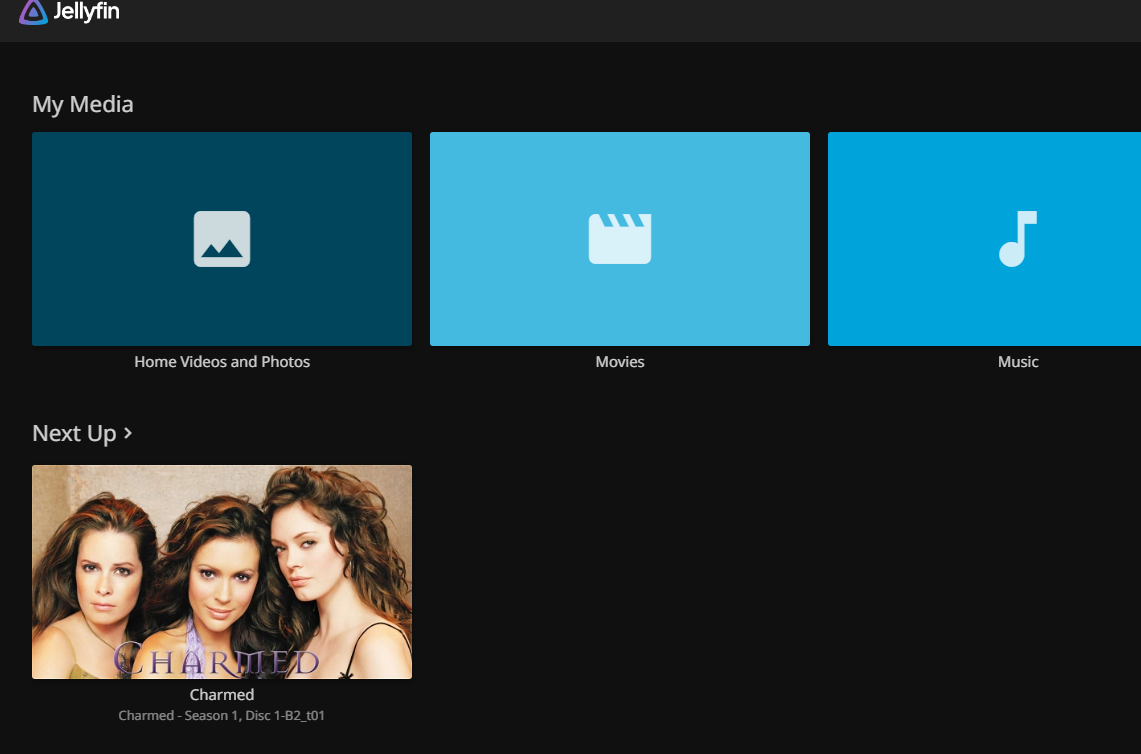 See your media! Woo! Isn’t that cool? Now you can see here I’ve incriminated myself as the episode name there is the file name and that is because I was actively importing media when I did this and hadn’t renamed it yet. After you do it will look more like this.
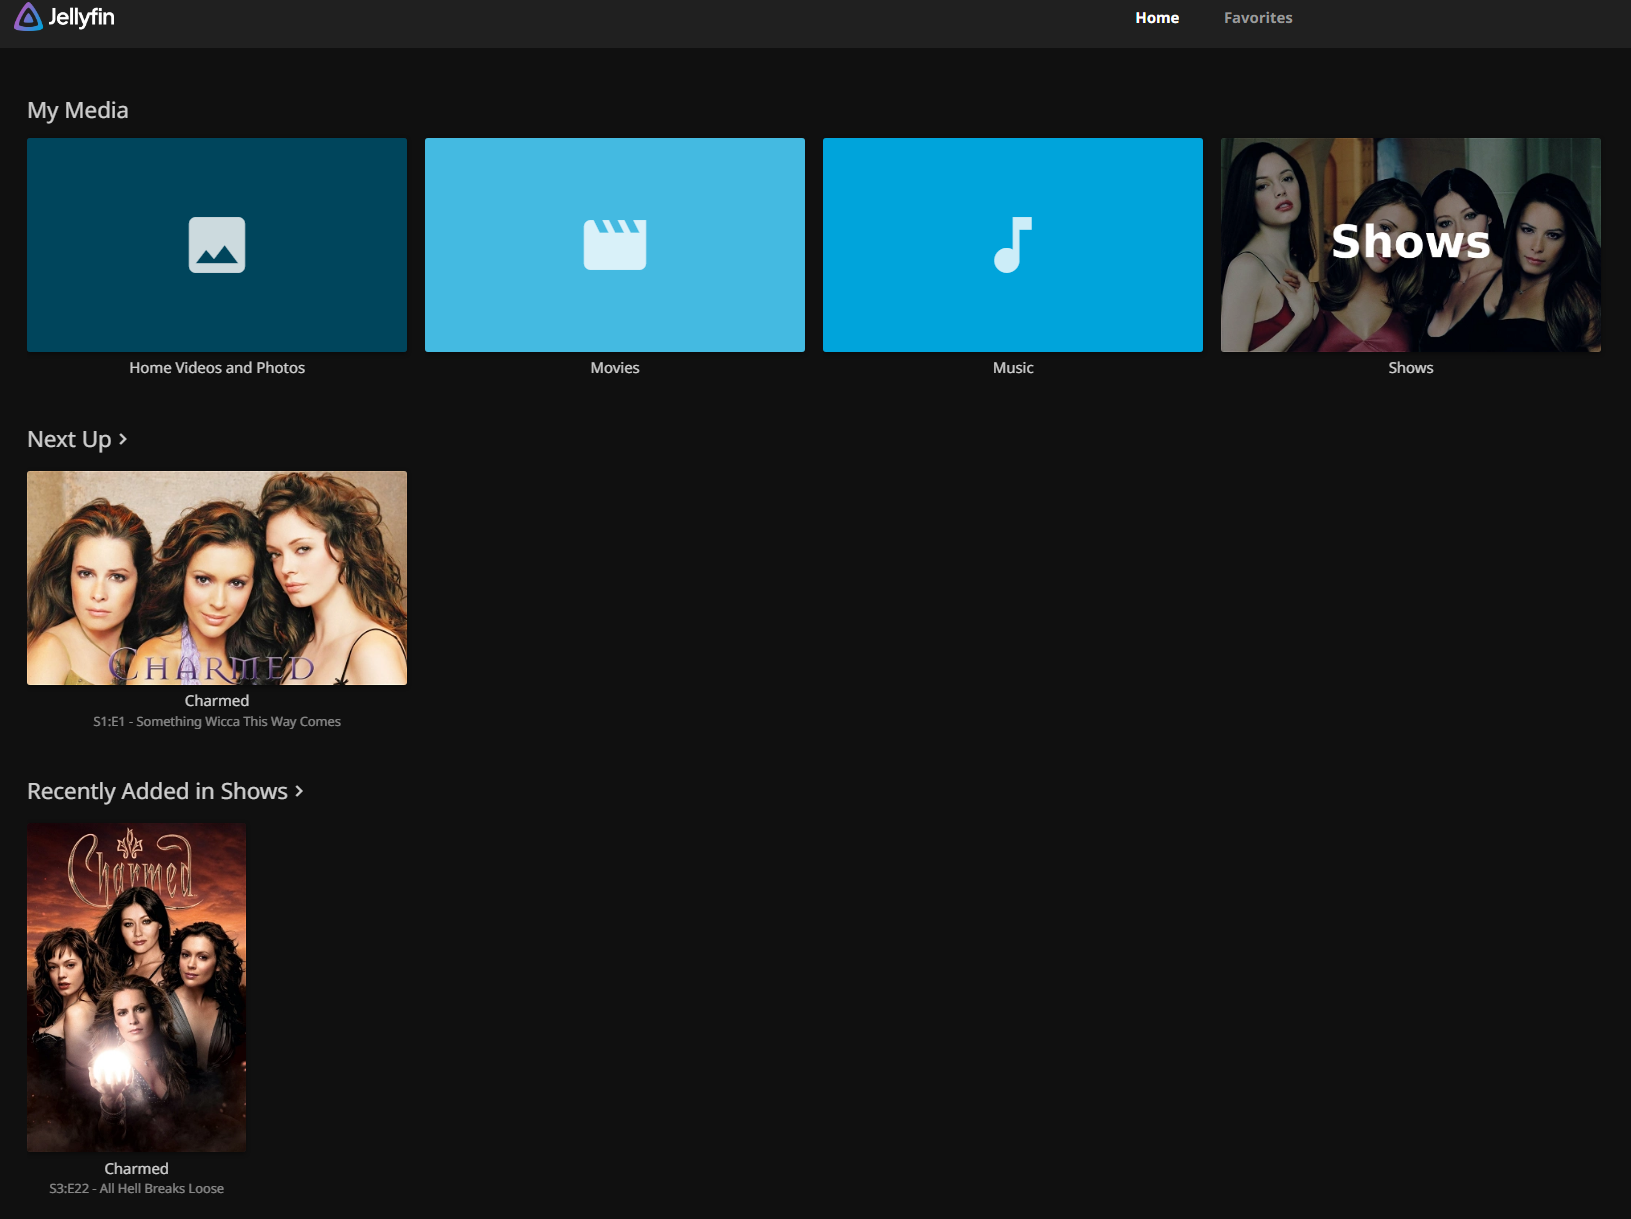 And get this when you click into a series.
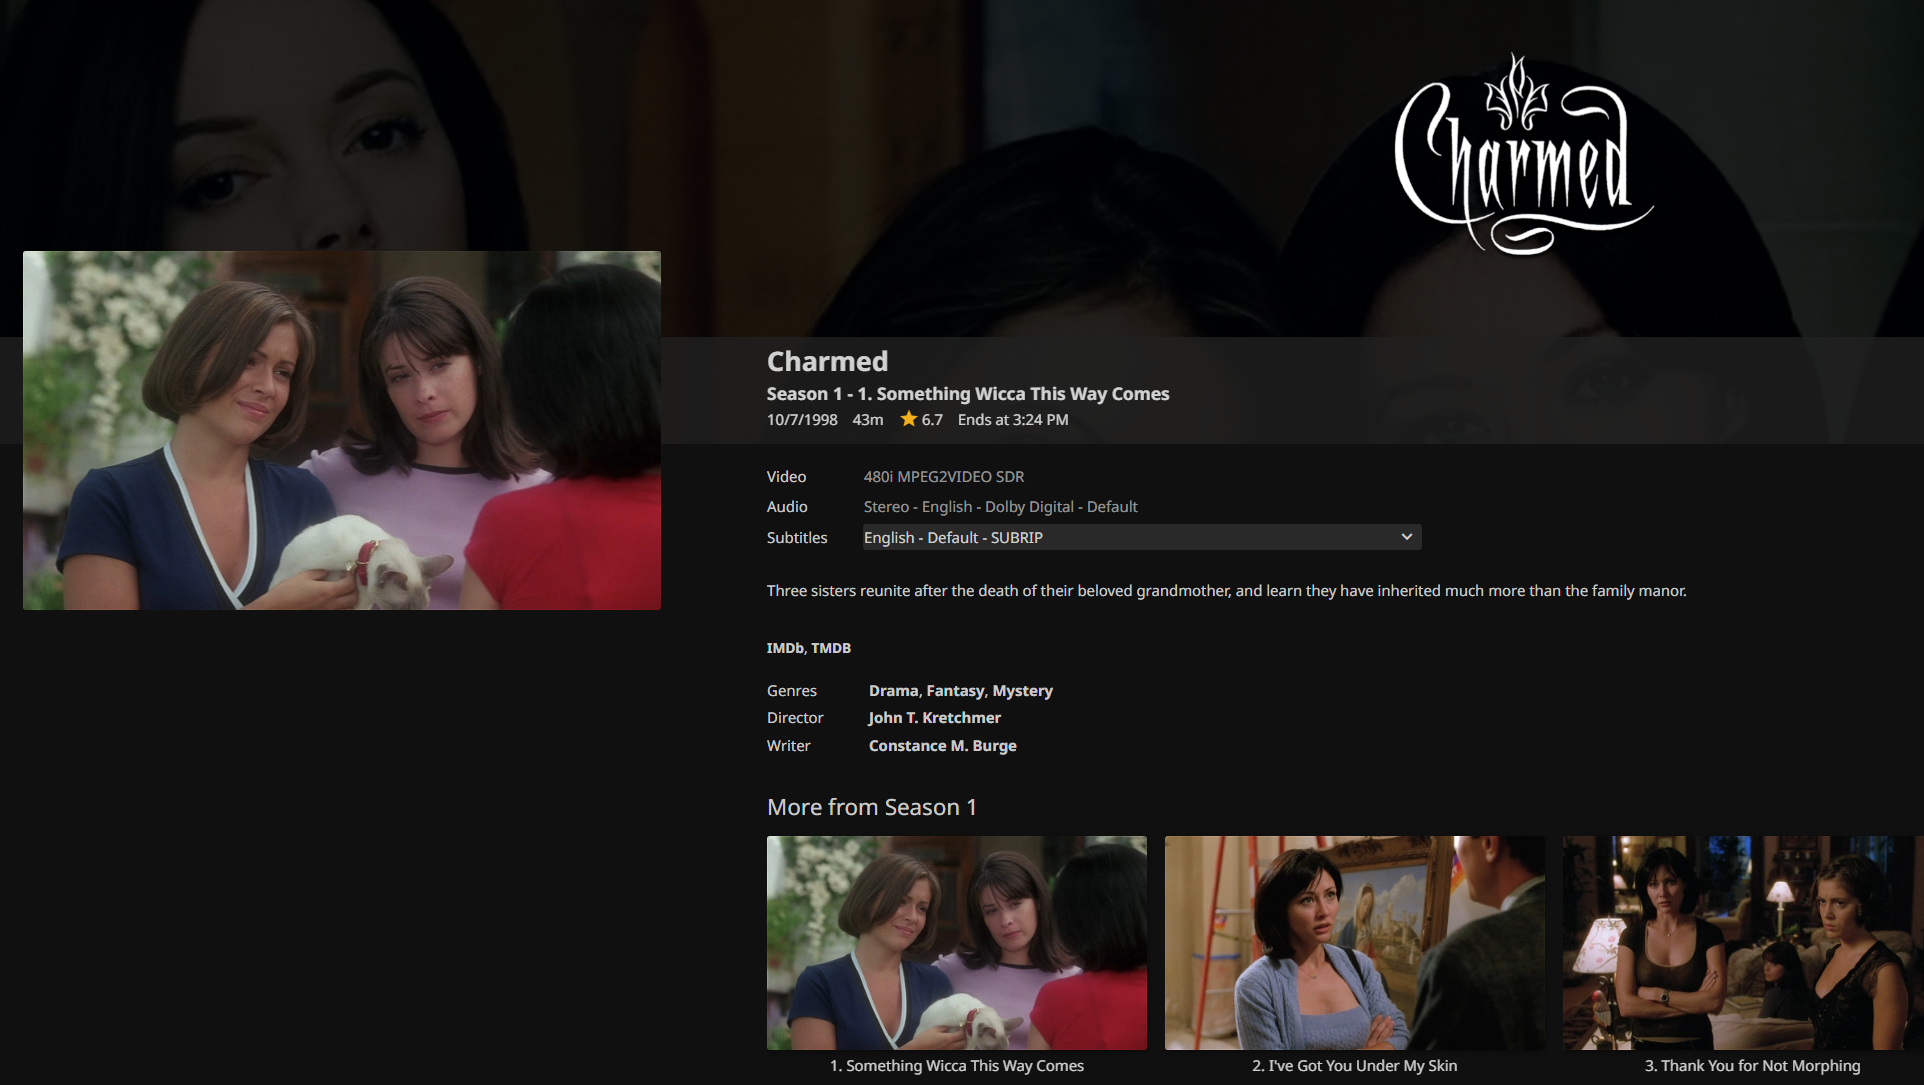 Look at that! It looks just like a paid streaming service, but it’s all yours isn’t that rad?! Sorry for nerding out, but I just think that’s so cool. Anyhows there’s actually one more thing we need to setup. Onboard this Ubuntu server is actually an Nvidia RTX 2060 GPU. Now, I’ve got plans for this, one of those is enabling Jellyfin to use the GPU to help it process certain files so the CPU isn’t doing the hard lifting for intensive transcoding tasks.
Enabling GPU Transcoding in Jellyfin
So first things first, let’s make sure our host machine can see the GPU and by extension have the right drivers installed.
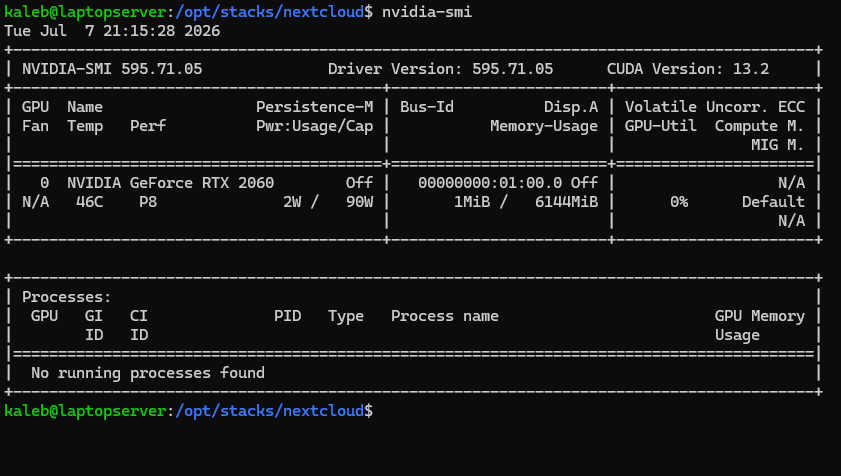 Okay thank God, the drivers got installed when I checked the box for third party drivers on OS install, good. Okay though, can Docker see the GPU?
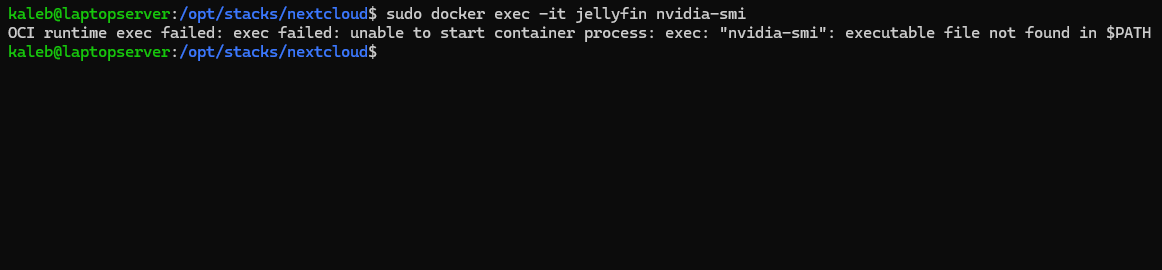 Yeah I didn’t think so, that makes sense. Okay, so we’re going to need to download the nvidia-container toolkit so we can allow Docker to access the GPU.
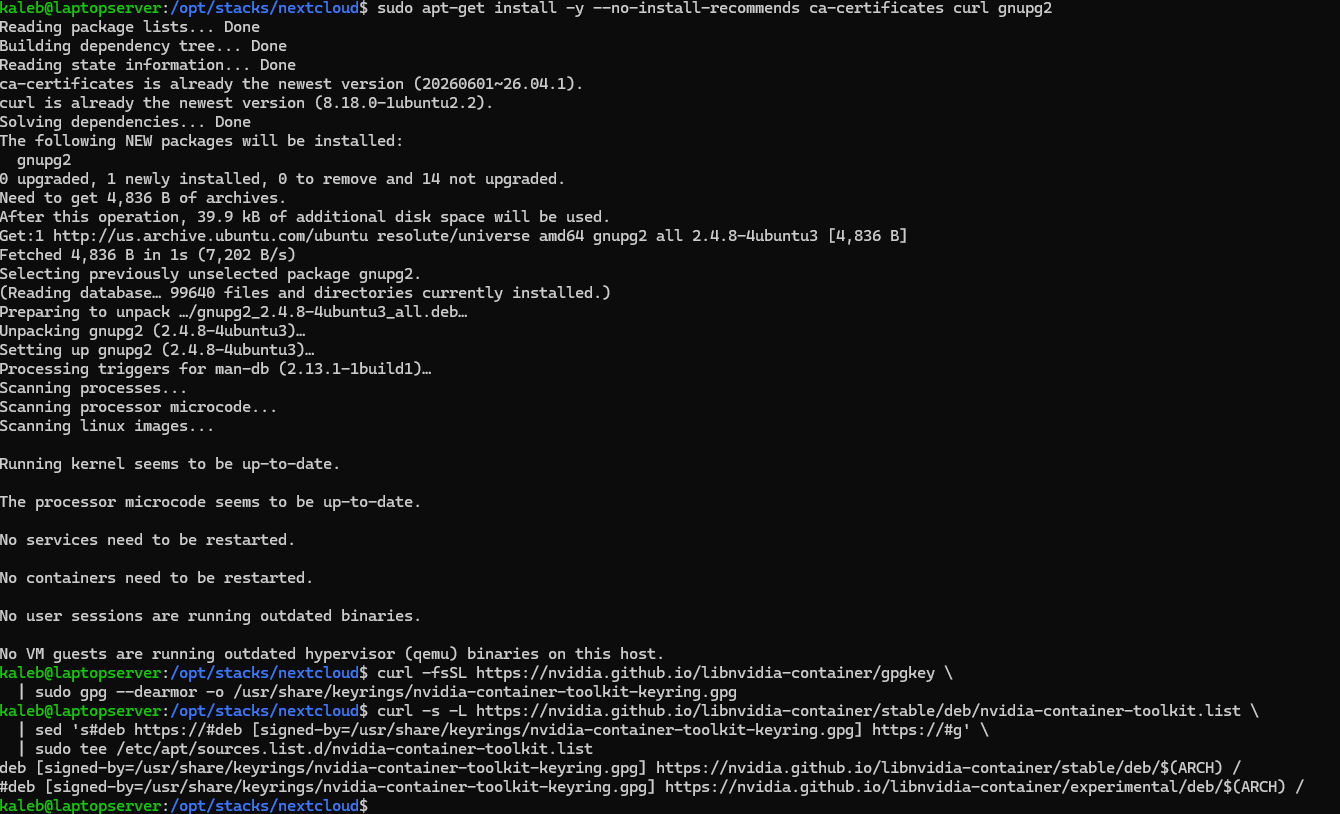 So we run these commands here which should allow us to download the package from Nvidia. This should give apt the ability to access the Nvidia repos for the package.
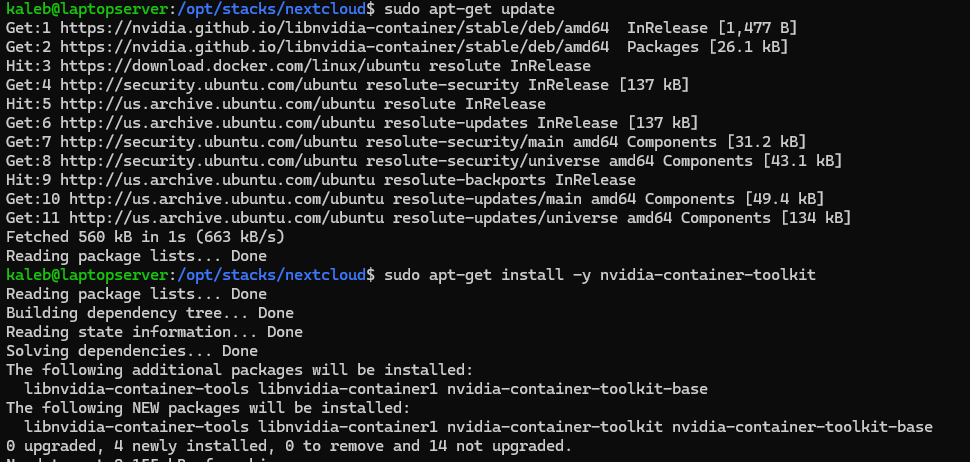 Awesome, looks like it installed with no issues, so we should be able to give Docker access now.
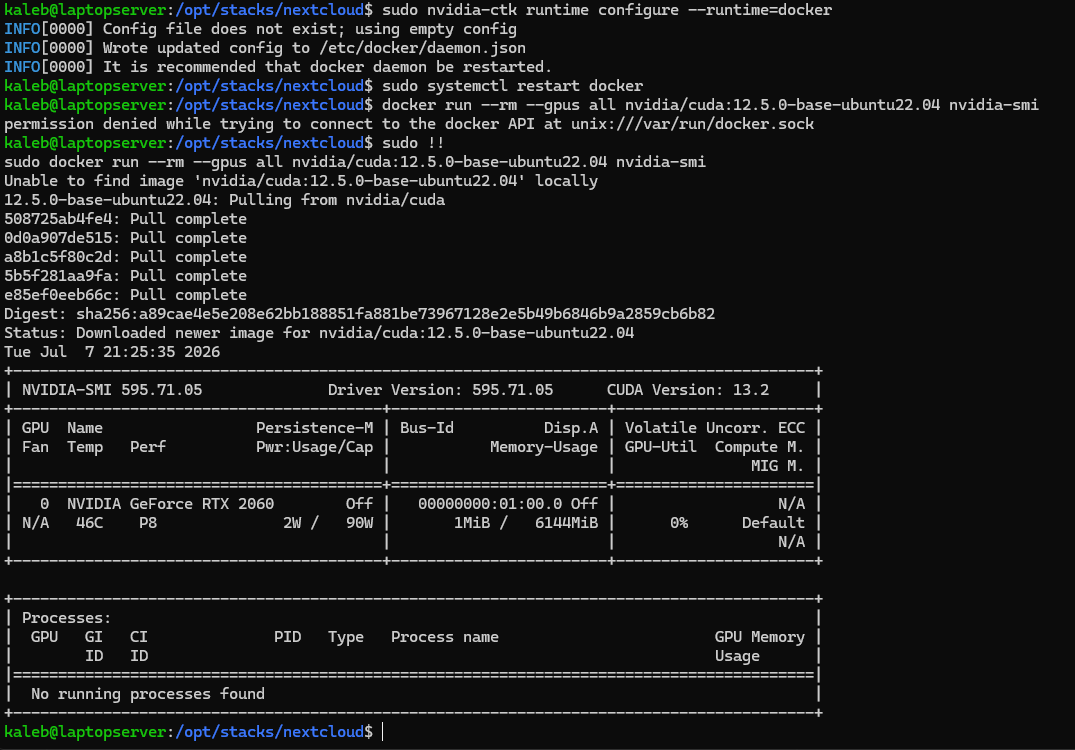 The first command gives Docker access and then we restart the docker service and finally verify that Docker can see the GPU now. Okay, now to make sure Jellyfin can access it. We’ll have to modify the compose file.
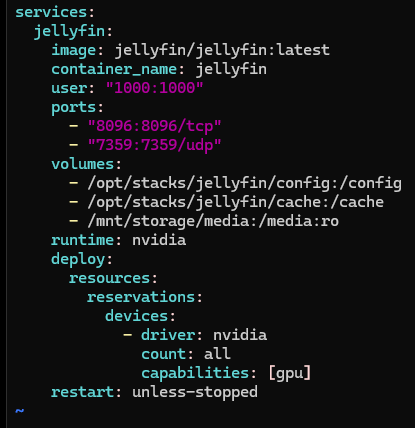 So we add that runtime section where we specify the new capability. Actually you also need this environment section or you’ll get a playback failure whenever you actually try to stream something.
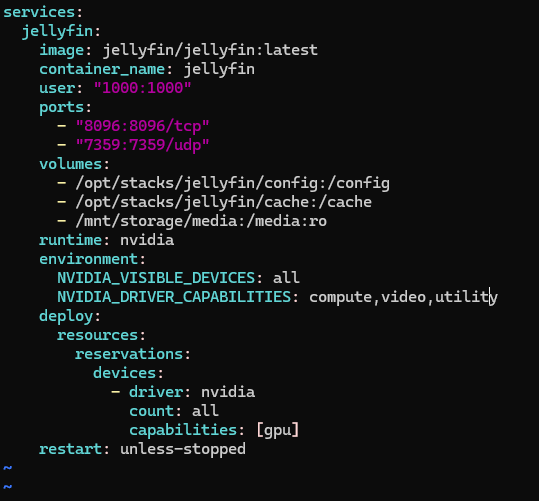
# For your reference
services:
  jellyfin:
    image: jellyfin/jellyfin:latest
    container_name: jellyfin
    user: "1000:1000"
    ports:
      - "8096:8096/tcp"
      - "7359:7359/udp"
    volumes:
      - /opt/stacks/jellyfin/config:/config
      - /opt/stacks/jellyfin/cache:/cache
      - /mnt/storage/media:/media:ro
    runtime: nvidia
    environment:
      NVIDIA_VISIBLE_DEVICES: all
      NVIDIA_DRIVER_CAPABILITIES: compute,video,utility
    deploy:
      resources:
        reservations:
          devices:
            - driver: nvidia
              count: all
              capabilities: [gpu]
    restart: unless-stopped
Okay so after adding the runtime and environment sections we should be good as far as the compose file is concerned. We’re still missing some libraries to actually enable Jellyfin to use the GPU properly so…
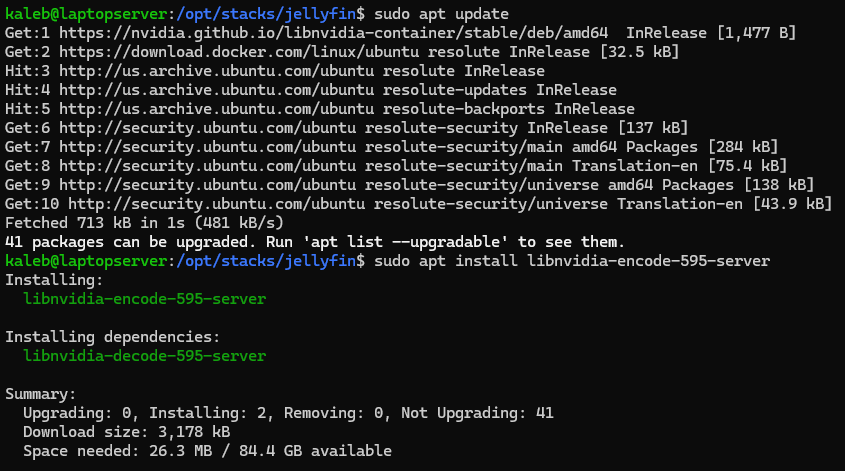 So here we install the encoder package to allow us to actually do the thing. Quick note, this happens to be the package I need for the drivers I have installed. Yours are probably different so make sure to double check that.
 So here we force reup the container and check to see if the Jellyfin container has access to the right libraries to leverage transcoding. If that second command above shows nothing, that’s bad. You may need to quick restart the Docker service if it’s not appearing.
 Once Jellyfin has access to the encoder libraries the output should look like this. Rerun docker up again just to be safe. Now let’s see if our container can see the GPU.
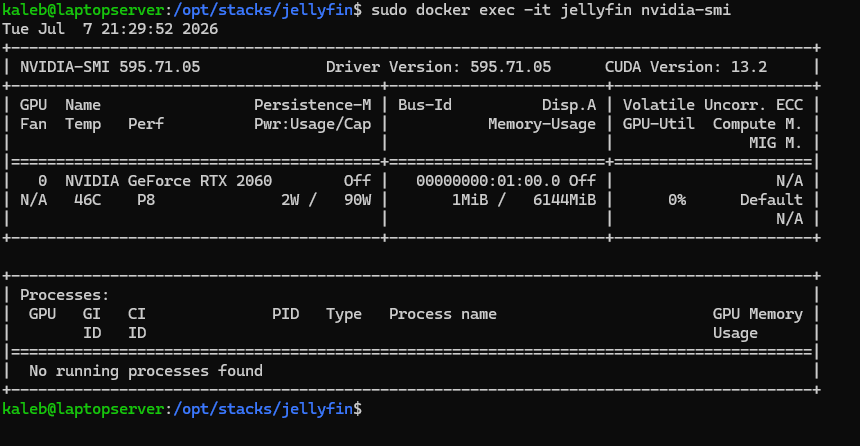 Amazing. So that should be it from the CLI, but we have a little to do in the web console.
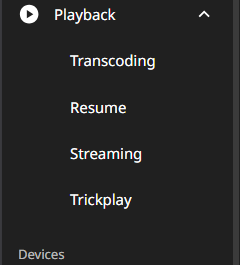 So from our Admin Dashboard we’re going to find Playback and then Transcoding.
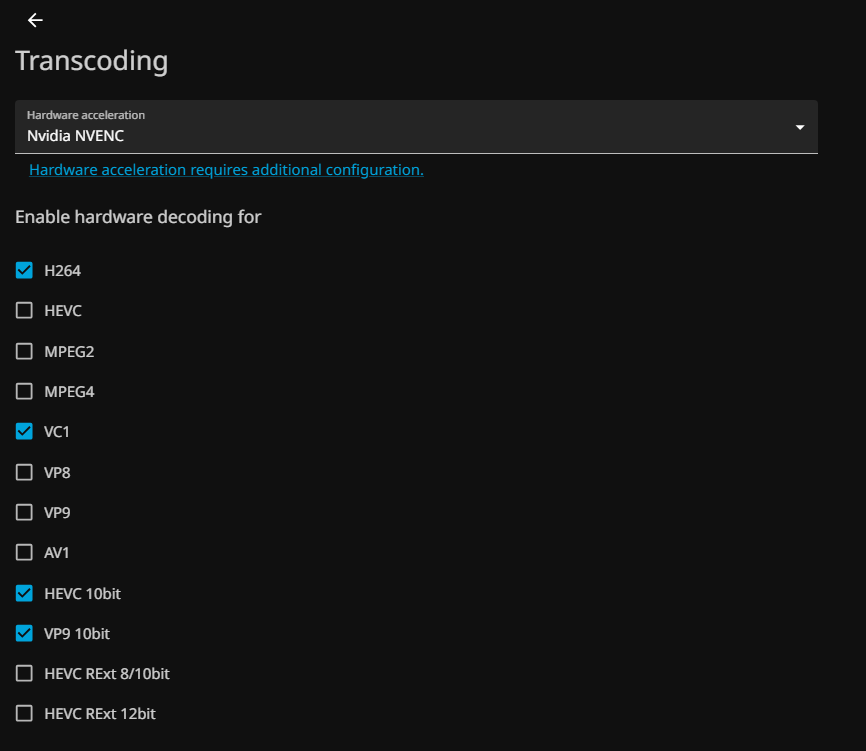 Under the Hardware Acceleration dropdown, select Nvidia NVENC option and then scroll to the bottom and save the configuration. After you confirm that, GPU transcoding should be enabled! You can tell by running
 watch -n 1 nvidia-smi and then you should see some GPU utilization when streaming.