Introduction
Why hello there everyone and welcome back to what is essentially a bonus to the homelab series and also the start of a kind of a new one. Today we are going to be installing Ollama, pulling down a model from Hugging Face and then giving the model a web GUI with Open-WebUI. Now the reason this was not a part of the original homelab plan, is because this is actually also the beginning of my capstone research project and so is kind of its own thing. I’m not going to get into specifics yet, but today we’re just going to set this up and play with it a little bit. For those of you who may not know, as AI is still a (relatively) new capability, Ollama is an application that allows us to locally host our own Large Language Models (like ChatGPT). Now the fun part here, is that these models are typically hosted on very powerful hardware. I do not possess such hardware, but I do have a spare gaming laptop with a RTX 2060 in it. With these LLMs VRAM is typically the main resource we’re concerned about and the 2060 gives me 6 GB of VRAM, which allows me to run an LLM with roughly 7 Billion (7B) to 9 Billion (9B) parameters. What that means is these models won’t be performing like current frontier lab models (as at this point those models have trillions of parameters). So while these models won’t be anything too crazy, it will be completely self-hosted and private which is cool. So with all of that being said, let’s go ahead and get into setting up our locally hosted AI!
Installing Ollama
Alright so the first thing we’re going to want to do first is install and configure Ollama and then we’ll pull down a model after that. So to install Ollama, we’re actually going to run this simple command:
curl -fsSL https://ollama.com/install.sh | sh
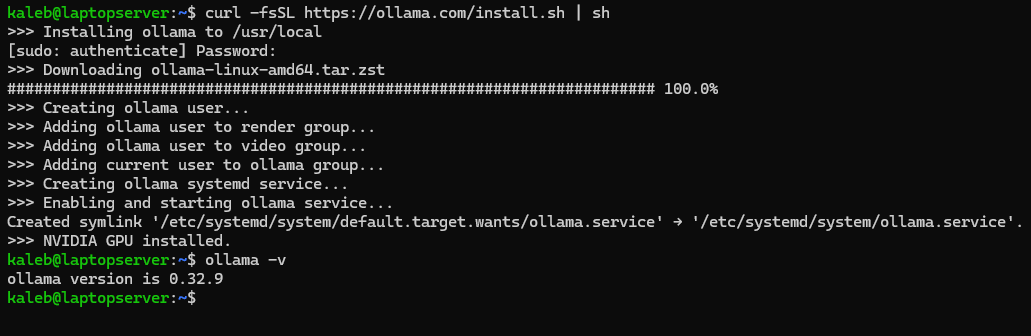 So we see Ollama get installed and a systemd service unit get created and enabled. So now Ollama is installed and then we verify it at the end there with
 ollama -v.
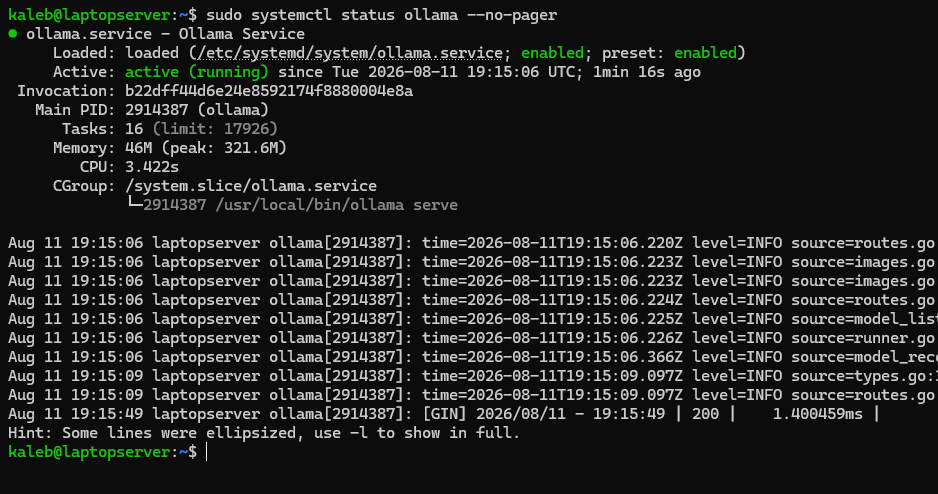 We also get the status of the Ollama service and we see it is in fact running and enabled. Now we’re going to want to run the following for some set up.
sudo systemctl edit ollama
This allows us to edit some configurations of the Ollama service. You will then want to paste the following into the config file like so:
[Service]
Environment="OLLAMA_NO_CLOUD=1"
Environment="OLLAMA_CONTEXT_LENGTH=4096"
Environment="OLLAMA_MAX_LOADED_MODELS=1"
Environment="OLLAMA_NUM_PARALLEL=1"
Environment="OLLAMA_KEEP_ALIVE=2m"
Environment="OLLAMA_FLASH_ATTENTION=1"
Environment="OLLAMA_KV_CACHE_TYPE=q8_0"
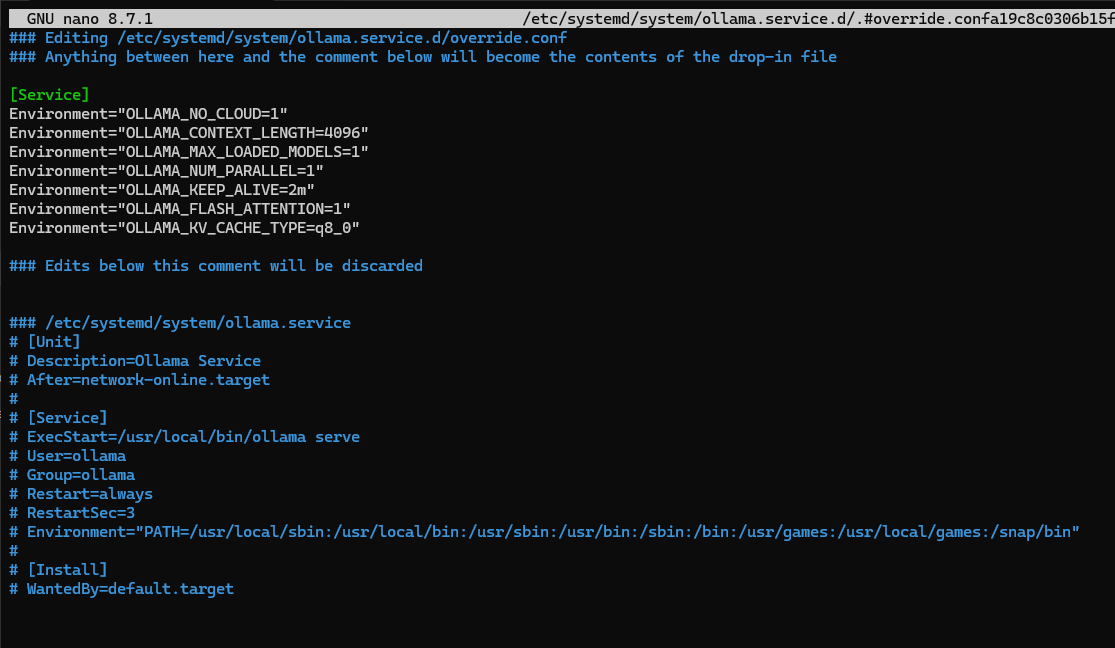
Environment="OLLAMA_NO_CLOUD=1" there means that we are disabling Ollama cloud features so that way we can keep all of this local. The Environment="OLLAMA_CONTEXT_LENGTH=4096" setting hard codes the default context window to 4,096 tokens. This is what we’re gonna want when working with only 6GB of VRAM. Then for Environment="OLLAMA_MAX_LOADED_MODELS=1" we set that because we only ever want one model using the GPU at a time, because that baby cannot handle any more load. Then Environment="OLLAMA_NUM_PARALLEL=1" makes it so only one inference request is allowed at a time (one chat prompt). The last three there are some more settings to work with our limited hardware. After we make these changes, we’re going to want to restart the service.
 So first here we reload systemd and then restart Ollama.

sudo systemctl show ollama -p Environment
sudo ss -ltnp | grep ':11434'
We then run the above commands in the screenshot above to verify our changes to the service and also we see that Ollama is listening on port 11434 on localhost. We don’t actually want to expose that to the LAN, Open-WebUI will be the service that is exposed and we’ll have that service call on Ollama when it needs. Now what we’re going to want to do next is open another terminal and run watch -n 1 nvidia-smi.
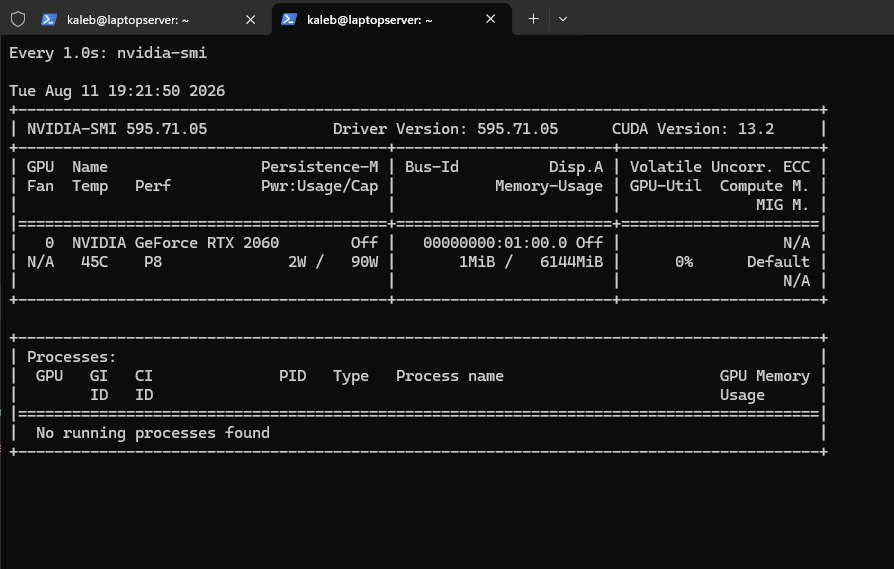 So what this is doing is monitoring our GPU usage. We’re going to want to monitor this as our model generates responses to make sure that a reasonable amount of VRAM is being used. We also don’t want the GPU getting too hot so we’re gonna want to watch out for that. So just keep an eye on this when we’re playing with our model in a second.
Pulling Down our First Model
Okay, one second has passed, time to download our first model! Let’s go ahead and run the following.
ollama run hf.co/fdtn-ai/Foundation-Sec-8B-Reasoning-Q4_K_M-GGUF:Q4_K_M
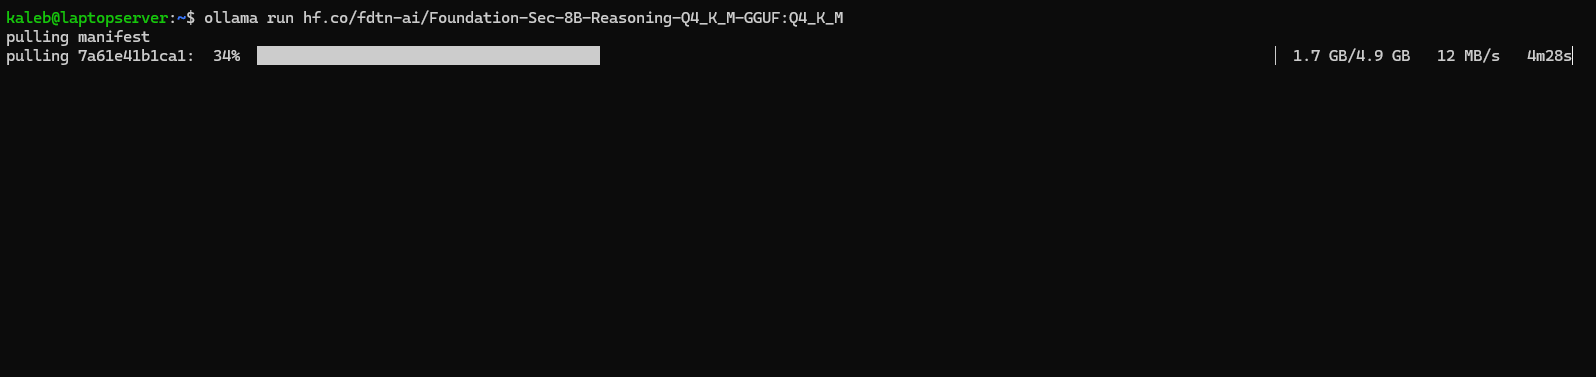 So we are actively pulling down a model from Hugging Face. Hugging Face is essentially a repo where people can post models, data sets and other tools for the wider community to use for free, typically under a license. These models are typically open-weight, which means they are free to use. Not to be confused with open-source which means the models weights and training data are all freely available. Open-weight means the model’s “weights” are free to use (the model itself), but the training data is not. Anyways, back to our project, we should be good to use Ollama to run the model we just pulled down from Hugging Face.
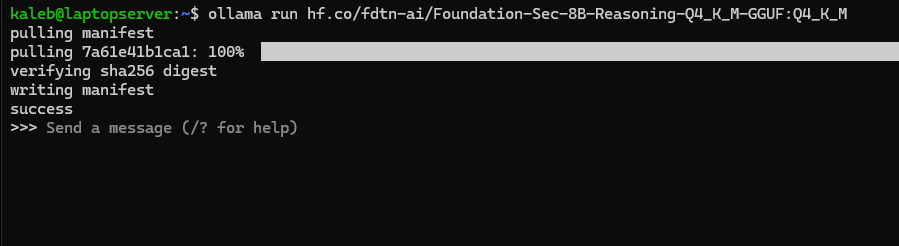 Oh my God, our own locally hosted LLM. Okay well, I’m going to give it a more security focused prompt for our first time as this model is more security focused. This Foundation-Sec model is actually from Cisco’s Hugging Face page and is a model tuned for security tasks. So, I’m going to ask it the following and we’ll see what it says.
You are a SOC analyst. Analyze only the supplied evidence and do not invent telemetry.

Suricata raised "ET SCAN Potential SSH Scan" from 192.168.50.151 to five internal hosts on TCP/22 within 60 seconds. Zeek connection records show S0 states and zero successful sessions.

Return compact JSON with the keys summary, evidence, mitre_attack, next_hunt_steps, and confidence. Treat every action as a read-only recommendation.
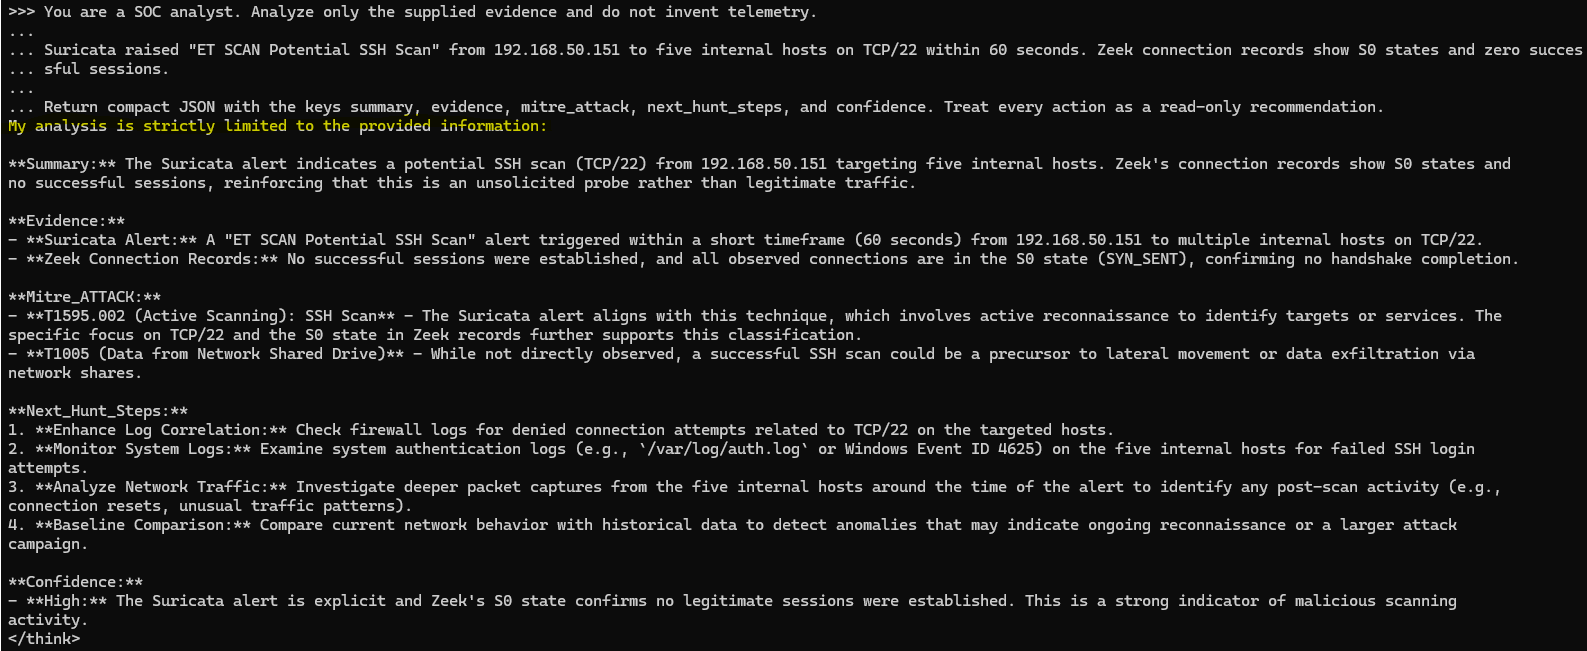 Wow okay, the model is responding, everyone calm down! This is super cool, I can hear my GPU kicking up wow. Ah, speaking of our GPU let’s quick check in that.
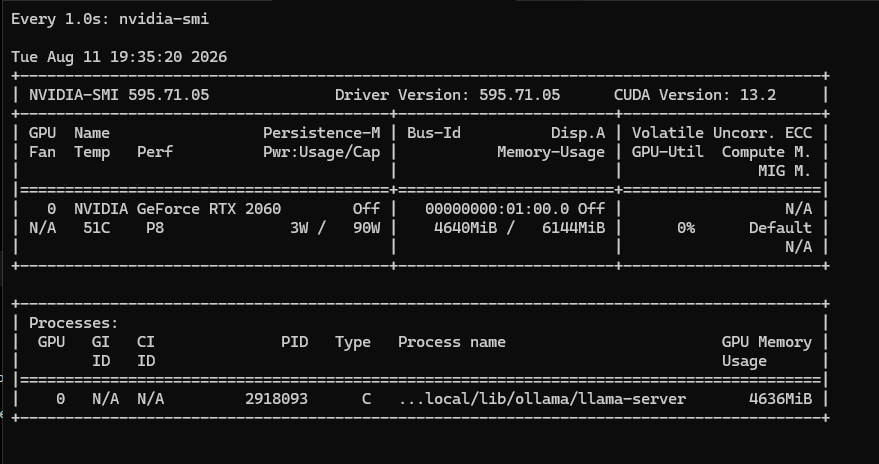 Alright well we can definitely see that our model is eating up our GPU, but not as bad as I thought. That’s cool, let’s run a few other commands to see how our hardware is doing.


ollama ps shows that the model was loaded 11% on the CPU and 89% on the GPU. free -h shows system RAM usage, while ollama list shows the installed models and their on-disk sizes. The active VRAM usage comes from nvidia-smi. Alright, everything is looking good actually, let’s try a different model.
 So first we stop the Foundation-Sec model and then we pull down the Qwen3:8B model.
 Alright, so the download wraps up. Okay cool, let’s just quickly test Qwen3 and check our system resource utilization.
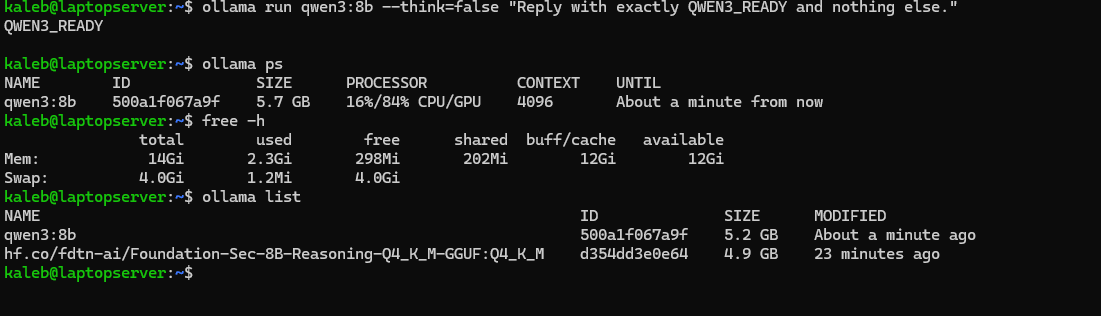 So we just run the model with the instructions already in the command to just respond with
 QWEN3_READY. Again, all the stats are looking more than acceptable. Alright Ollama is up and running and the models are running well, let’s set up our web interface!
Deploying Open-WebUI
Alright, so part of the fun of interacting with these models is (typically) having a nice web interface to interact with it through.
 So the above command sets up the directory where I want my Open-WebUI data stored with the desired permissions. After we run that command we’re going to want to copy and paste the bottom commands.
OPENWEBUI_SECRET="$(openssl rand -hex 32)" printf 'WEBUI_SECRET_KEY=%s\n' "$OPENWEBUI_SECRET" | sudo tee /etc/open-webui.env >/dev/null

sudo chmod 600 /etc/open-webui.env

unset OPENWEBUI_SECRET
This stores a secret key into the Open-WebUI environment file, sets permissions and deletes the environment variable used so that should all be set up now. Alright time to use Docker (finally).
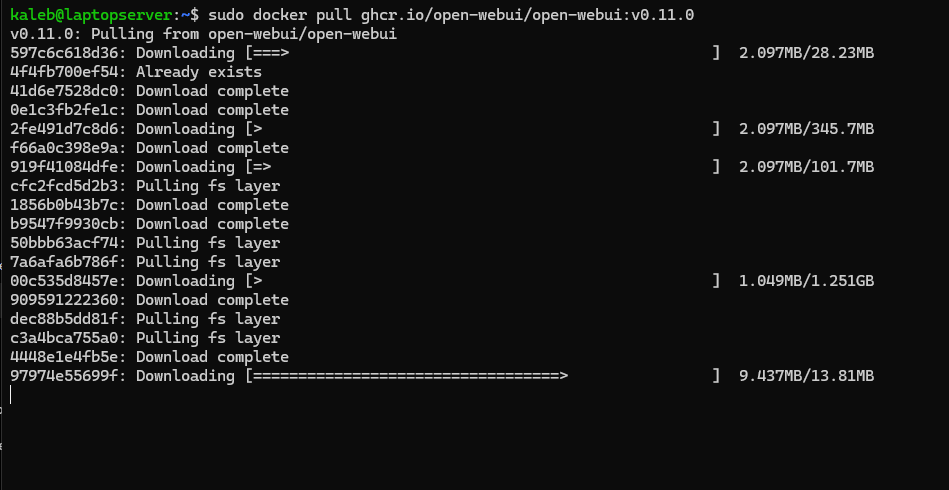 So now we pull down the Open-WebUI container which might take a second. Afterwards we can up the container with a few additional settings set.
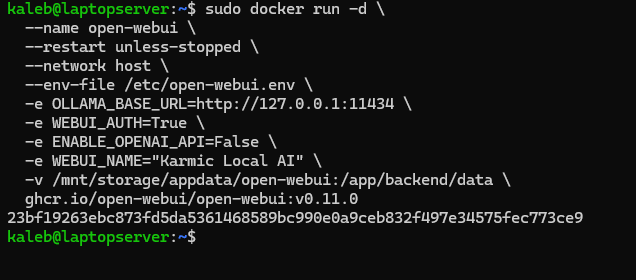
sudo docker run -d \
	--name open-webui \
	--restart unless-stopped \
	--network host \
	--env-file /etc/open-webui.env \
	-e OLLAMA_BASE_URL=http://127.0.0.1:11434 \
	-e WEBUI_AUTH=True \
	-e ENABLE_OPENAI_API=False \
	-e WEBUI_NAME="Karmic Local AI" \
	-v /mnt/storage/appdata/open-webui:/app/backend/data \ ghcr.io/open-webui/open-webui:v0.11.0
Now you can copy and paste this if you want, but at least change the WEBUI_NAME unless you like the name I’m using.
 Alright so we get the stats of the container and then run a quick health check. It’s looking good let’s go there in our browser.
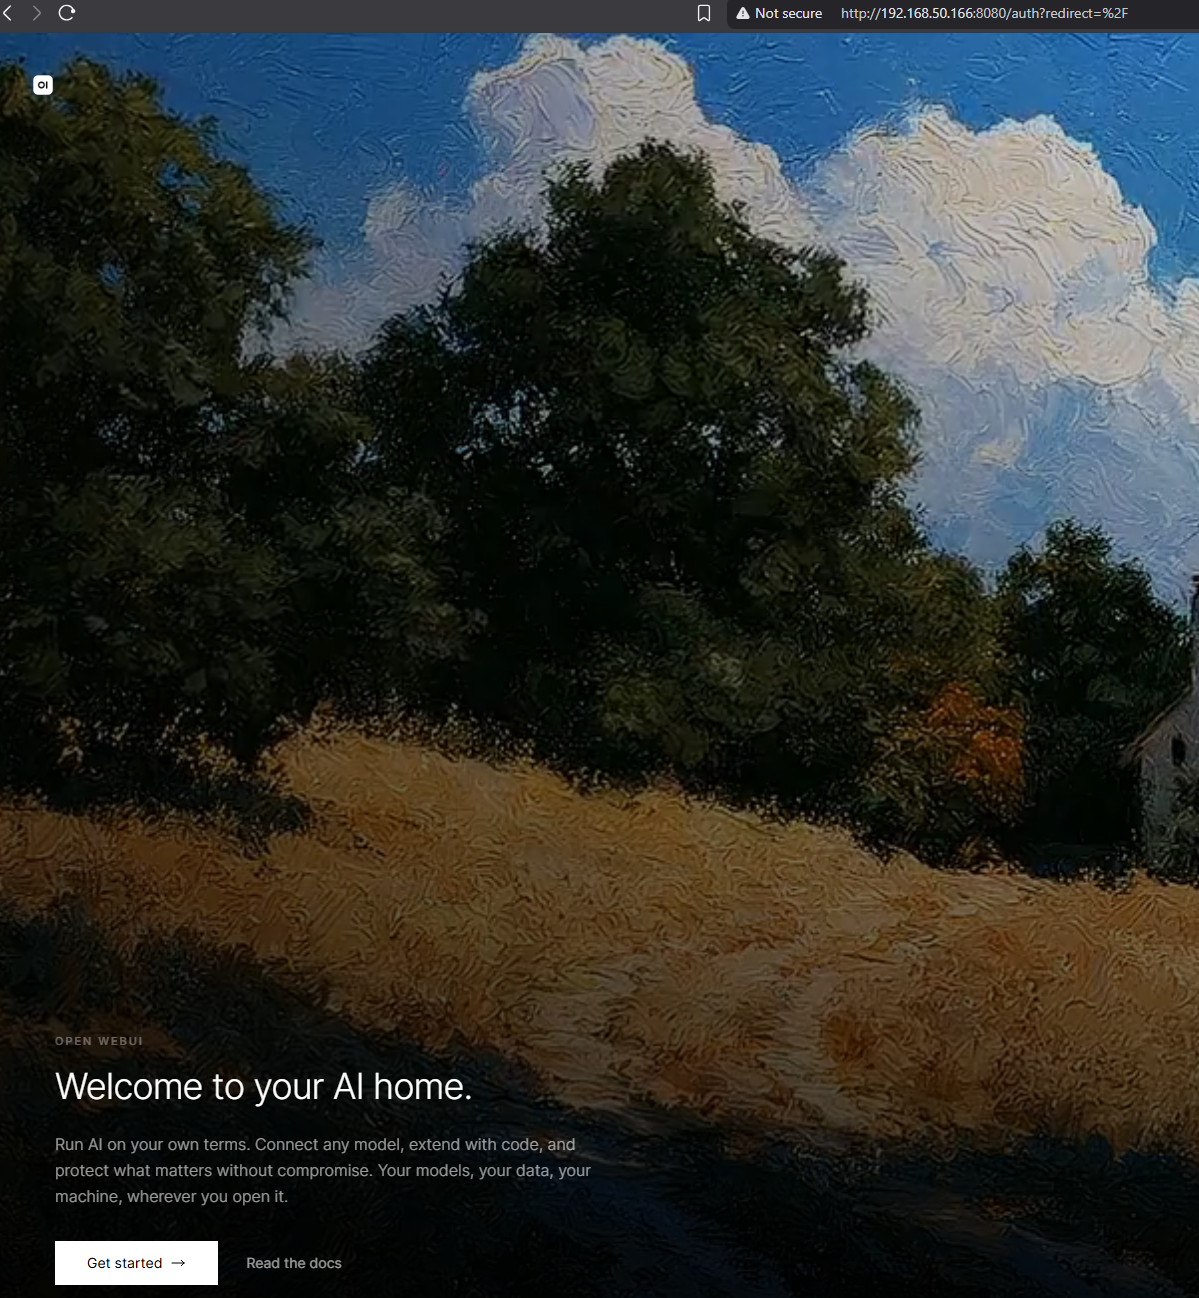 Oh good lord that is really cool. Alright, just follow the steps on screen to set up your login credentials and after that…
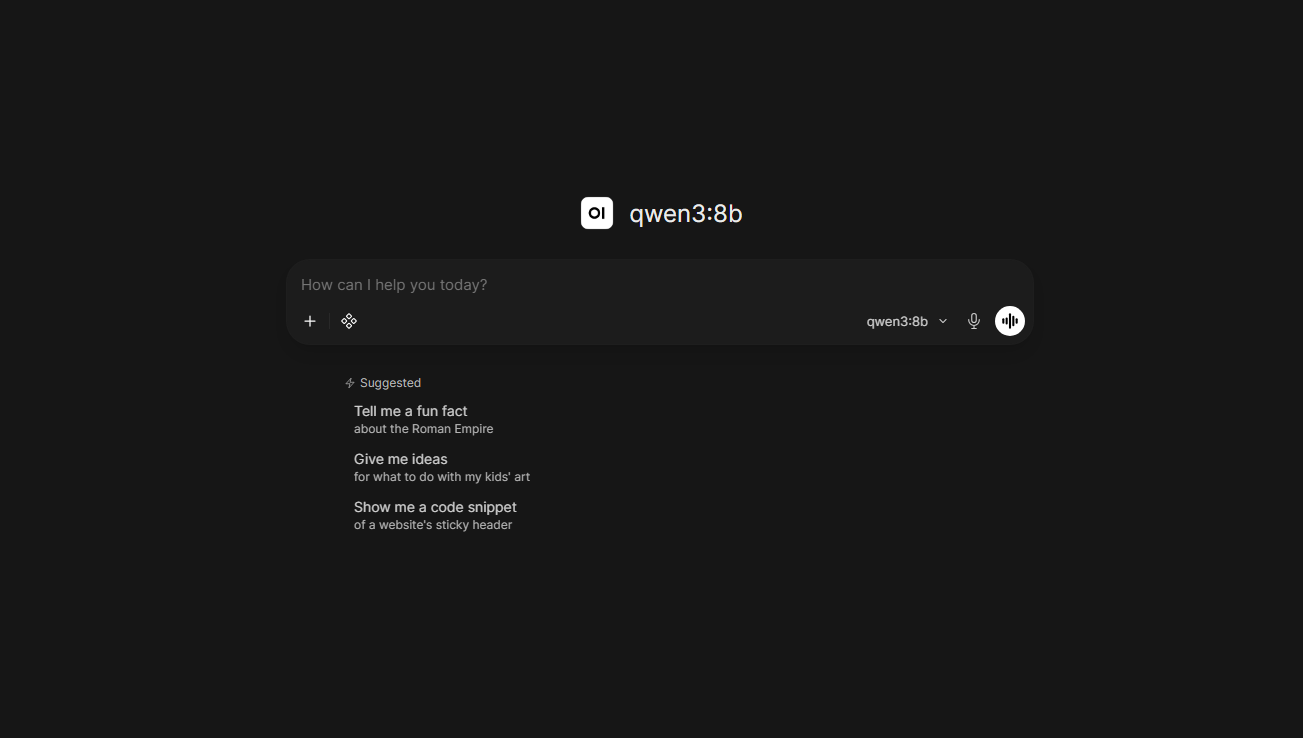 That’s actually epic. Let’s give it a prompt!
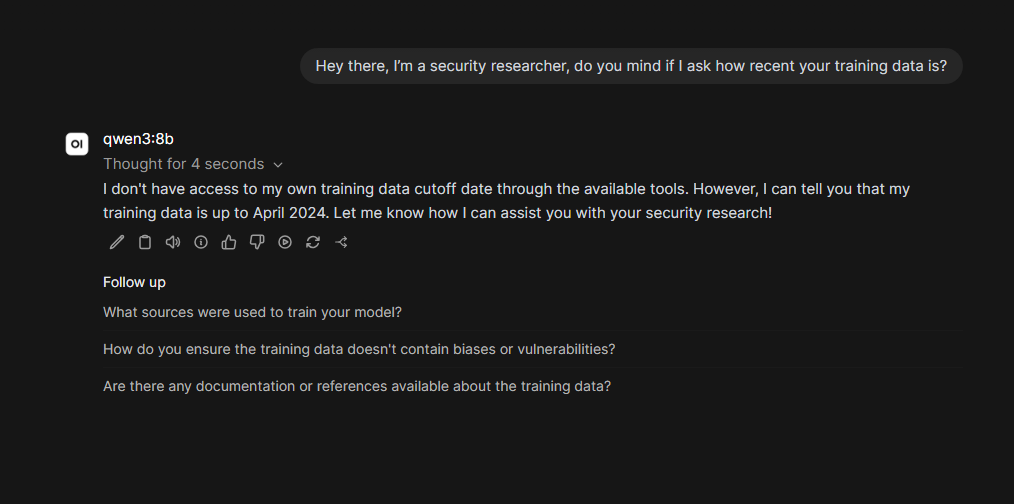 That is pretty cool! We get a rough idea of how recent this model’s training data might be, but again, self-hosted private AI. That’s pretty frickin cool.