Introduction
Hello everyone and welcome back to the continuation of our homelab series. If you happen to be reading these in order I wanna say welcome back, I know it’s been a bit. Been juggling a few different projects, but hoping to kinda do a big dump of posts here and then it might be a little bit before the next batch. And that’s cool and all, but you’re here to install and deploy FleetMDM with me so let’s get to that. FleetMDM is an open-source Mobile Device Management (MDM) solution, which gives us the ability to, well, manage our mobile devices. This isn’t just cell phones, but also laptops, tablets, really any mobile device who’s OS is supported. We can do things like establish policies for what kind of software can be downloaded, query devices for their installed packages, locate our devices and remotely wipe them in the case of theft. Now not all of those features are included in the base FleetMDM install, you do need a license to enable those more advanced features, but there’s plenty we can do with the free version. So with that being said, let us see what FleetMDM can do.
Setting Up FleetMDM
We will again be leveraging Docker Compose to deploy this application because why wouldn’t we. And as per always, let’s go ahead and set up our Docker container directory.
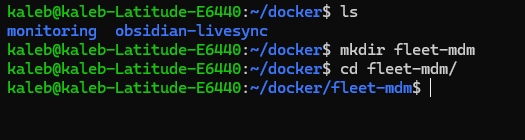 Awesome, awesome. Alright, now we’re going run several commands to establish some environment variables our FleetMDM application is going to use.
mkdir -p ~/fleet-mdm
cd ~/fleet-mdm
umask 077

FLEET_MYSQL_ROOT_SECRET="$(openssl rand -hex 32)"
FLEET_MYSQL_APP_SECRET="$(openssl rand -hex 32)"
FLEET_REDIS_SECRET="$(openssl rand -hex 32)"
FLEET_PRIVATE_KEY="$(openssl rand -base64 32)"

printf '%s\n' \
  "MYSQL_ROOT_PASSWORD=$FLEET_MYSQL_ROOT_SECRET" \
  "MYSQL_PASSWORD=$FLEET_MYSQL_APP_SECRET" \
  "REDIS_PASSWORD=$FLEET_REDIS_SECRET" \
  "FLEET_SERVER_PRIVATE_KEY=$FLEET_PRIVATE_KEY" \
  "TUNNEL_TOKEN=" > .env

unset FLEET_MYSQL_ROOT_SECRET FLEET_MYSQL_APP_SECRET FLEET_REDIS_SECRET FLEET_PRIVATE_KEY
chmod 600 .env
vim .env
Okay, now several of our services we’ll be deploying to support FleetMDM now have passwords set for when we spin them up here in a second. Now we will be leveraging a Cloudflare tunnel for remote access here and we’ll get more in that in just a little bit. You will need your Cloudflare token to paste into the TUNNEL_TOKEN value, you can go ahead and skip to the Cloudflare section and go up until you get your token. It will be a part of a command we’ll paste and run later, don’t run it yet. Just copy the token and paste it in your .env file for now.. Now, this should go without saying, but all of these secrets in .env are not for show and tell. After you have that done we can move onto actually deploying the container.
 Alright, let’s make our compose file and then paste a little something like this:
# Here ya go
name: fleet-mdm

x-logging: &default-logging
  driver: json-file
  options:
    max-size: "10m"
    max-file: "3"

services:
  mysql:
    image: mysql:8.4.8
    restart: unless-stopped
    environment:
      MYSQL_ROOT_PASSWORD: ${MYSQL_ROOT_PASSWORD:?MYSQL_ROOT_PASSWORD is required}
      MYSQL_DATABASE: fleet
      MYSQL_USER: fleet
      MYSQL_PASSWORD: ${MYSQL_PASSWORD:?MYSQL_PASSWORD is required}
    command:
      - --innodb-buffer-pool-size=256M
      - --max-connections=100
    volumes:
      - mysql-data:/var/lib/mysql
    cap_add:
      - SYS_NICE
    healthcheck:
      test: ["CMD-SHELL", "mysqladmin ping -h 127.0.0.1 -ufleet -p$$MYSQL_PASSWORD --silent"]
      interval: 10s
      timeout: 5s
      retries: 12
      start_period: 30s
    networks:
      - fleet-net
    logging: *default-logging

  redis:
    image: redis:6.2.23-alpine
    restart: unless-stopped
    environment:
      REDIS_PASSWORD: ${REDIS_PASSWORD:?REDIS_PASSWORD is required}
    command: ["sh", "-c", "exec redis-server --appendonly yes --requirepass \"$$REDIS_PASSWORD\""]
    volumes:
      - redis-data:/data
    healthcheck:
      test: ["CMD-SHELL", "redis-cli -a \"$$REDIS_PASSWORD\" --no-auth-warning ping | grep -q PONG"]
      interval: 10s
      timeout: 5s
      retries: 12
    networks:
      - fleet-net
    logging: *default-logging

  fleet-init:
    image: alpine:3.22
    command: ["sh", "-c", "chown -R 100:101 /fleet /logs /vulndb"]
    volumes:
      - fleet-data:/fleet
      - fleet-logs:/logs
      - fleet-vulndb:/vulndb
    network_mode: none
    restart: "no"

  fleet:
    image: fleetdm/fleet:v4.89.2
    restart: unless-stopped
    depends_on:
      mysql:
        condition: service_healthy
      redis:
        condition: service_healthy
      fleet-init:
        condition: service_completed_successfully
    command: ["sh", "-c", "/usr/bin/fleet prepare db --no-prompt && exec /usr/bin/fleet serve"]
    environment:
      FLEET_MYSQL_ADDRESS: mysql:3306
      FLEET_MYSQL_DATABASE: fleet
      FLEET_MYSQL_USERNAME: fleet
      FLEET_MYSQL_PASSWORD: ${MYSQL_PASSWORD:?MYSQL_PASSWORD is required}
      FLEET_MYSQL_MAX_OPEN_CONNS: "20"
      FLEET_MYSQL_MAX_IDLE_CONNS: "5"
      FLEET_REDIS_ADDRESS: redis:6379
      FLEET_REDIS_PASSWORD: ${REDIS_PASSWORD:?REDIS_PASSWORD is required}
      FLEET_SERVER_ADDRESS: 0.0.0.0:1337
      FLEET_SERVER_TLS: "false"
      FLEET_SERVER_PRIVATE_KEY: ${FLEET_SERVER_PRIVATE_KEY:?FLEET_SERVER_PRIVATE_KEY is required}
      FLEET_SESSION_DURATION: 24h
      FLEET_LOGGING_JSON: "true"
      FLEET_OSQUERY_STATUS_LOG_PLUGIN: filesystem
      FLEET_FILESYSTEM_STATUS_LOG_FILE: /logs/osqueryd.status.log
      FLEET_FILESYSTEM_RESULT_LOG_FILE: /logs/osqueryd.results.log
      FLEET_VULNERABILITIES_CURRENT_INSTANCE_CHECKS: "yes"
      FLEET_VULNERABILITIES_DATABASES_PATH: /vulndb
      FLEET_VULNERABILITIES_PERIODICITY: 1h
    ports:
      - "127.0.0.1:1337:1337"
    volumes:
      - fleet-data:/fleet
      - fleet-logs:/logs
      - fleet-vulndb:/vulndb
    healthcheck:
      test: ["CMD-SHELL", "wget -qO- http://127.0.0.1:1337/healthz >/dev/null || exit 1"]
      interval: 10s
      timeout: 5s
      retries: 12
      start_period: 30s
    networks:
      - fleet-net
    logging: *default-logging

  cloudflared:
    image: cloudflare/cloudflared:2026.7.3
    profiles:
      - tunnel
    restart: unless-stopped
    depends_on:
      fleet:
        condition: service_healthy
    command:
      - tunnel
      - --no-autoupdate
      - run
      - --token
      - ${TUNNEL_TOKEN:?TUNNEL_TOKEN is required}
    networks:
      - fleet-net
    logging: *default-logging

volumes:
  mysql-data:
  redis-data:
  fleet-data:
  fleet-logs:
  fleet-vulndb:

networks:
  fleet-net:
    driver: bridge
I know this compose file is a bit of a monster, but Fleet needs a few different services running on the backend. We also have the cloudflared service defined in here, we won’t up that container right away actually as we dig into that in its own section, where we’ll deploy and harden it. Alright, let’s go ahead and validate the compose file to make sure it looks good as far as Docker is concerned.
 No output is what you want to see here, so very good. Okay next, let’s start the necessary services for Fleet.
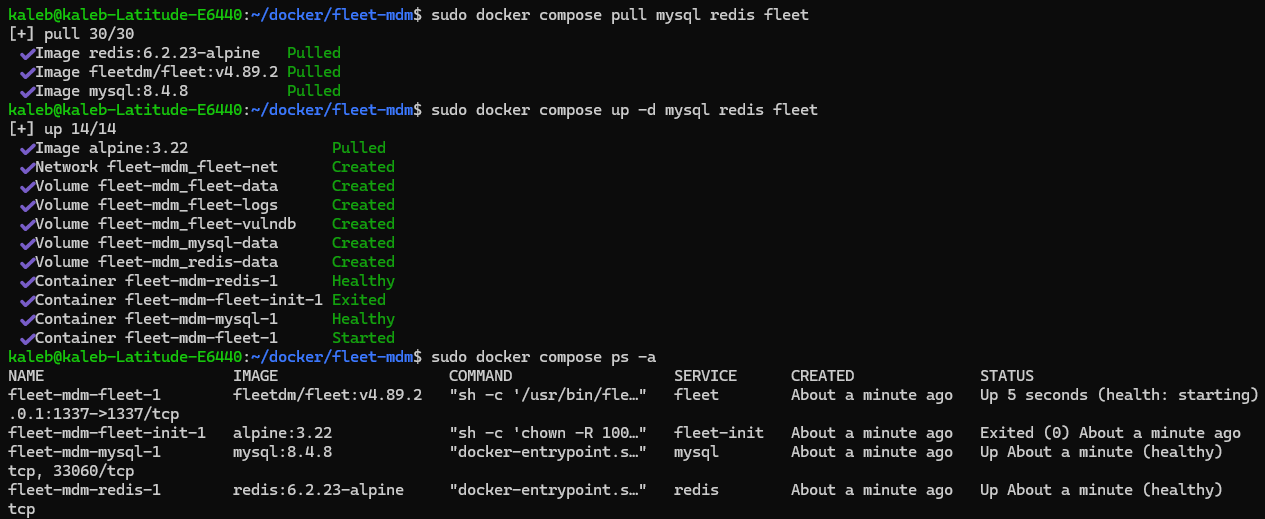 The first command here we pull down the images for the containers we want to start, then the next one we do starts up our containers. Then at the end here we verify that the services have started up and appear to be running. Alright, let’s run a little health check.
 So it may take a few minutes, but once the containers have initialized, we should be able to run this curl command and get an HTTP 200 response back. If you run a more standard curl on that /healthz endpoint it will return nothing, that is also okay, but if you want the 200 you’ll want to run the above curl command.
Alright assuming the health check looks good and your containers are reporting back as healthy let’s go ahead and start configuring our Cloudflare tunnel.
So it may take a few minutes, but once the containers have initialized, we should be able to run this curl command and get an HTTP 200 response back. If you run a more standard curl on that /healthz endpoint it will return nothing, that is also okay, but if you want the 200 you’ll want to run the above curl command.
Alright assuming the health check looks good and your containers are reporting back as healthy let’s go ahead and start configuring our Cloudflare tunnel.
Configuring our Cloudflare Reverse Proxy
Alright, let’s go ahead and spin up our cloudflared Container now.
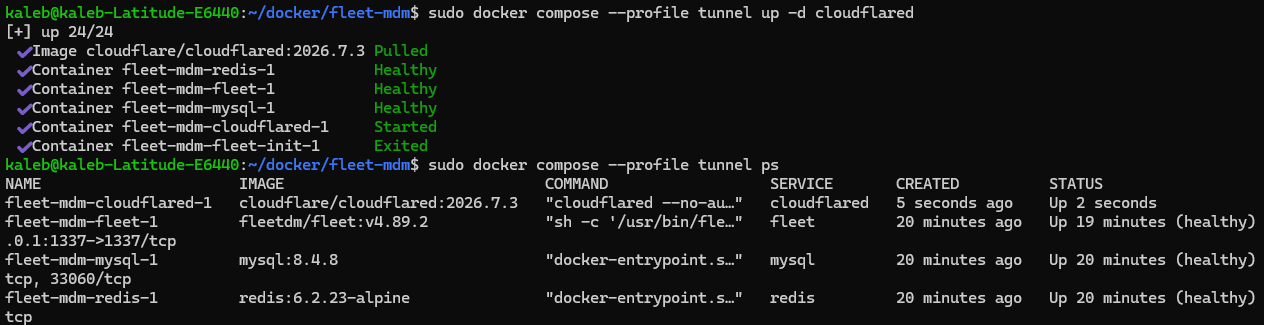 Awesome, container image gets pulled and the container is now up and running. Okay now we’re about to head over to Cloudflare and se tup our tunnel. To do this you will need a domain name and a Cloudflare account. We’re doing all of this because FleetMDM needs to be reachable by our remote devices at all times, so a VPN connection isn’t going to cut it. Cloudflare and by extension, Cloudflared, will allow us to be able to set up a reverse proxy for us to access Fleet without needing to expose any ports on our home router. Okay so with all that being said, let’s head to our Cloudflare dashboard and head to the Domains Overview page.
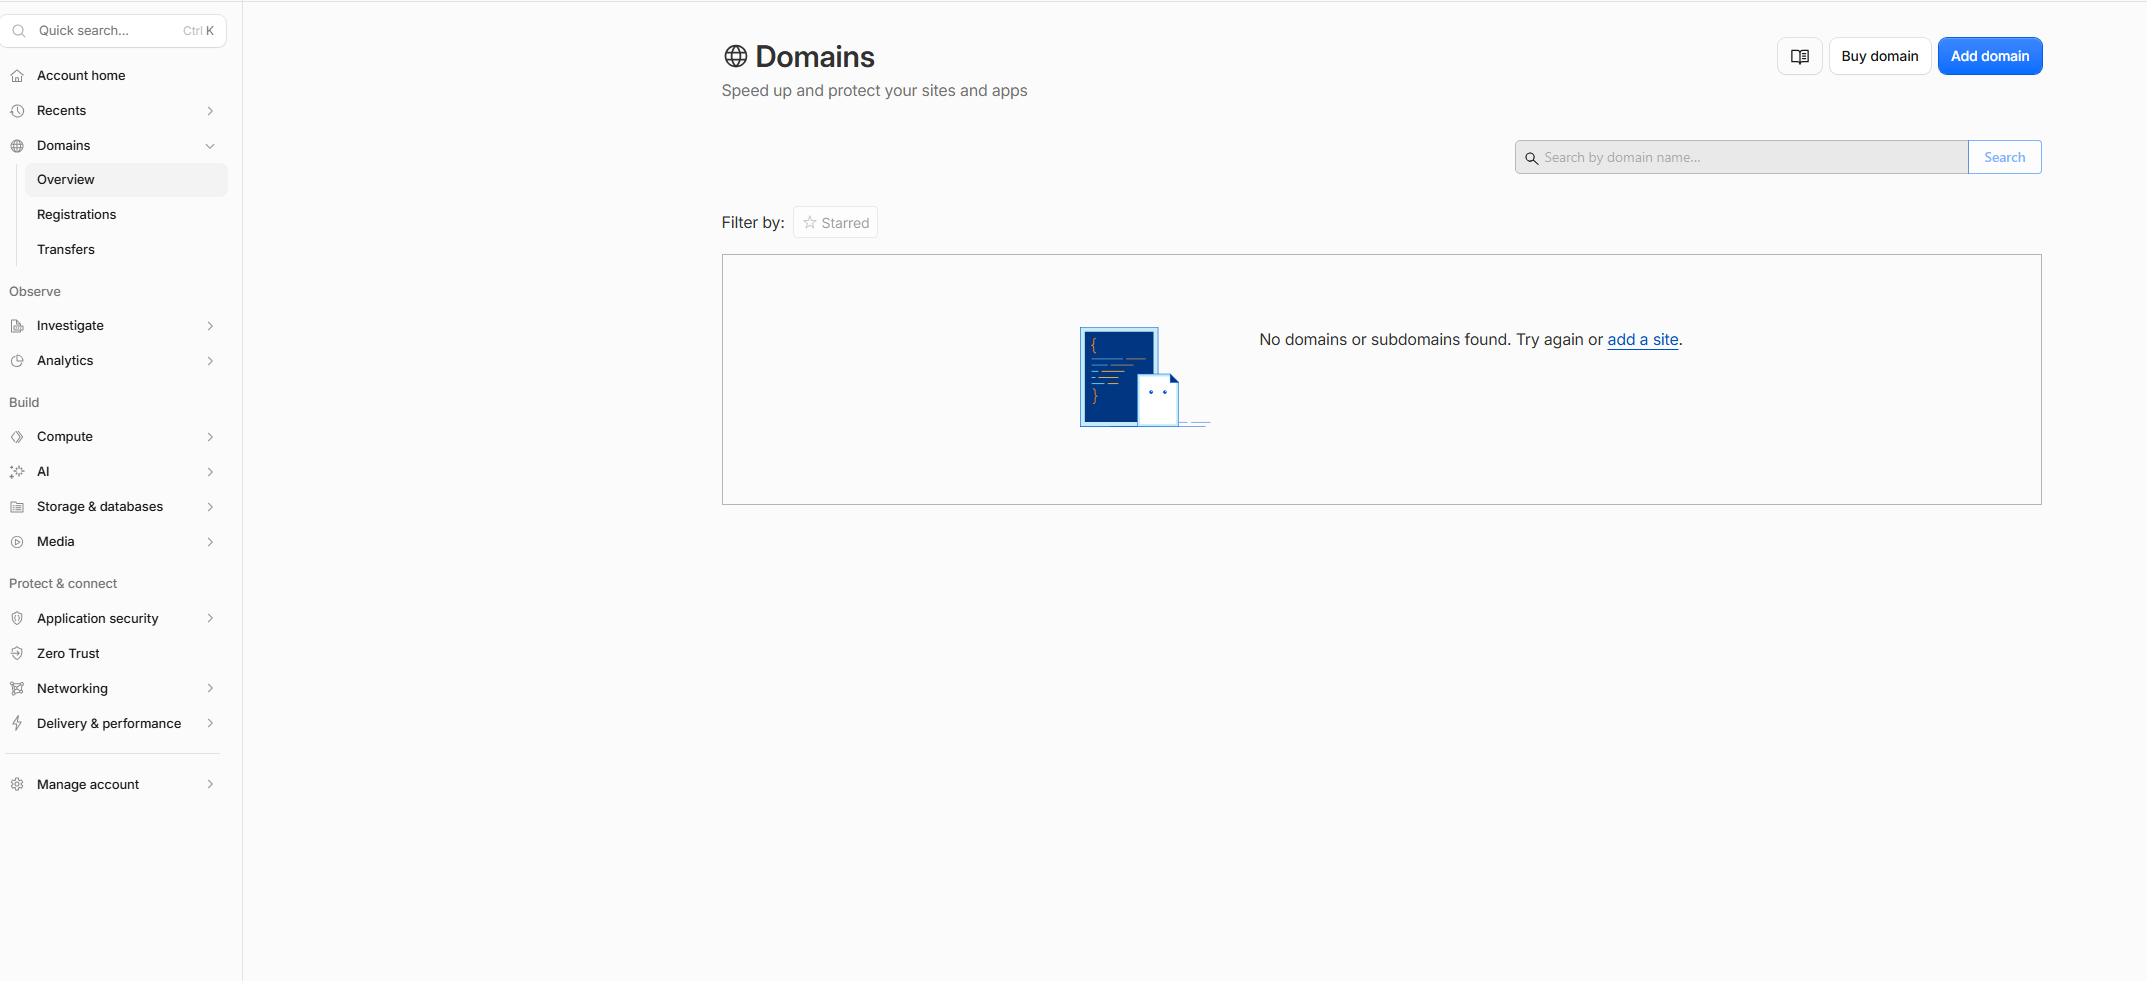 Let’s add our domain by clicking Add domain in the top right there.
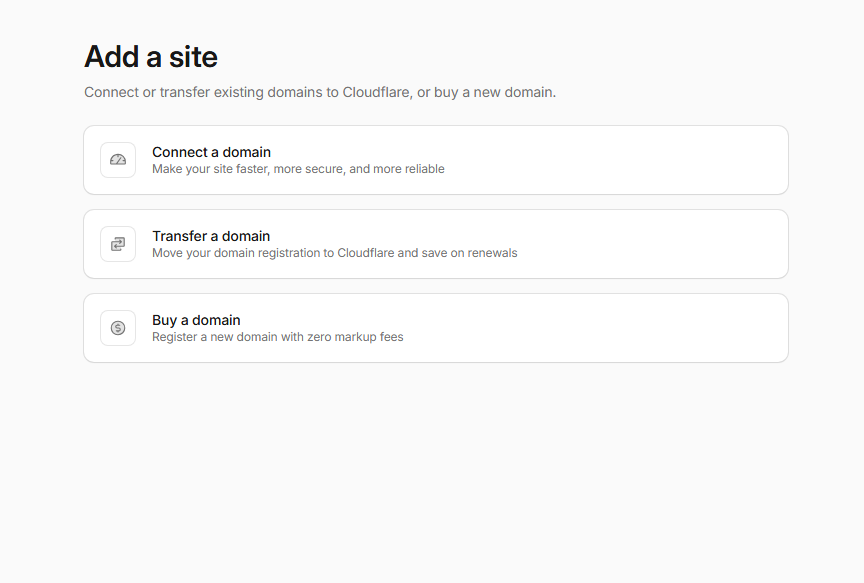 I am going to choose Connect a domain as I don’t want to transfer it from my current domain registrar.
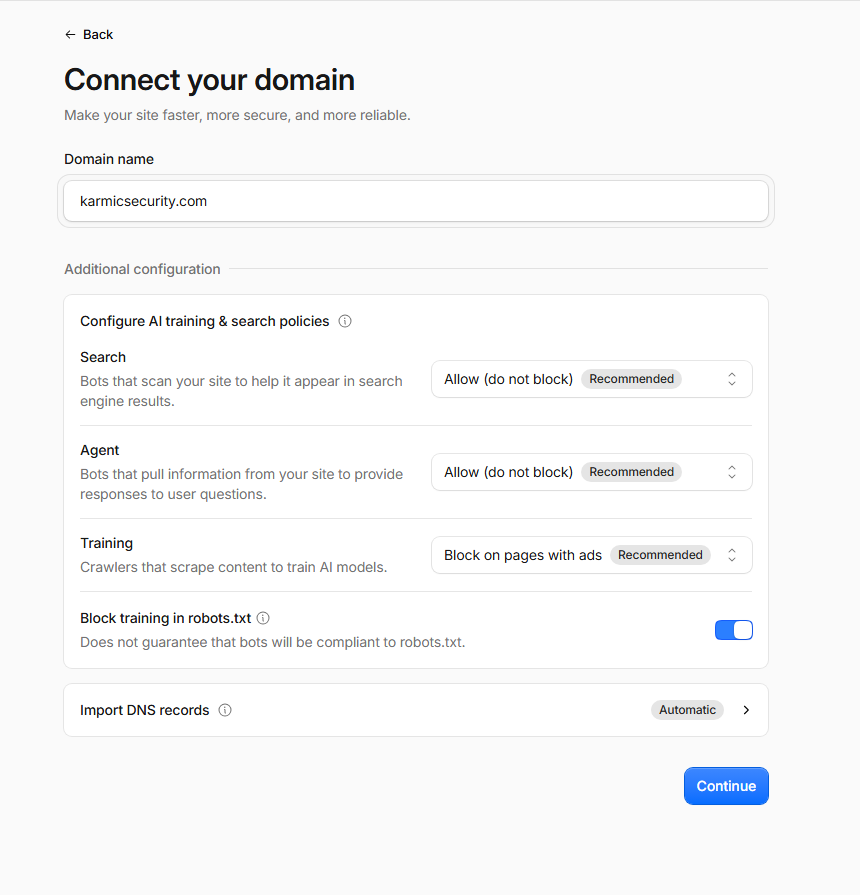 Type in your domain, you can keep the default selection there.
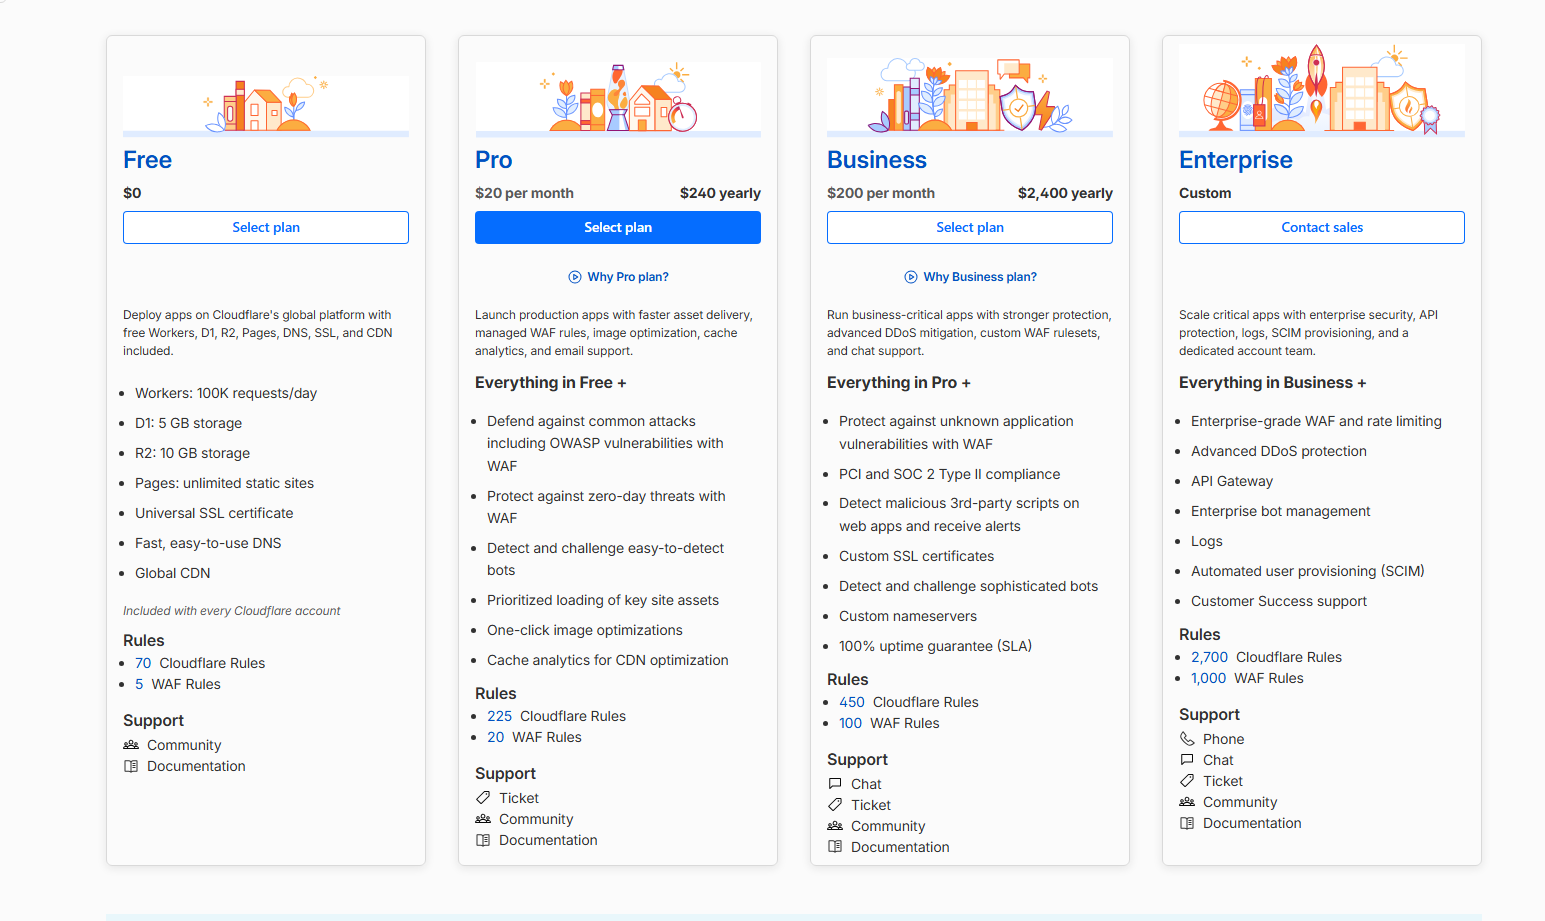 And here we will be selecting the free option.
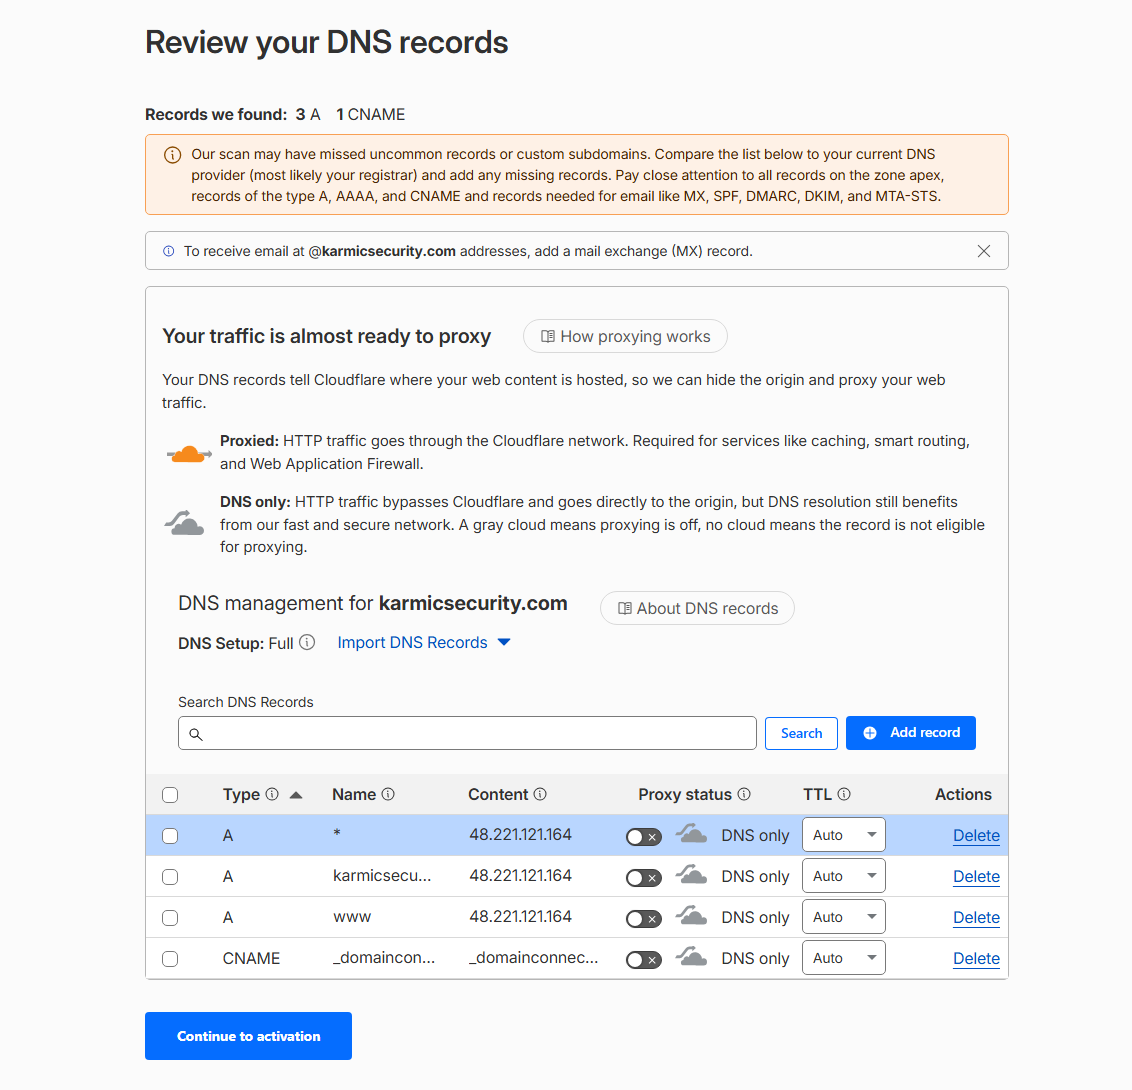 Okay here we are gray clouding our records for now (that is, unchecking the button under Proxy status) . When we add the Fleet subdomain in a second, we will want to have that proxied.
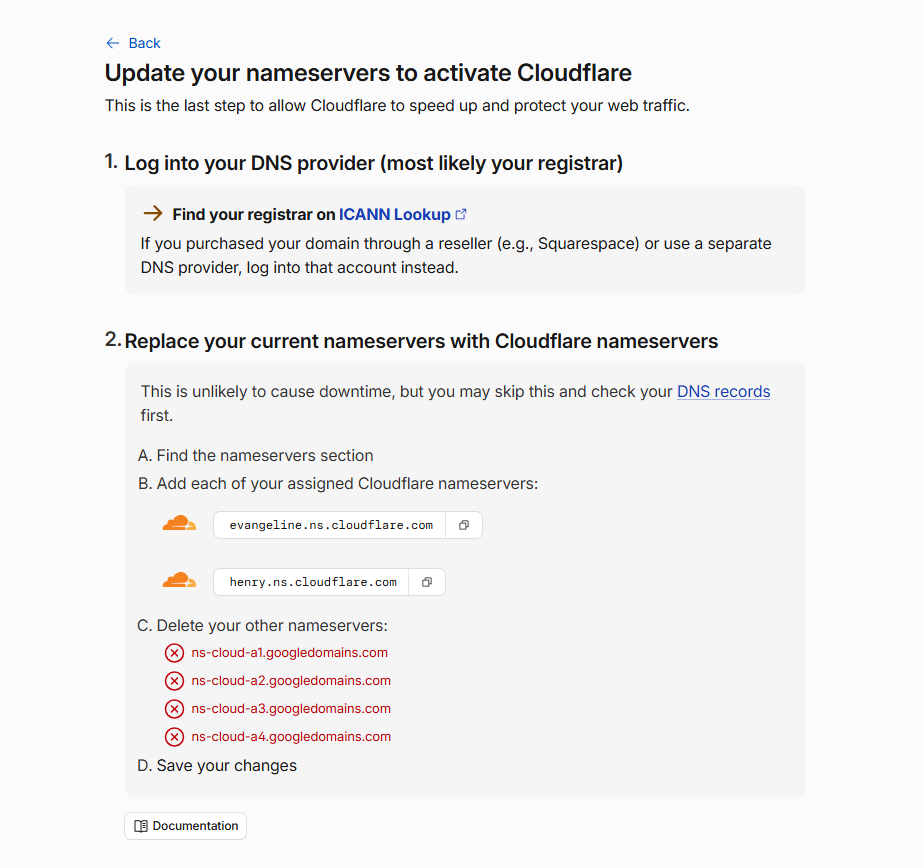 Then we get asked to update our nameservers to Cloudflare’s. So go ahead and log in to your Domain Registrar and update accordingly.
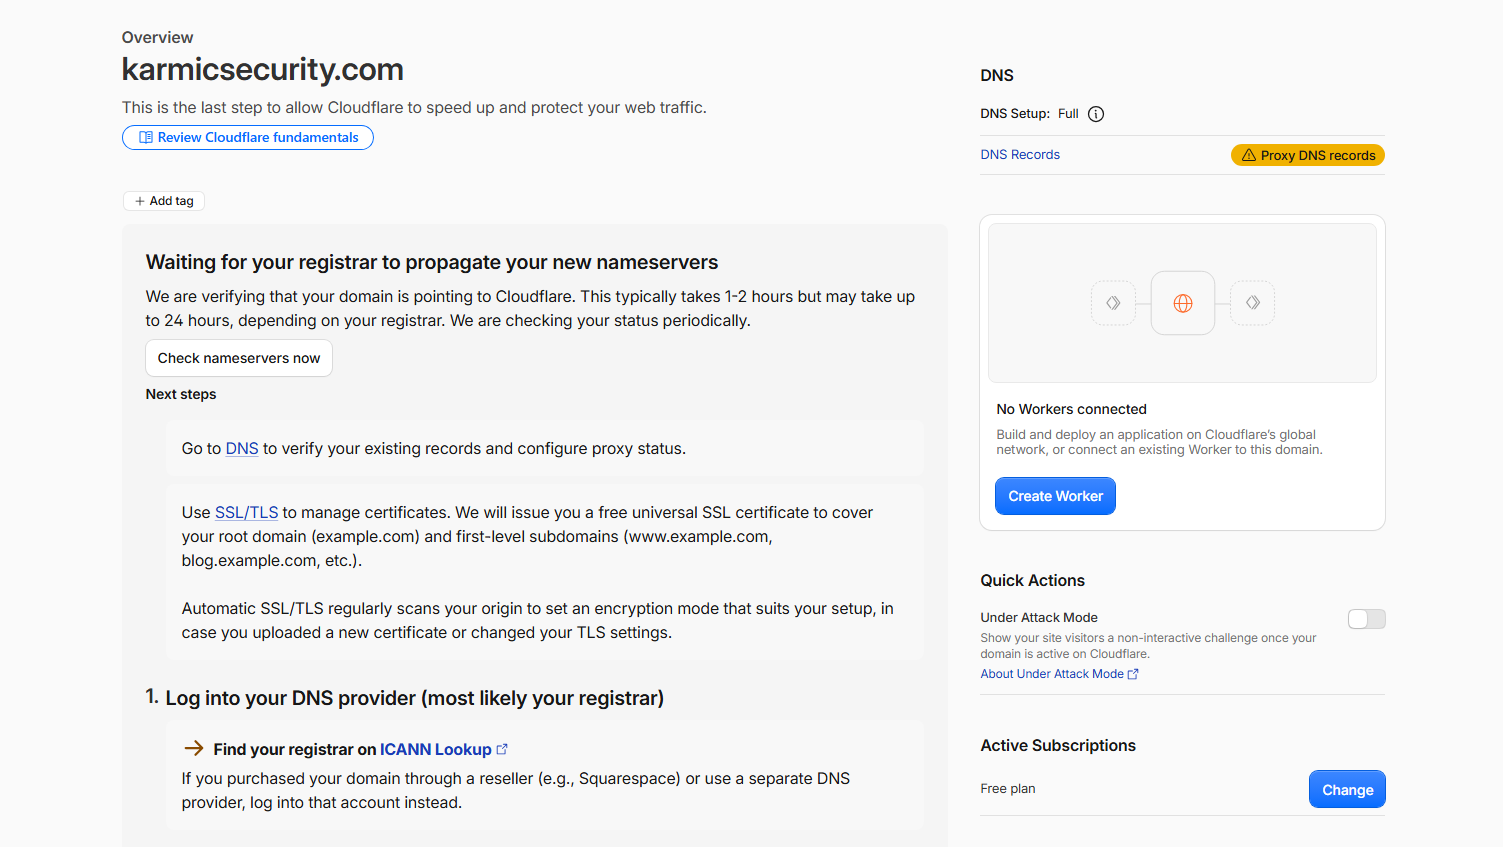 Here I am updating my nameservers. The nameservers will take a while to propagate these changes, so take a break for like an hour (or longer depending) and then we’ll wrap this up.
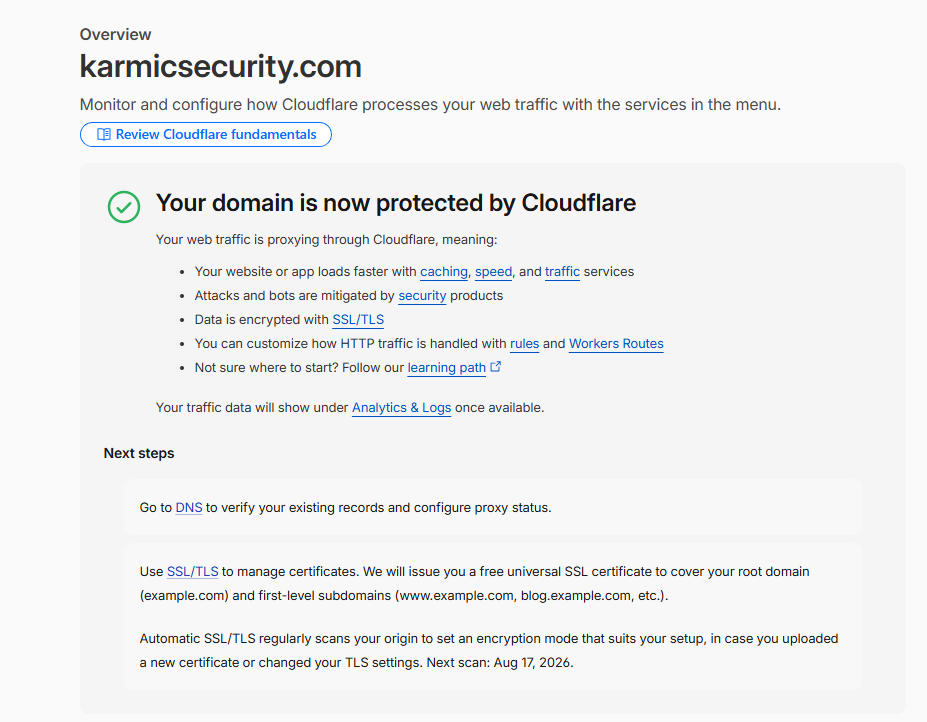 Okey dokey, that’s all done now. Let’s re-enable DNSSEC through Cloudflare.
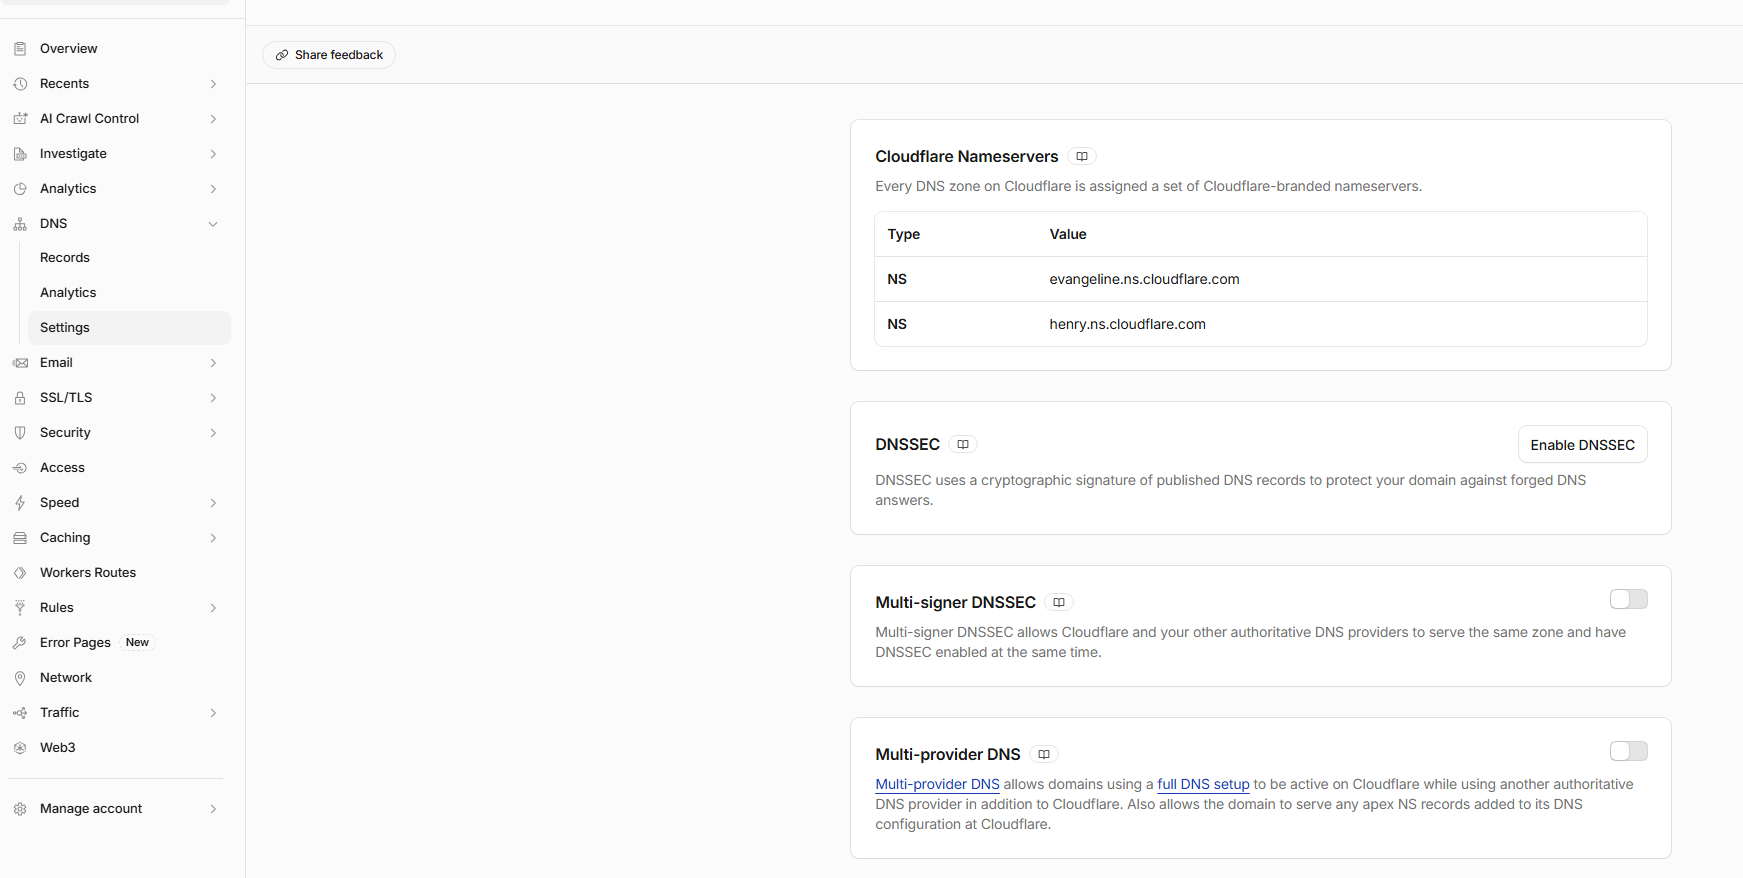 Under DNS -> Settings -> Enable DNSSEC. It will give you some information to put into a DNSSEC or DS record wherever you are actually keeping your DNS records.
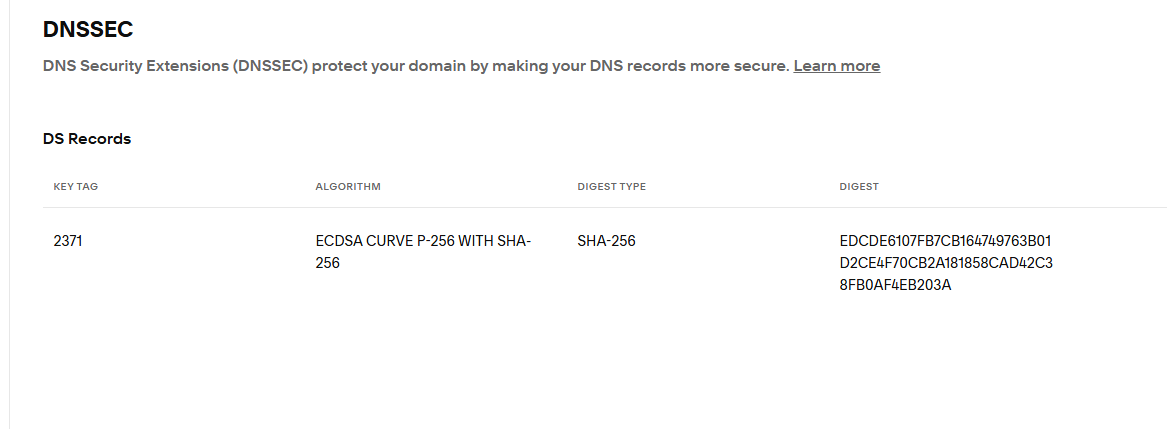 Here I am adding my DNSSEC record, copy and paste the key tag, algorithm, digest type and digest into the record. Now we let Cloudflare populate the new records (10 minutes or so).
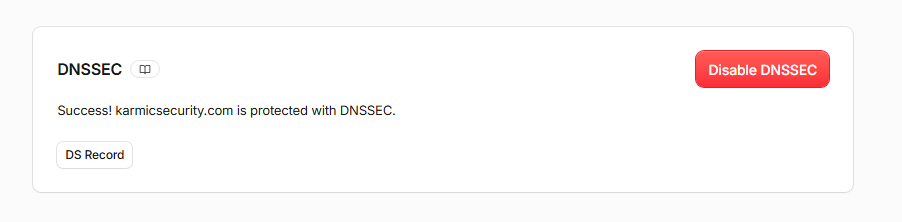 Epic. Now we need to create a tunnel to connect to our Fleet subdomain.
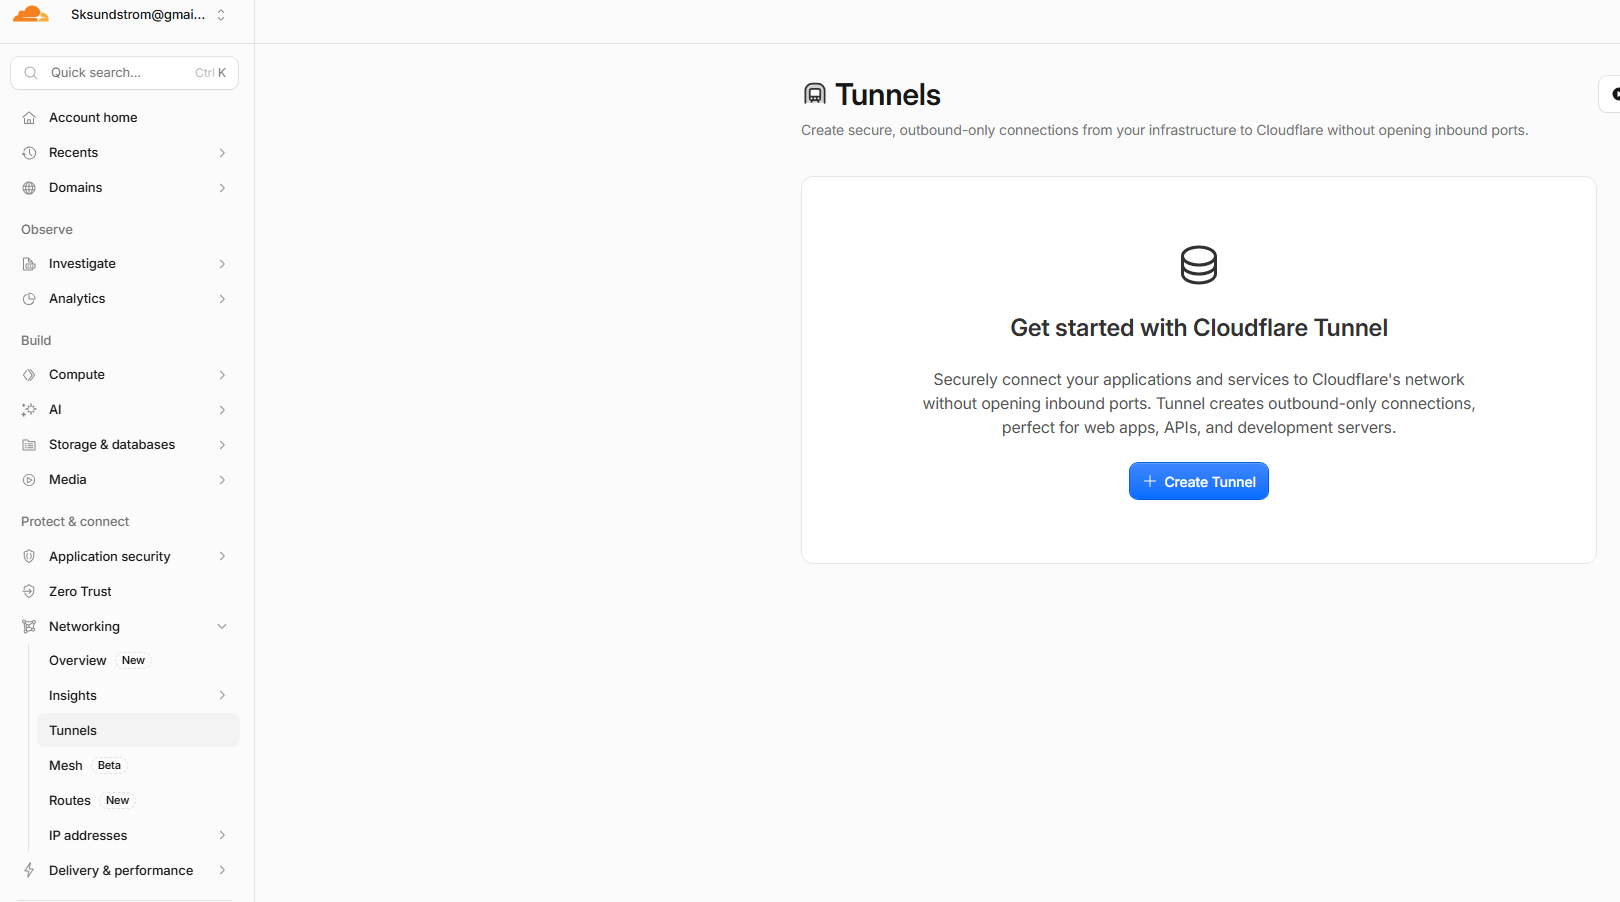 Go to Network -> Tunnels -> Create Tunnel
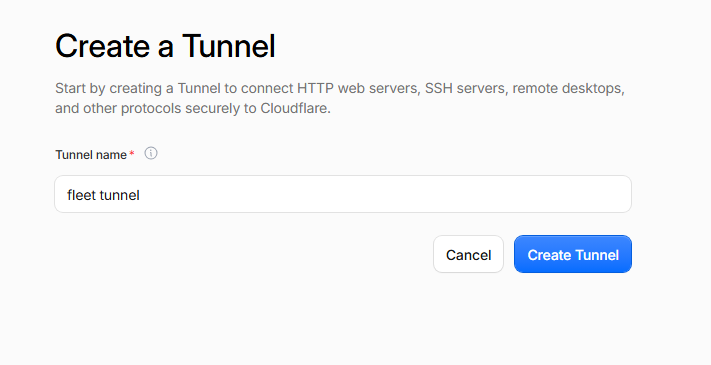 Name your tunnel, no need to be creative.
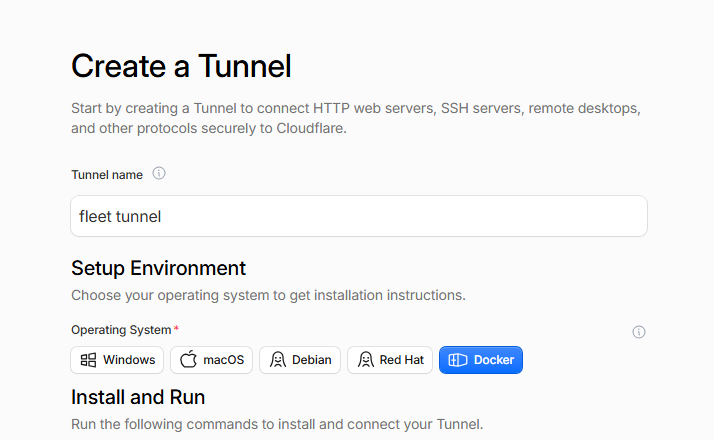 We’re gonna choose Docker, cause duh. It will give you a command to run in a second with your private access token. Don’t navigate from this page. Go ahead and add that token to that .env file we created at the beginning of this post and then go ahead and run the command.
Bringing it All Together
Alright, back on our Tunnel page.
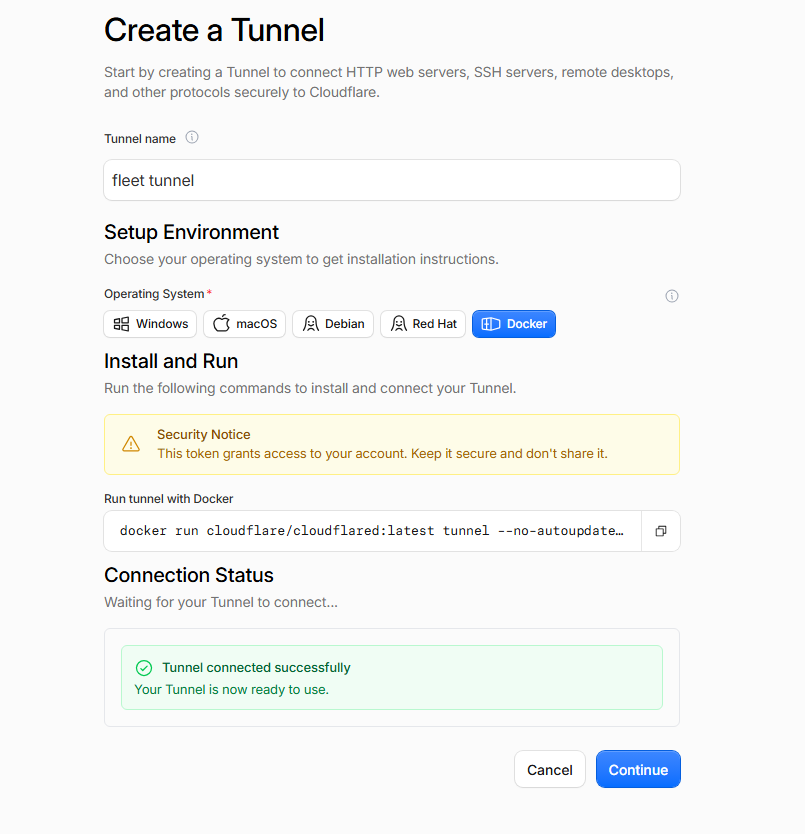 It should say your tunnel is connected now. Continue.
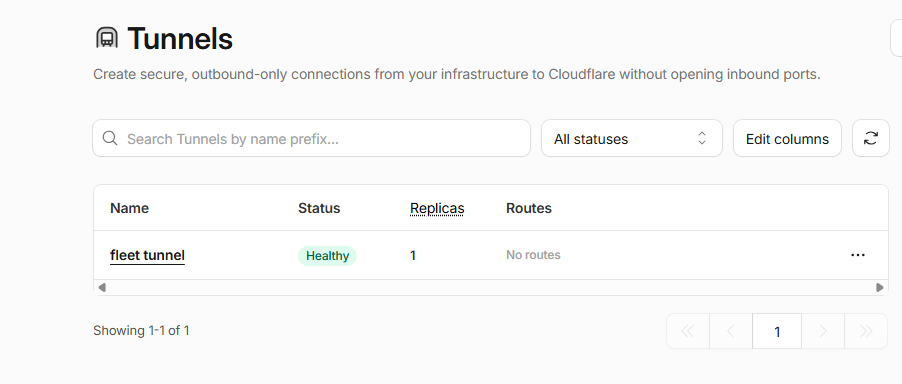 Looking good. Now we need to add a route so our tunnel knows where to go. Click on your tunnel’s name.
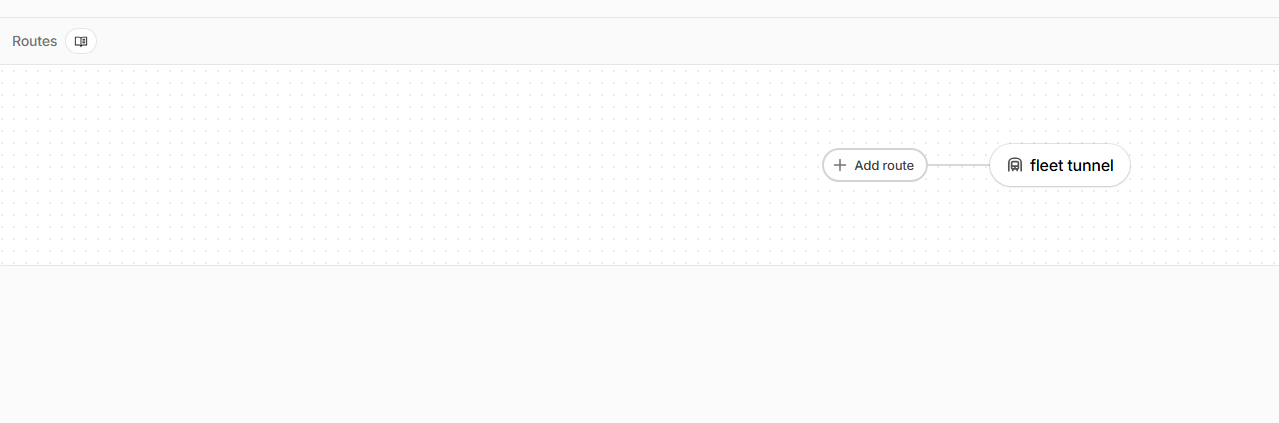 Under Routes, click Add route.
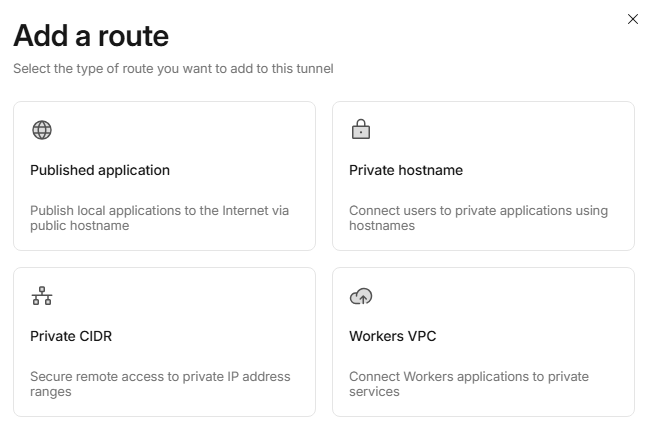 Published application.
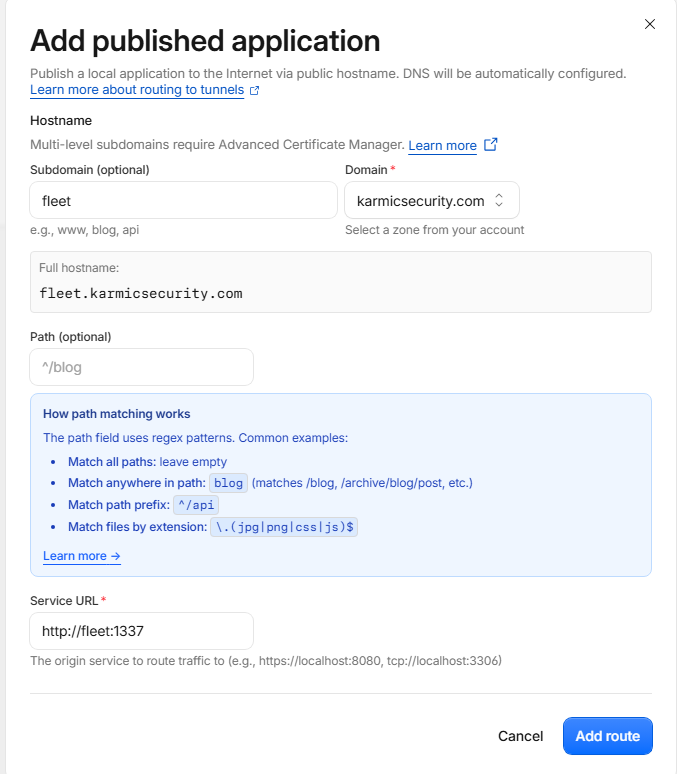 Should look something like this. Add route.
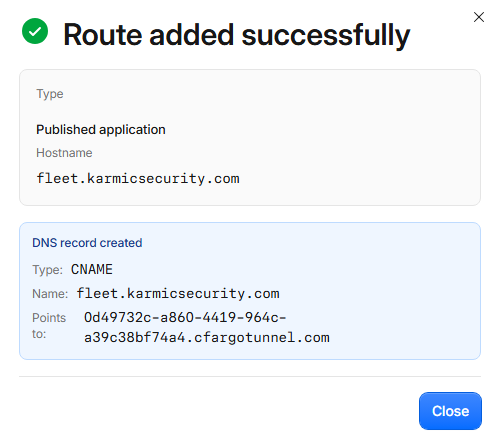 Amazing. Alright, time to validate the tunnel.
 So we check the status of our containers again, everything looks good. Then we run curl again, this time pointing at our subdomain and we get a 200! We should be able to navigate there in our browser!
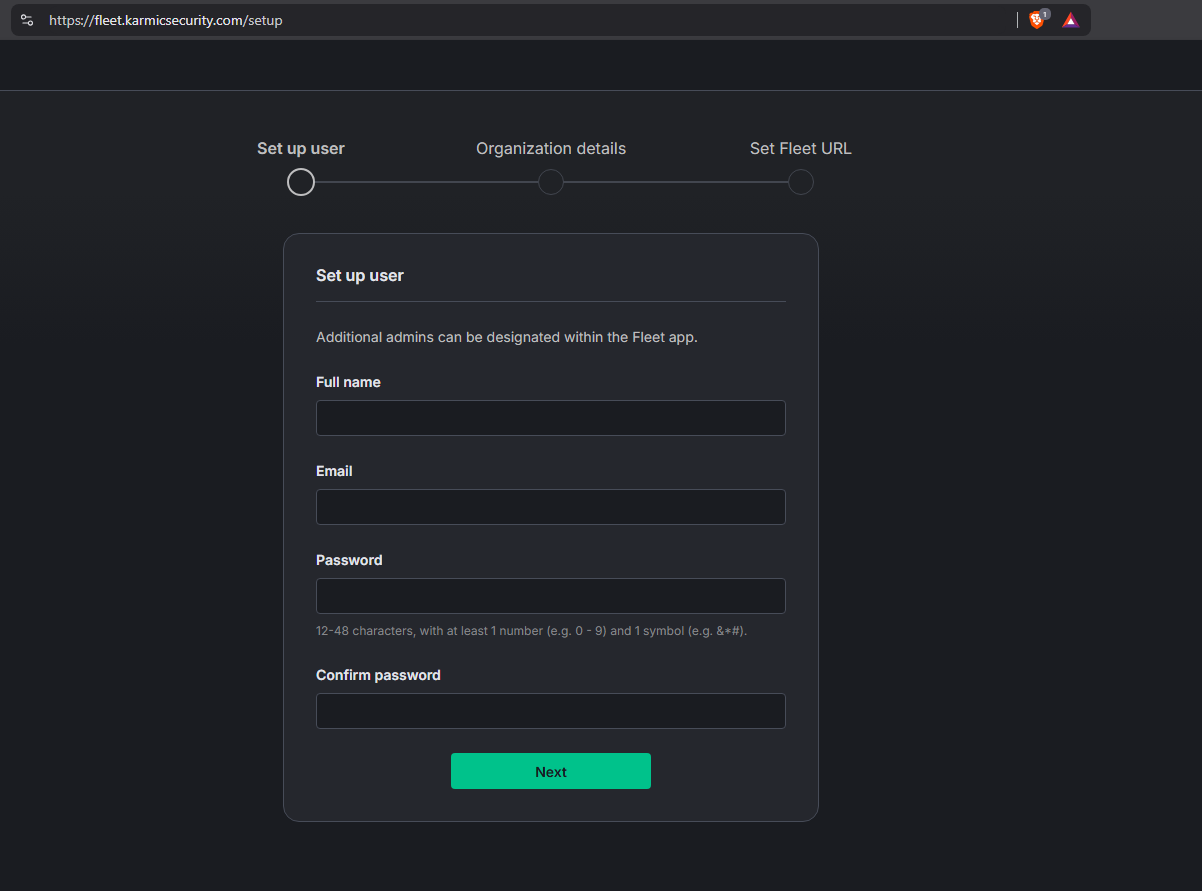 Amazing. Fill in your info and desired credentials. Now, remember kids, this page is internet accessible so choose good credentials, then click next.
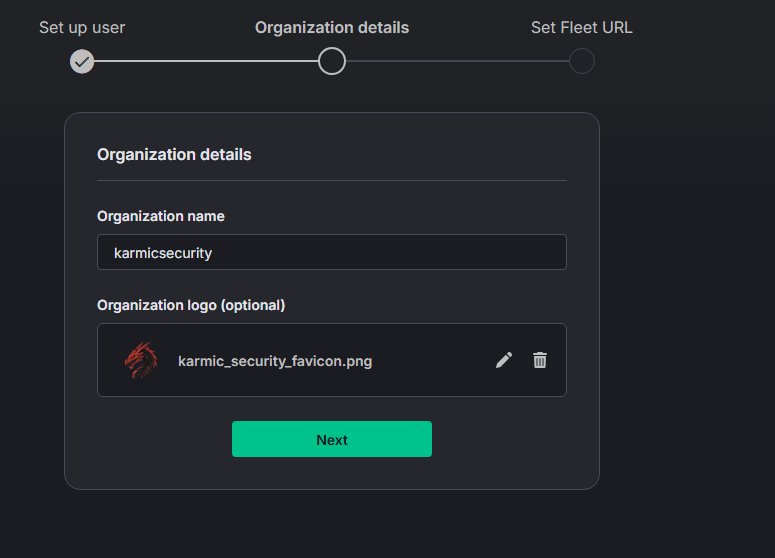 Put in your Organization name and a logo if you want.
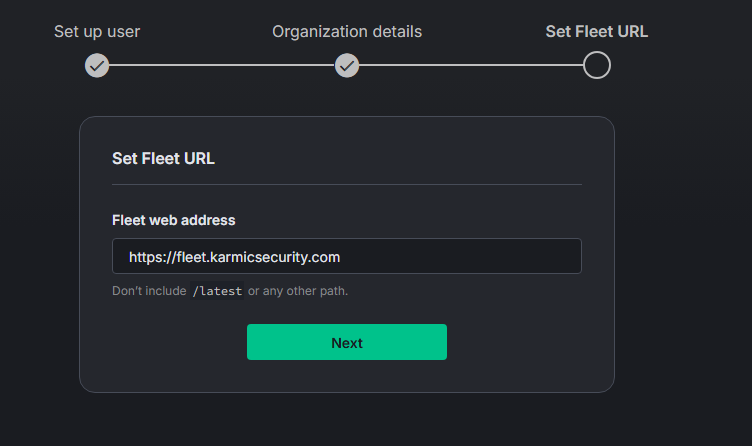 The web address of your Fleet subdomain, then hit Next.
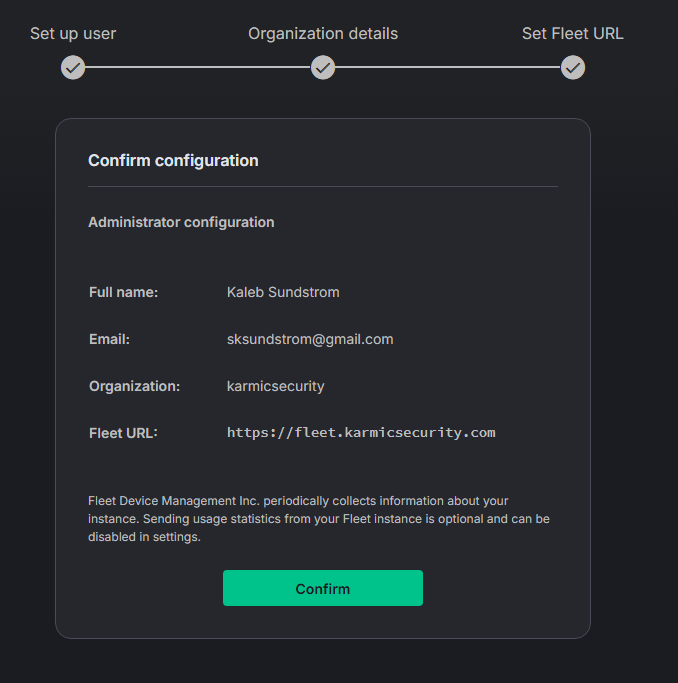 Looks good to me! Confirm.
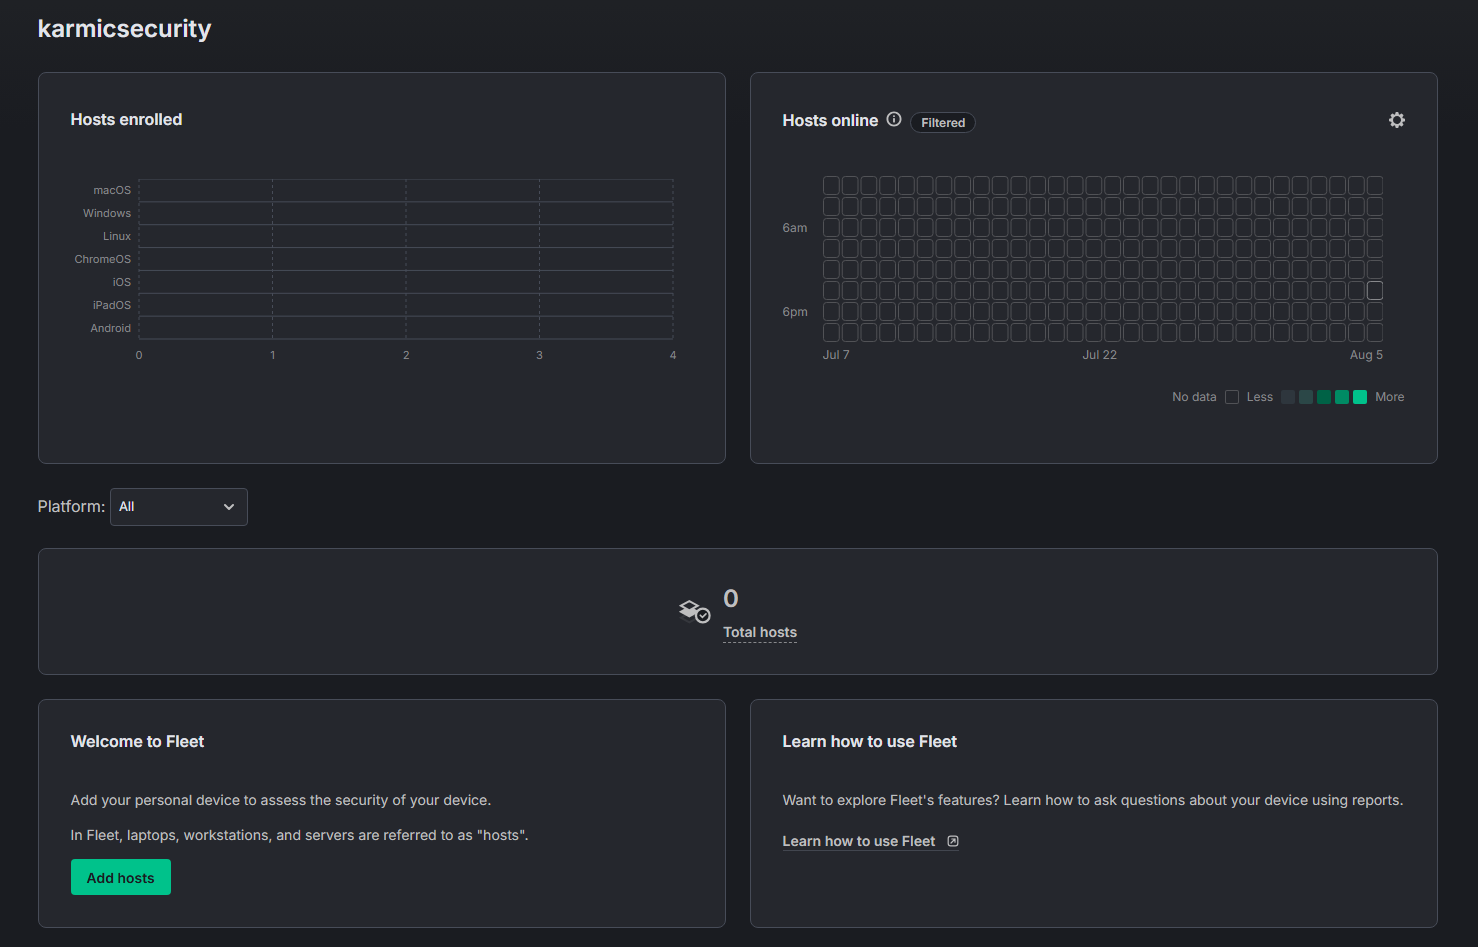 Oh yeah, that’s cool. Now this is great and all, but we’re actually going to need some devices to manage, so let’s quick add a device.
Adding a Mobile Device to FleetMDM
Alright, I’m going to add one of my Linux laptops to Fleet, there are lots of devices you can add, but this one is slightly easier to get going quick.
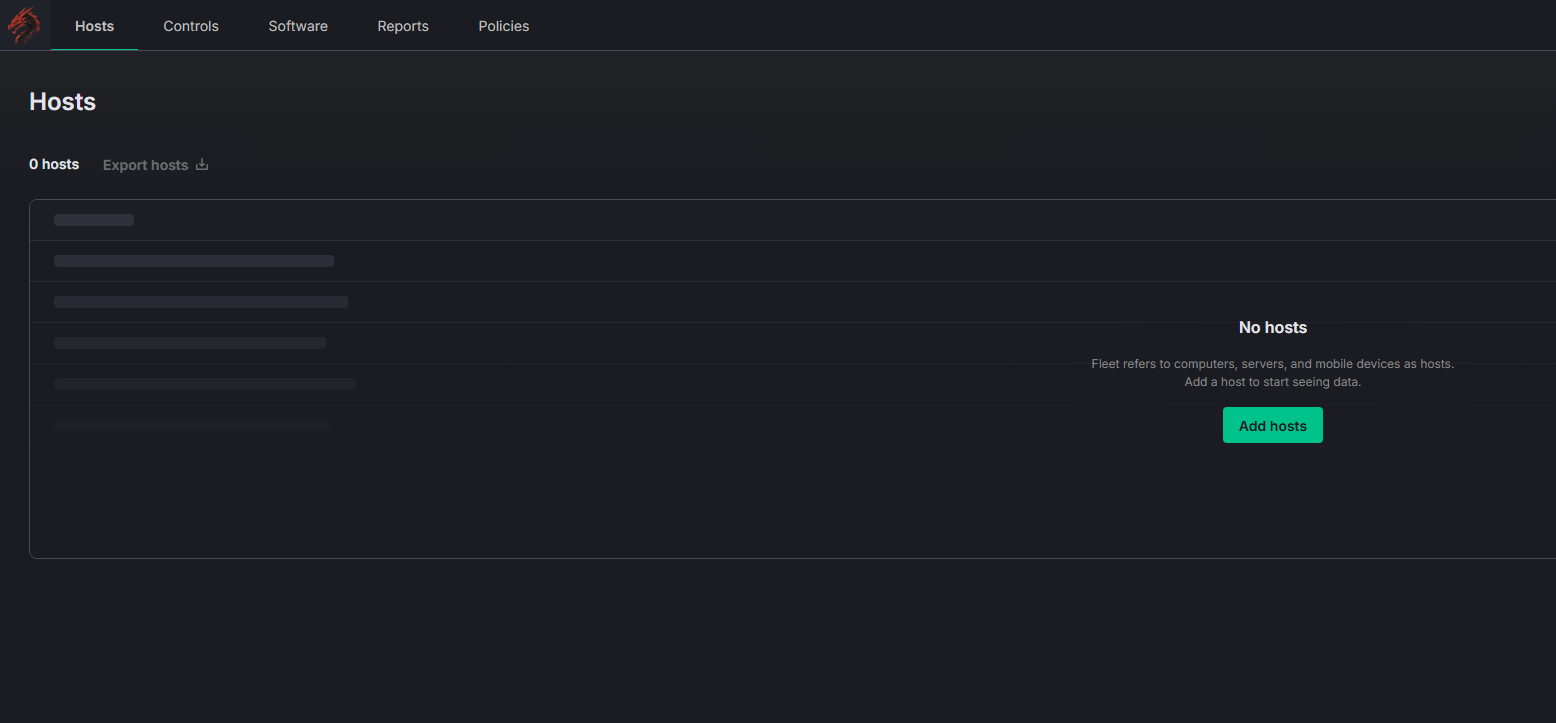 Click Hosts on the top and then Add hosts.
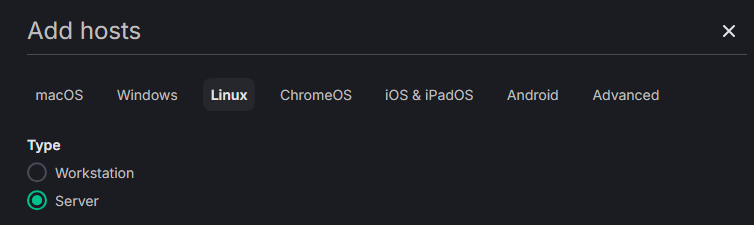 Select your OS and type. This will give you a command with a secret key to run on said host. Before we can run it though, we need to install
 fleetctl with the following commands.
FLEETCTL_TEMP_DIR="$(mktemp -d)"
cd "$FLEETCTL_TEMP_DIR"

curl --fail --location \
  --output fleetctl_v4.89.2_linux_amd64.tar.gz \
  https://github.com/fleetdm/fleet/releases/download/fleet-v4.89.2/fleetctl_v4.89.2_linux_amd64.tar.gz

printf '%s  %s\n' \
  'a60f0bdef6940a97500f589221c037400ae2827ffecadd86a6de9185a6366306' \
  'fleetctl_v4.89.2_linux_amd64.tar.gz' | sha256sum --check -

tar -xzf fleetctl_v4.89.2_linux_amd64.tar.gz

FLEETCTL_BINARY="$(find "$FLEETCTL_TEMP_DIR" -type f -name fleetctl -print -quit)"
file "$FLEETCTL_BINARY"
sudo install -o root -g root -m 0755 "$FLEETCTL_BINARY" /usr/local/bin/fleetctl

fleetctl --version
After you run all of those we are actually going to open a tmp shell to run the fleetctl command.
HISTFILE=/dev/null bash --noprofile --norc
umask 022
After you run those commands, run the fleet command. After the command finishes executing. Exit out of the tmp shell and let’s verify the .deb package is there.
 Awesome. Time to install it.
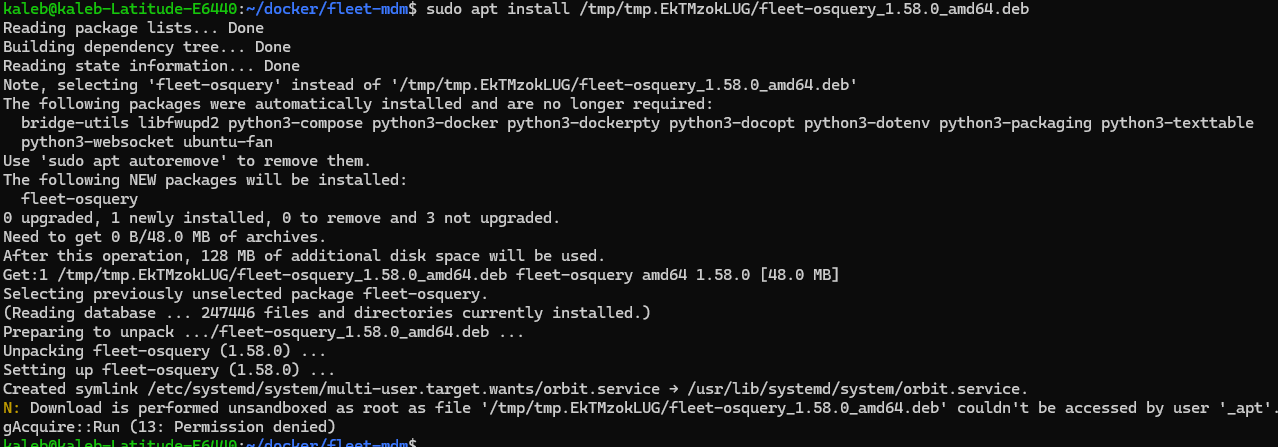 Important: Make sure to specify the full path to your .deb file from your Fleet container directory. Alright, let’s enable the service and get the agent running.
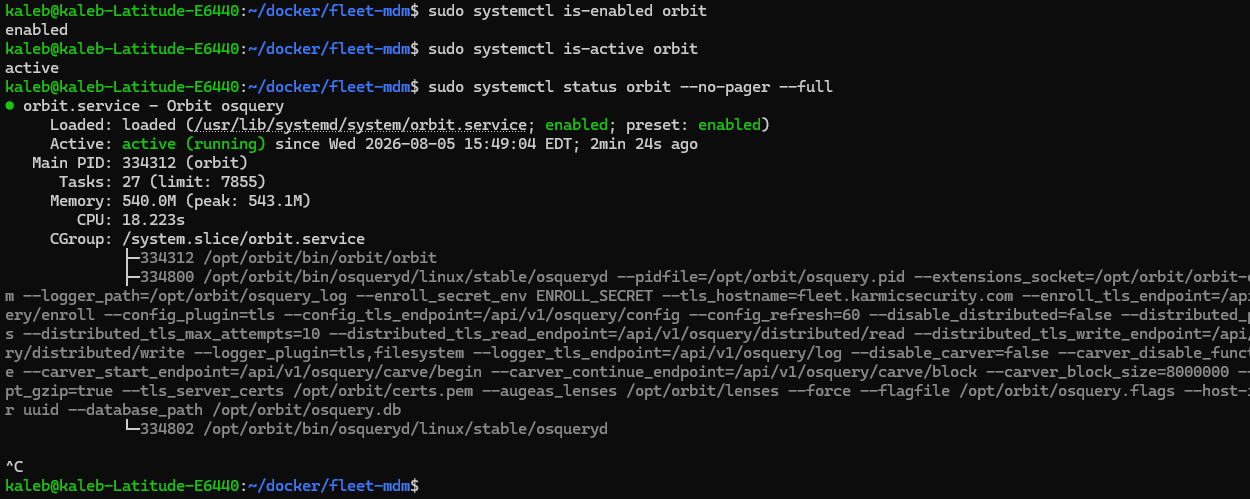 Lookin good. We should be able to see it in the web console now!
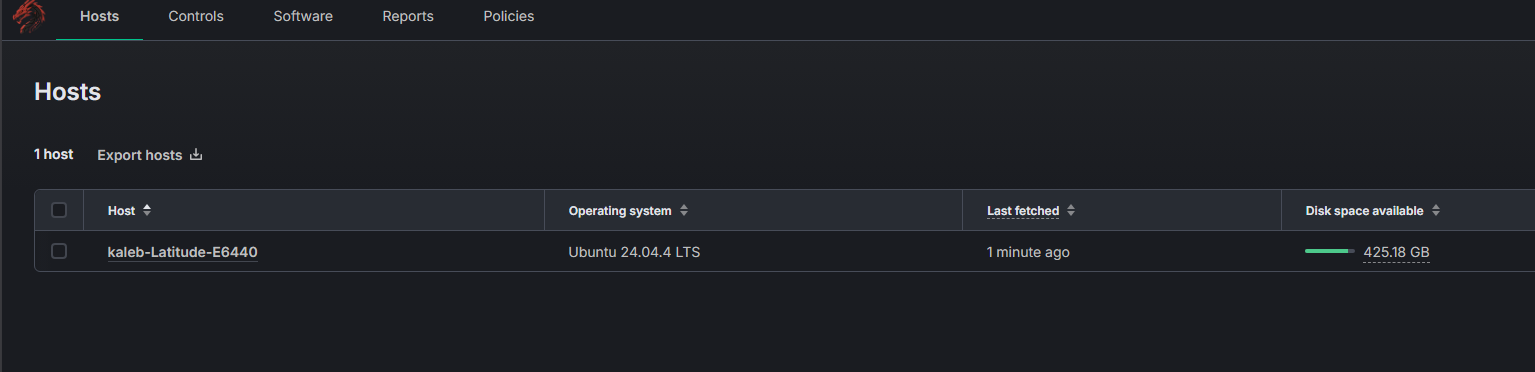 Oh yeah let’s go. From our Hosts dashboard we can see all of our currently configured devices. Let’s run a basic Report so we can see what we can do. Click on Report.
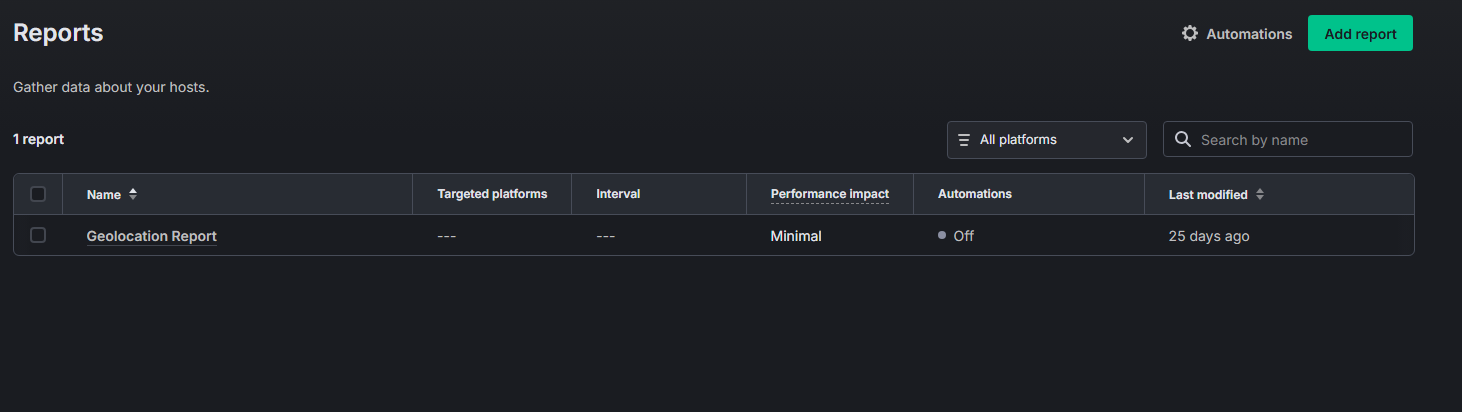 Here we see all of our saved Reports. I was playing around with the Geolocation one a bit ago, which is so cool. Although for non-cellular devices, the device needs to be wi-fi connected and for cellular you need to paid license so yeah. Okay, let’s click on Add report to create a new report.
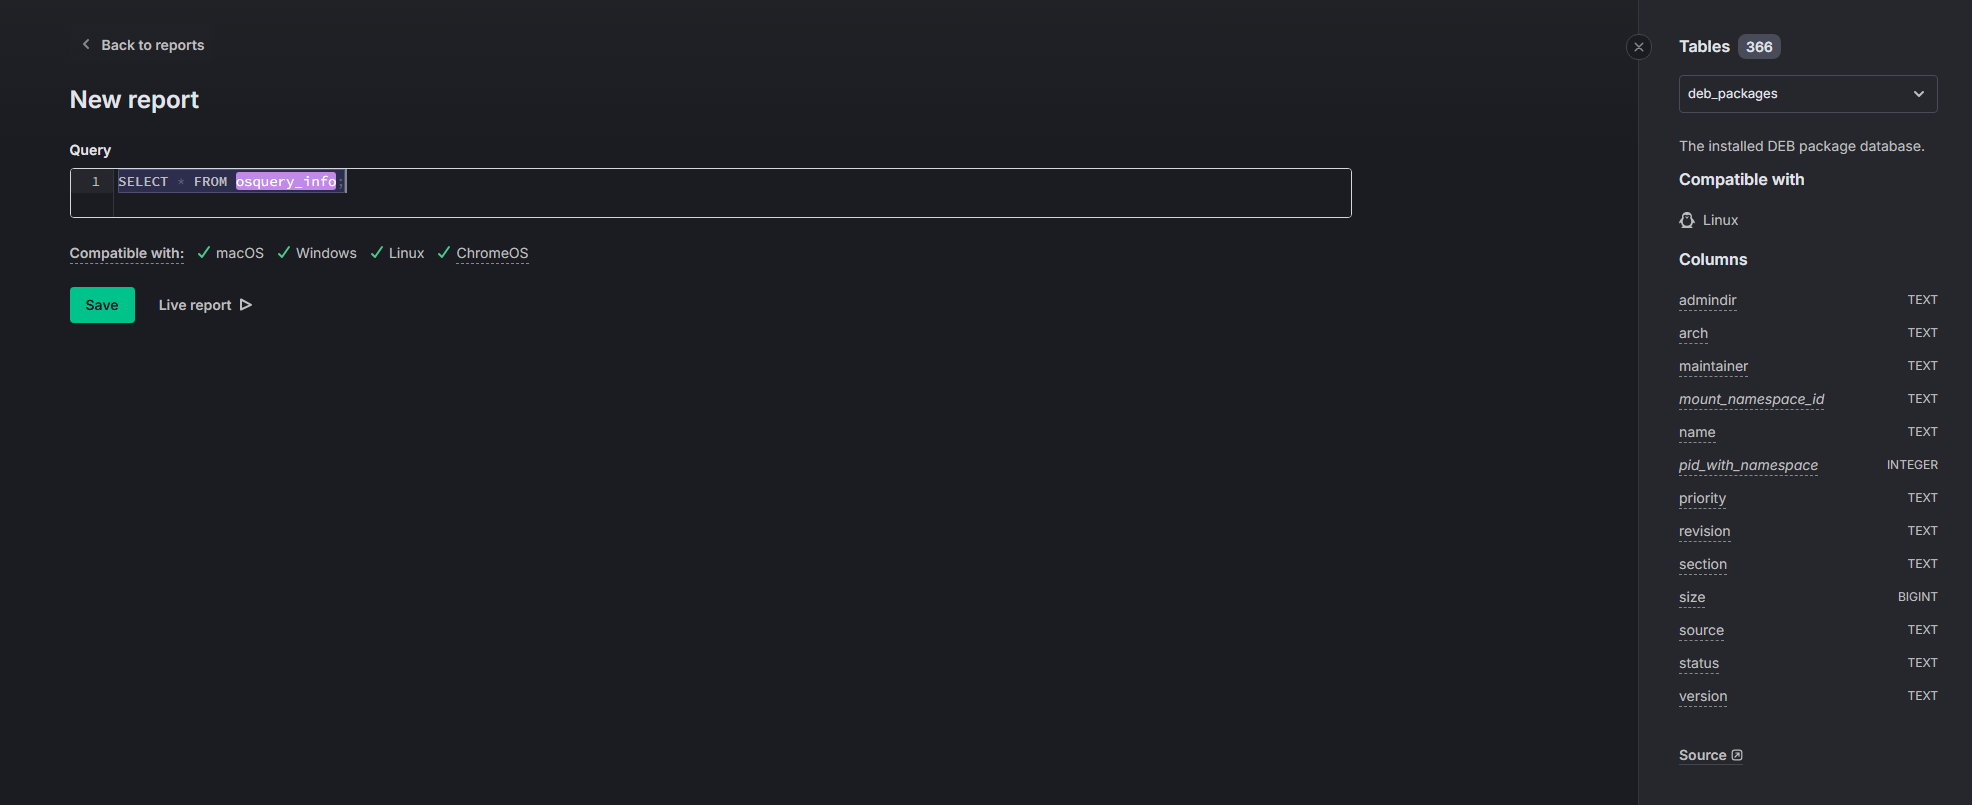 So Fleet uses osquery to query our endpoints, so if you’re familiar, great! If not, that’s okay, Fleet actually has a ton of prebuilt queries on their webpage that I’ll link here. Well actually that link is to the prebuilt query we’re going to run on our laptop real quick. So go ahead and navigate to that and then paste the query here.
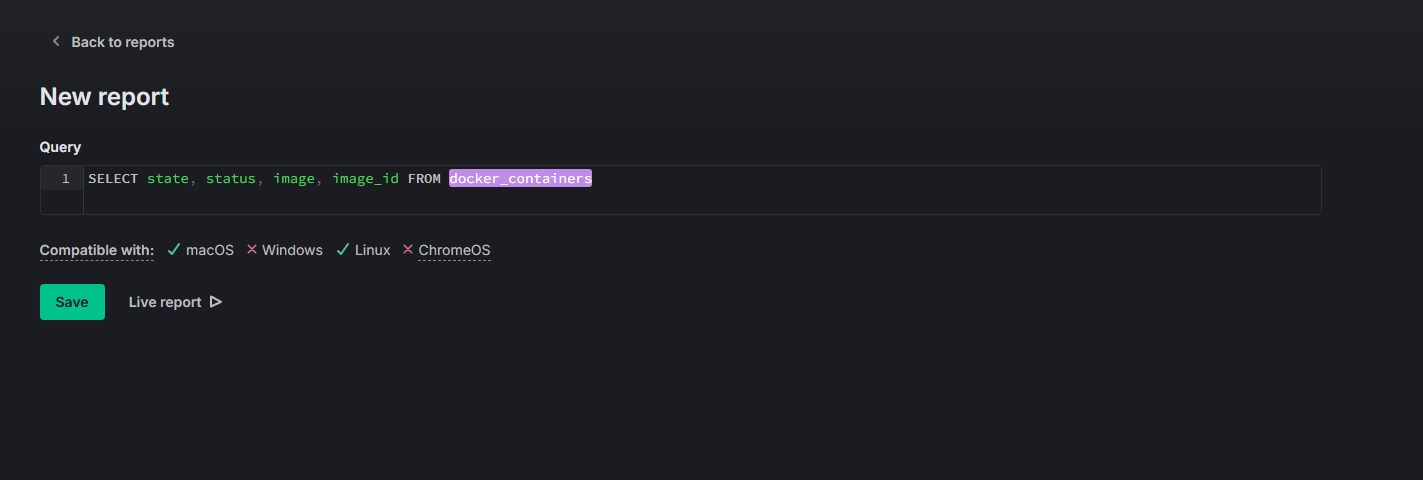 Awesome, now we can save this report if we wanted to, but I’m just going to click Live report instead to run it one time.
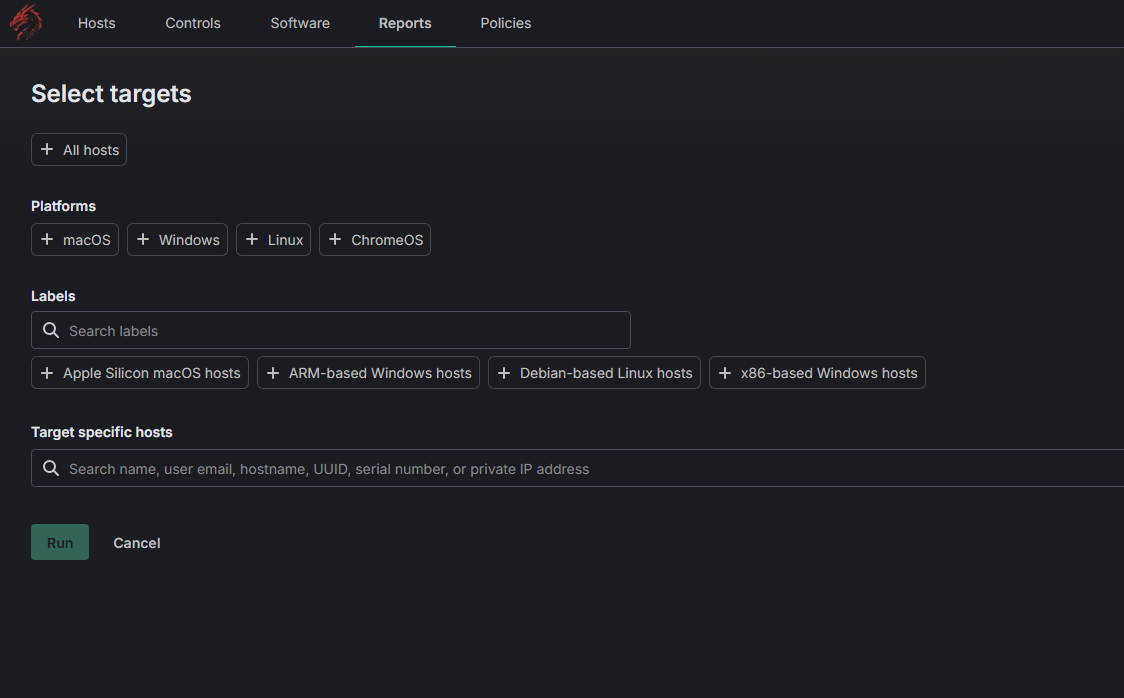 Here we can select the devices we want to query, as I only have the laptop, that’s what I’ll be picking. Once you pick your devices, click Run.
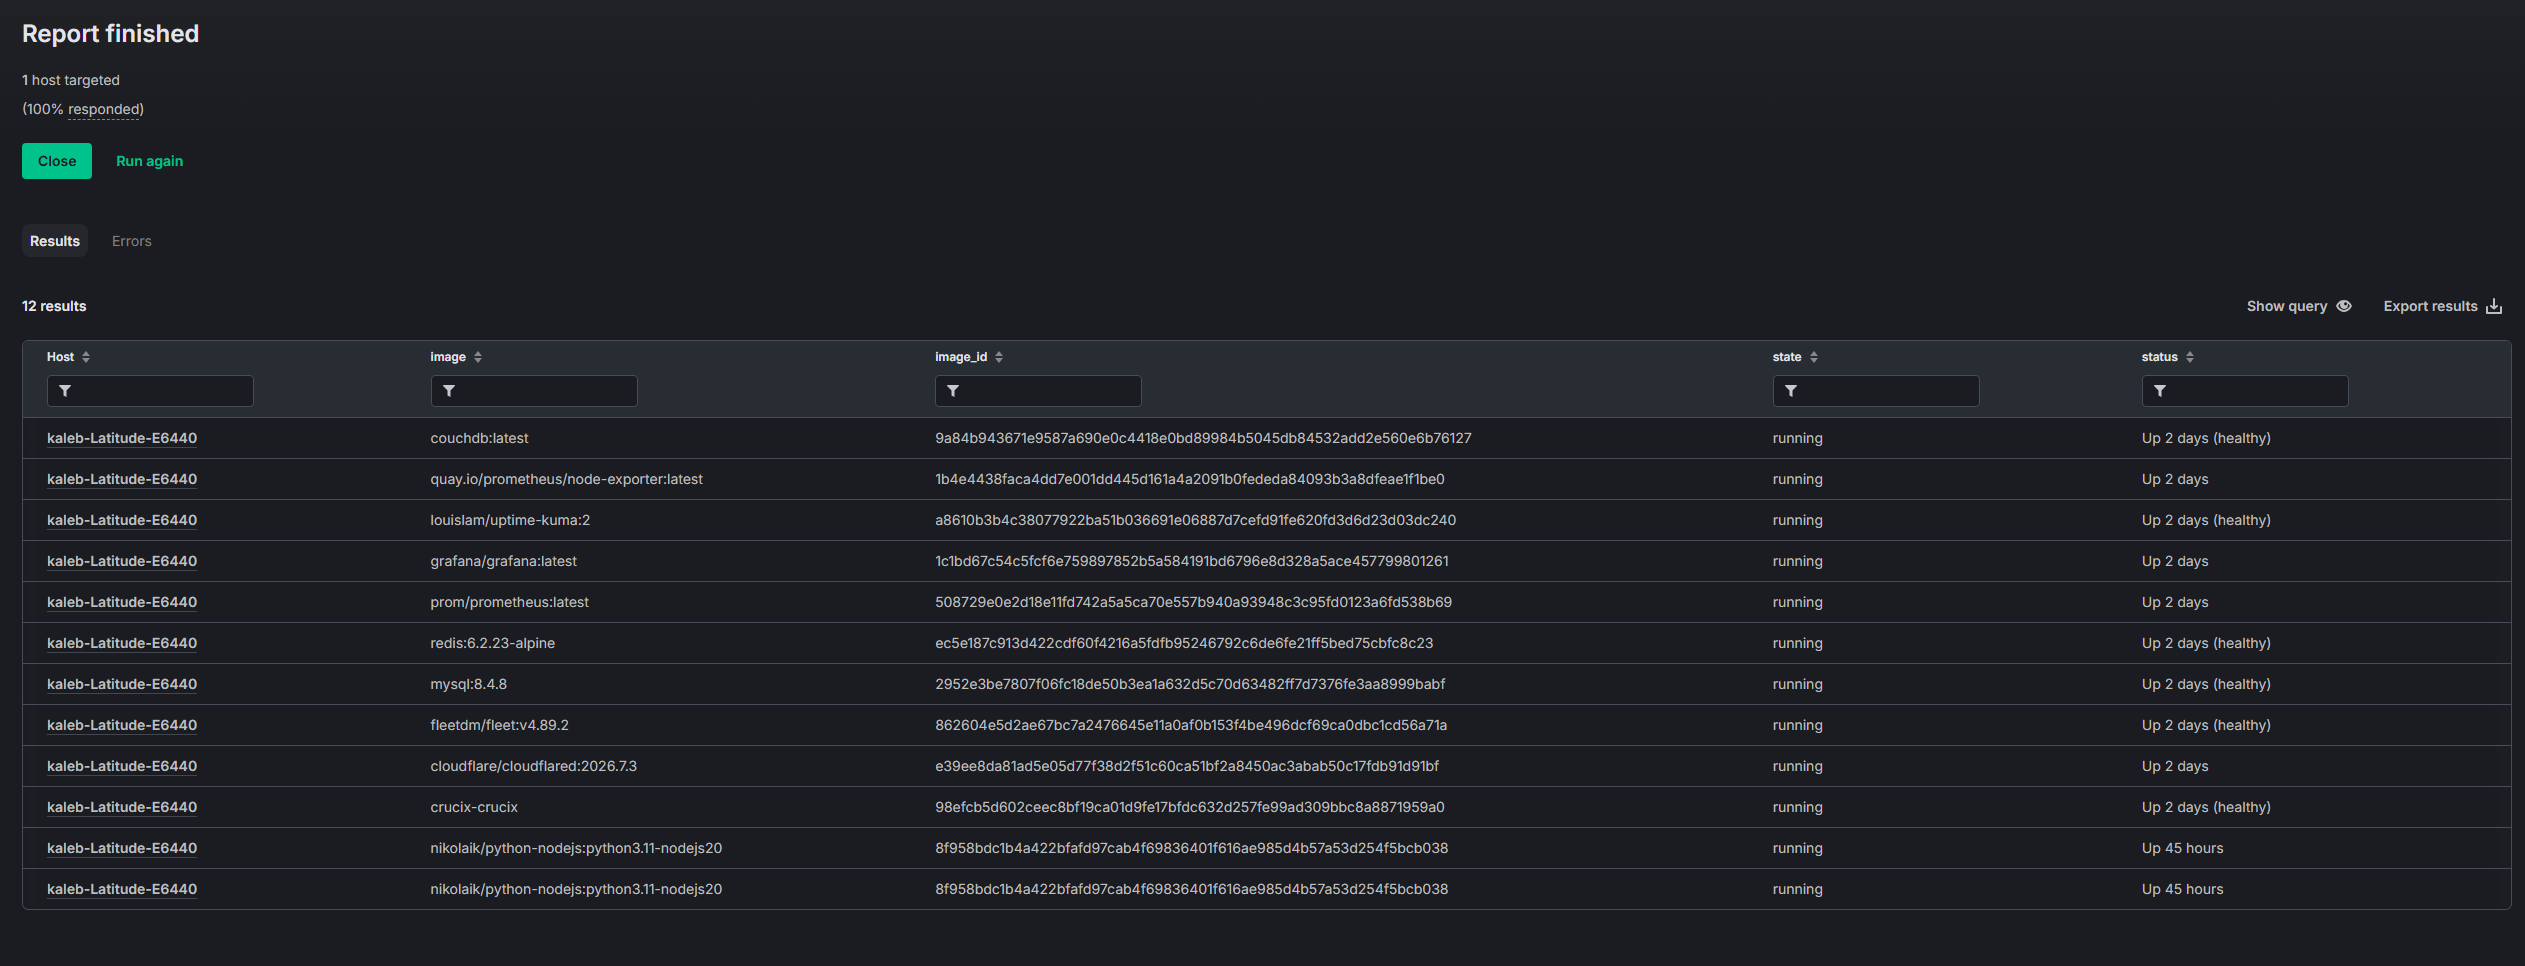 And here we see the results of our Report. I got 12 containers up and running, which tracks, look at all those guys. We can also set up Policies, to check whether or not hosts are following our organizations guidelines, but we’ve been at this a while. Let’s call it for today and maybe go over that some other time!