Introduction
Hello everyone, and welcome back to the homelab series! Today, we’re deploying Nextcloud, a popular self-hosted cloud platform that probably needs no introduction. If you aren’t familiar with it, think of it as a self-hosted alternative to Google Drive with plenty of additional applications and features available. For now, we’re focusing on getting the core service running. We’ll cover hardening and remote access in a future post.
Setting Up the Container
Alright, first things first let’s make some directories to store some of our configurations and also the actual files we want to save. That first command below makes a bunch of directories under nextcloud to organize things like our app data, database info and so on. Then we make a directory under /mnt/storage that actually will be where the files we store on NextCloud will live.
 Alright next we’re gonna actually
 chown some of these directories to be owned by the www-data service account (which is UID 33 which is why that’s there) as that’s kinda standard practice.
So we chown and ls to verify the directories new ownership.
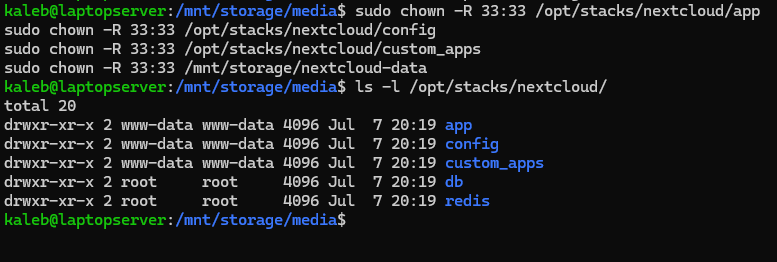 Looking good, now we’re going to want to modify the local
 .env file to configure some variables that NextCloud will need to reference.
 So here we see the default values of the
 .env file.
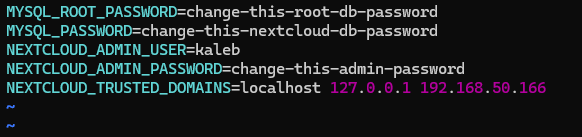 Fill this out according to your use case. As per our Overview post, we’re gonna add our server’s IP to the trusted domains section. Also of course update the passwords and whatnot to be what you want and we should be good to go.
Once you got that squared away, time to make our Docker Compose file!
Fill this out according to your use case. As per our Overview post, we’re gonna add our server’s IP to the trusted domains section. Also of course update the passwords and whatnot to be what you want and we should be good to go.
Once you got that squared away, time to make our Docker Compose file!
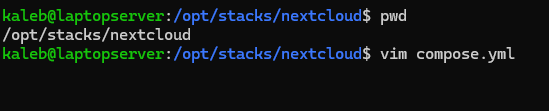 So from the root directory of where your container will live, make the file like so:
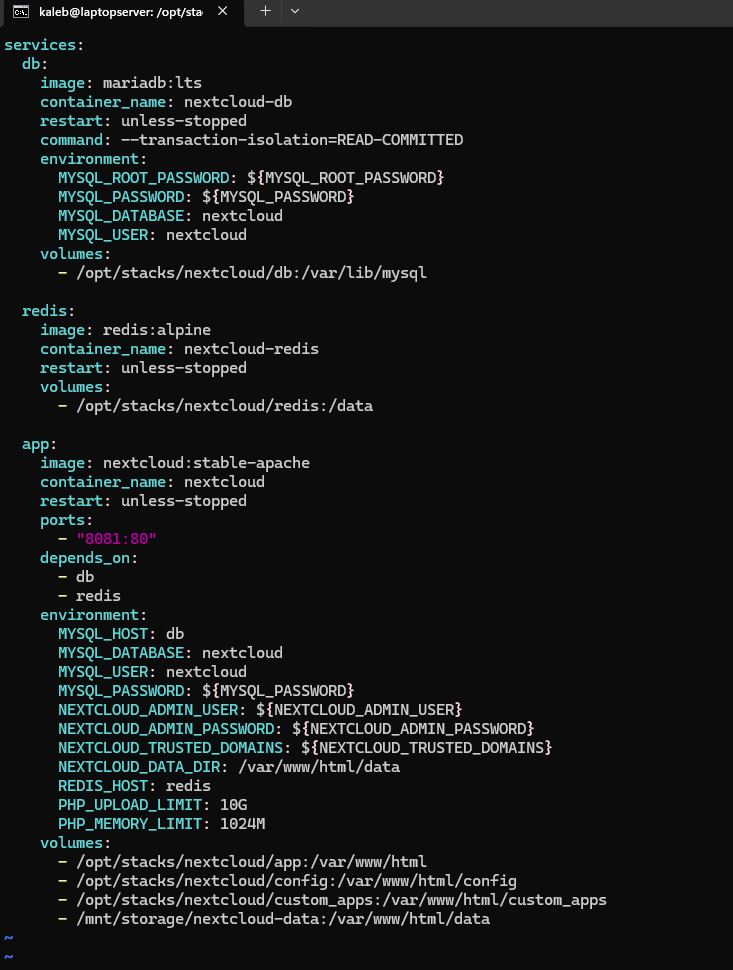
# For your copying pleasure
services:
  db:
    image: mariadb:lts
    container_name: nextcloud-db
    restart: unless-stopped
    command: --transaction-isolation=READ-COMMITTED
    environment:
      MYSQL_ROOT_PASSWORD: ${MYSQL_ROOT_PASSWORD}
      MYSQL_PASSWORD: ${MYSQL_PASSWORD}
      MYSQL_DATABASE: nextcloud
      MYSQL_USER: nextcloud
    volumes:
      - /opt/stacks/nextcloud/db:/var/lib/mysql

  redis:
    image: redis:alpine
    container_name: nextcloud-redis
    restart: unless-stopped
    volumes:
      - /opt/stacks/nextcloud/redis:/data

  app:
    image: nextcloud:stable-apache
    container_name: nextcloud
    restart: unless-stopped
    ports:
      - "8081:80"
    depends_on:
      - db
      - redis
    environment:
      MYSQL_HOST: db
      MYSQL_DATABASE: nextcloud
      MYSQL_USER: nextcloud
      MYSQL_PASSWORD: ${MYSQL_PASSWORD}
      NEXTCLOUD_ADMIN_USER: ${NEXTCLOUD_ADMIN_USER}
      NEXTCLOUD_ADMIN_PASSWORD: ${NEXTCLOUD_ADMIN_PASSWORD}
      NEXTCLOUD_TRUSTED_DOMAINS: ${NEXTCLOUD_TRUSTED_DOMAINS}
      NEXTCLOUD_DATA_DIR: /var/www/html/data
      REDIS_HOST: redis
      PHP_UPLOAD_LIMIT: 10G
      PHP_MEMORY_LIMIT: 1024M
    volumes:
      - /opt/stacks/nextcloud/app:/var/www/html
      - /opt/stacks/nextcloud/config:/var/www/html/config
      - /opt/stacks/nextcloud/custom_apps:/var/www/html/custom_apps
      - /mnt/storage/nextcloud-data:/var/www/html/data
  cron:
    image: nextcloud:stable-apache
    container_name: nextcloud-cron
    restart: unless-stopped
    depends_on:
      - db
      - redis
    volumes:
      - /opt/stacks/nextcloud/app:/var/www/html
      - /opt/stacks/nextcloud/config:/var/www/html/config
      - /opt/stacks/nextcloud/custom_apps:/var/www/html/custom_apps
      - /mnt/storage/nextcloud-data:/var/www/html/data
    entrypoint: /cron.sh
Now after you have your compose file, all we need to do is start the container!
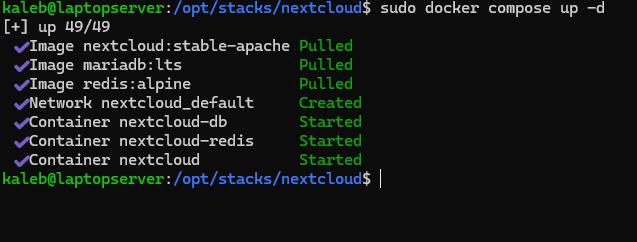 Awesome. Let’s see our containers ID’s real quick.
 Lookin good. After that the web console should be available, so let’s go ahead and log into the web GUI.
Logging into the GUI
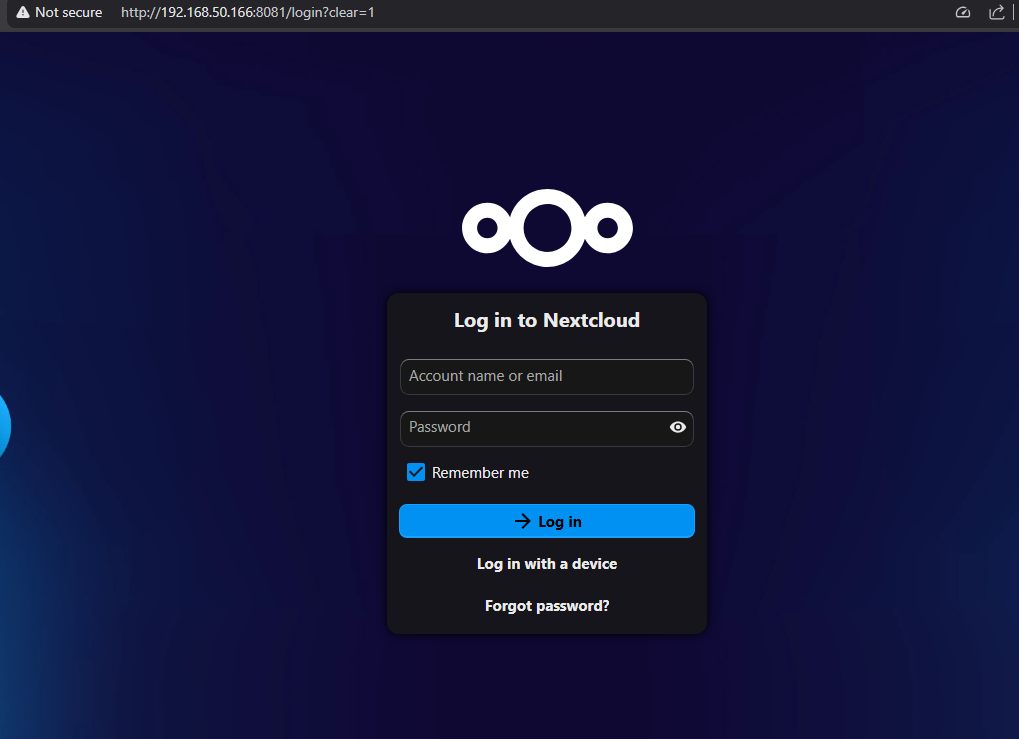 Very nice, use your credentials you set up in the
 .env file. There will be a few notifications you can just click through letting you know about new things and whatnot, but once you get through that…
 Here we are our NextCloud home page! Looks pretty snazzy. Okay, but before we continue we’re going to do a couple configurations in here before we call it a day. The main one is configuring the cron service here for NextCloud. This will enable NextCloud to run some background processes on a routine schedule that handles some stuff for us so we’re gonna want this thing running. Just add this block to the end of your compose.yml file. Unless you copied mine from earlier, then you should be good to go.
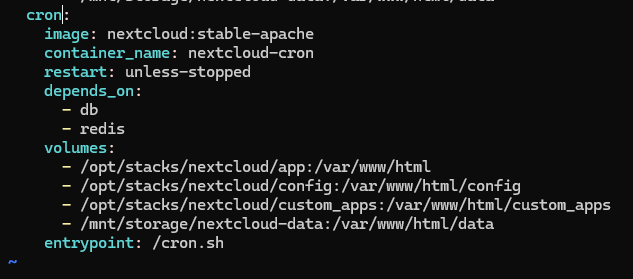 This adds the config, but we gotta restart our container in order for the changes to kick in, so.
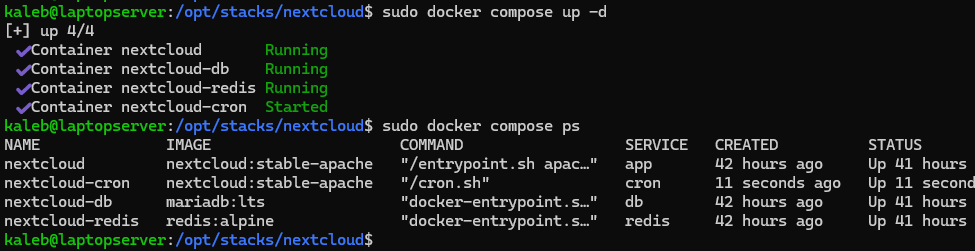 Awesome, we see the cron container up and running now, very nice. Now, let’s go back to the Web Console and enable it there as well. Go to Administration settings → Basic settings → Background jobs → Cron. Click your Profile in the top right and Administration settings will be there. From there on the left hand menu.
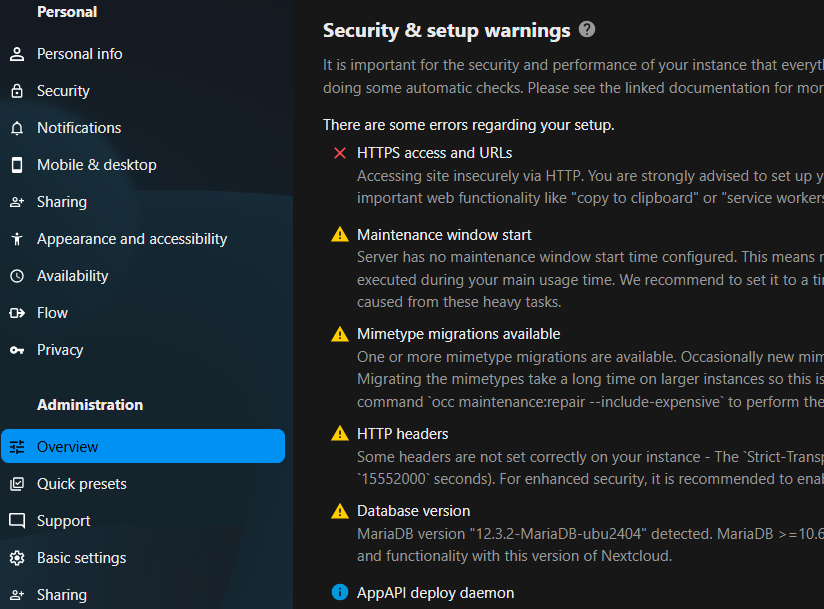 Basic Settings, the fourth one under Administration.
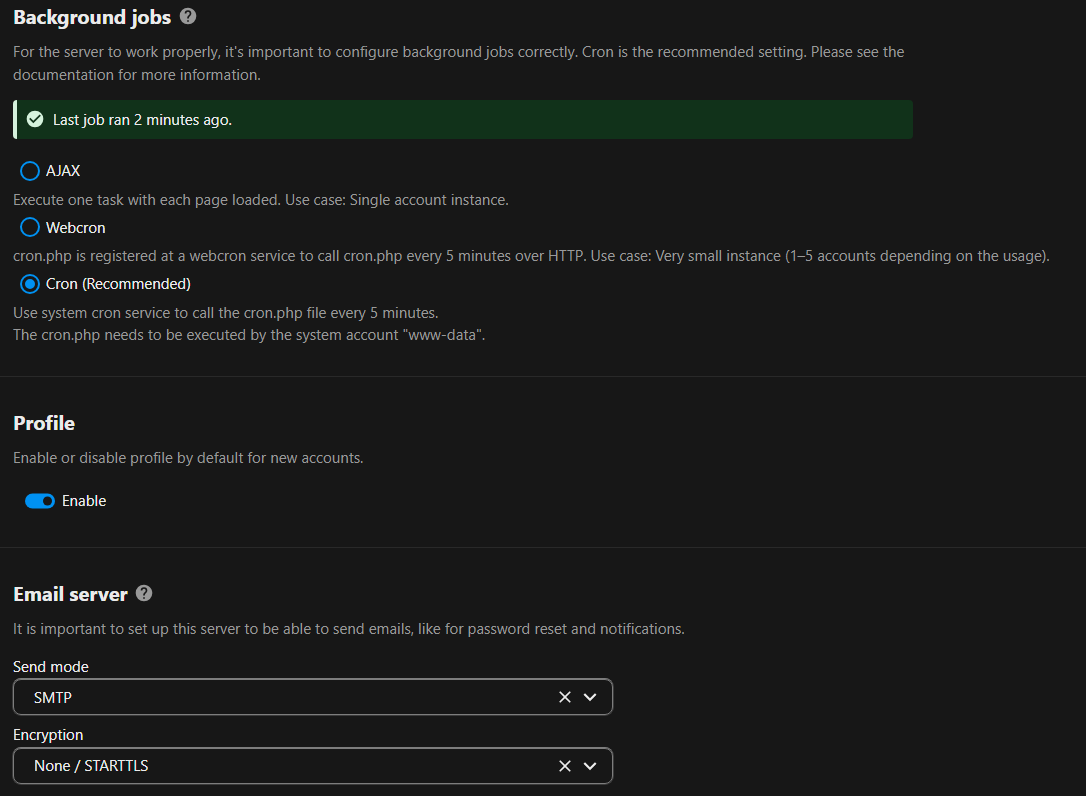 And here we see it is already enabled, but it is worth checking. Alright, looking good to me let’s try uploading a file!
Uploading our First File
In the top left click on Files, the little folder icon.
 After that…
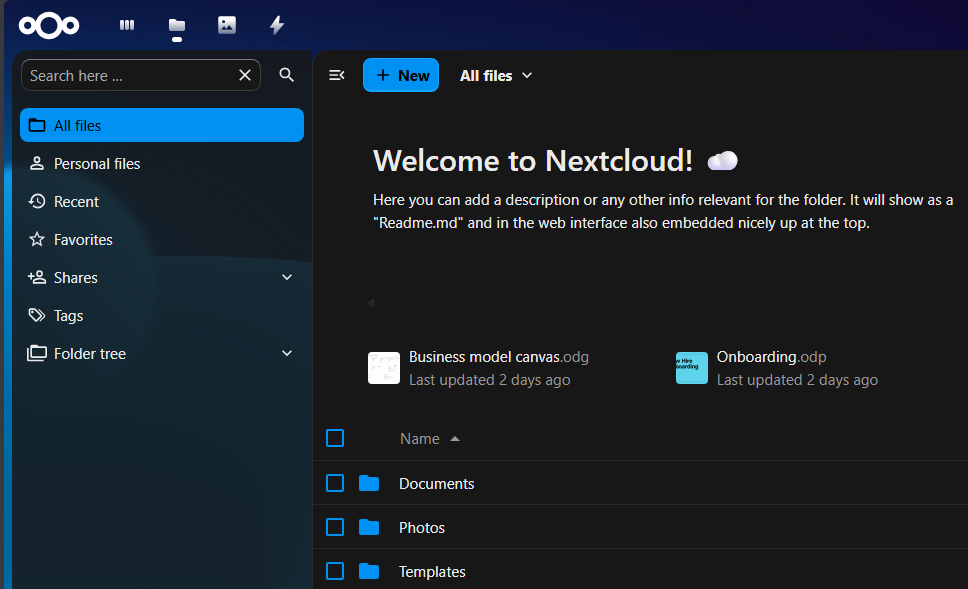 We can see all our files. Let’s go ahead and upload a test file. Click New and then Upload files.
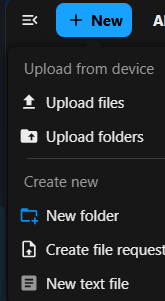 Your file explorer will open up and you can select anything. I’m just going to upload a copy of my resume.

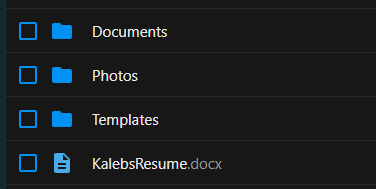 And there it is. I want to verify though it’s being stored on my external drive cause that’s what I set up personally, so.
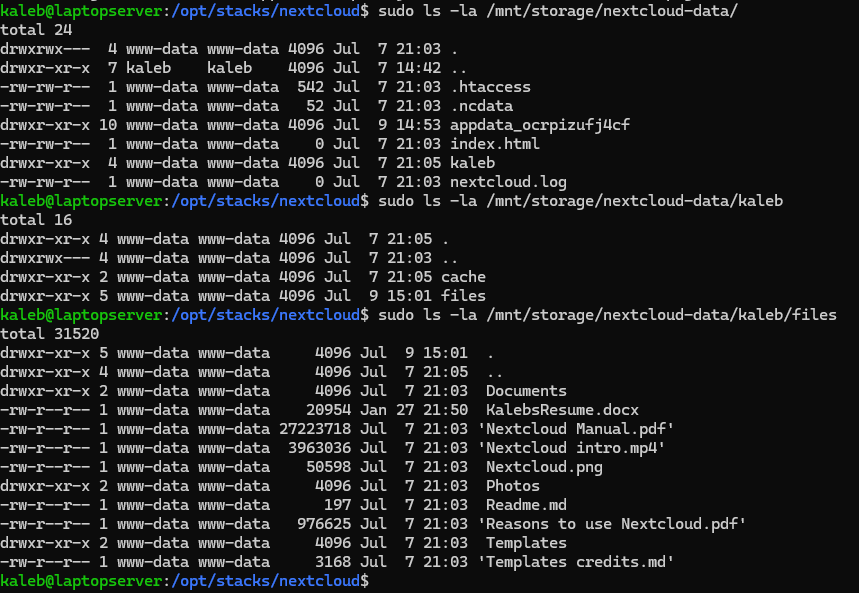 Amazing.